


![Heater shield for armored combat [72x57]](https://medievalextreme.com/wp-content/uploads/2024/09/DSC_01841-Edit-2.jpeg.webp)
Description
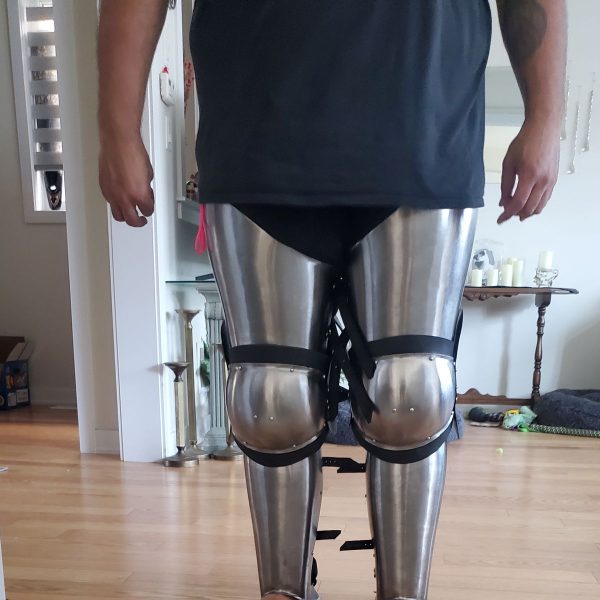
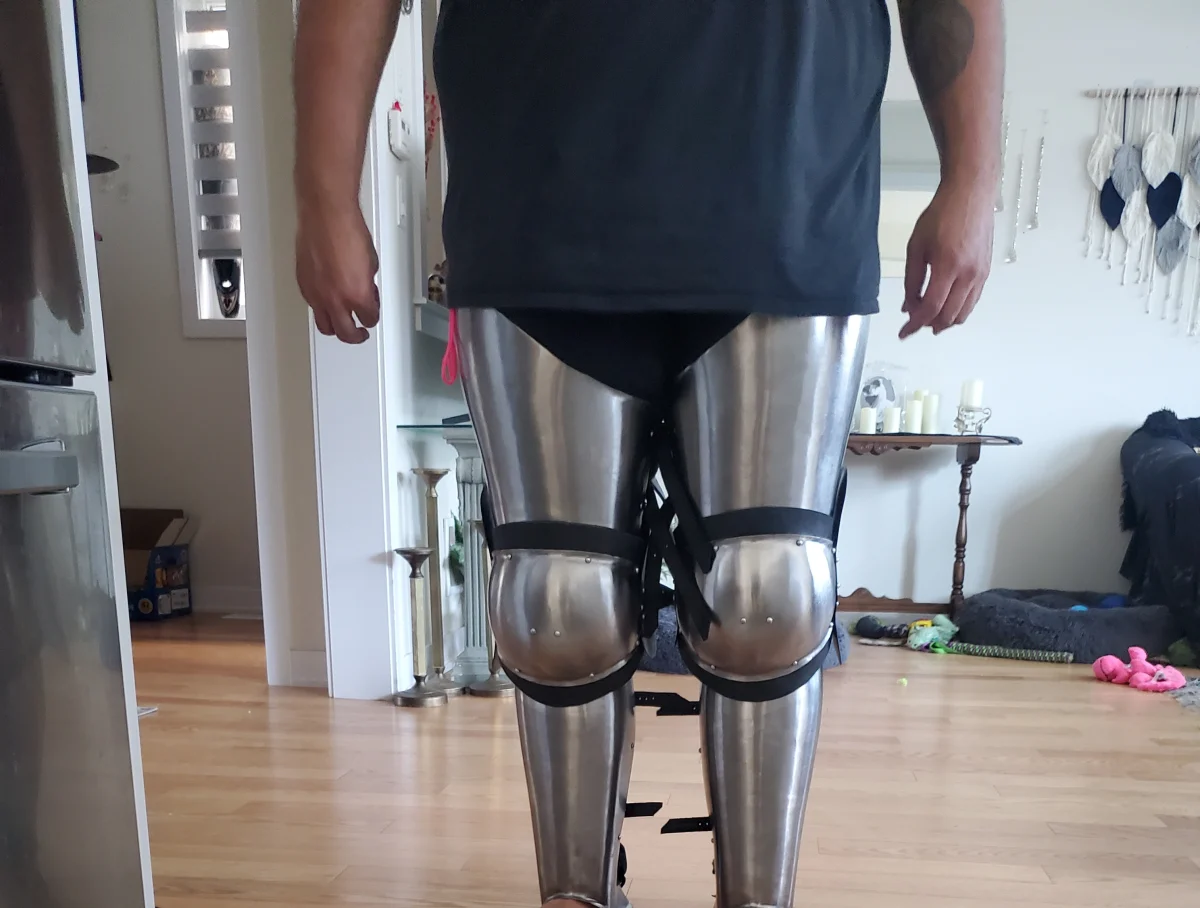
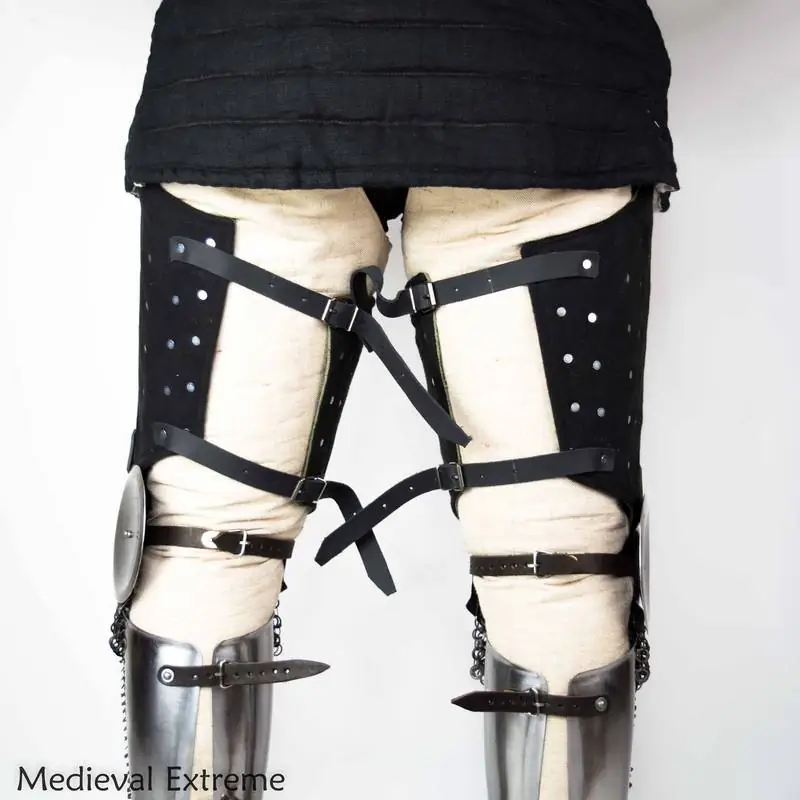
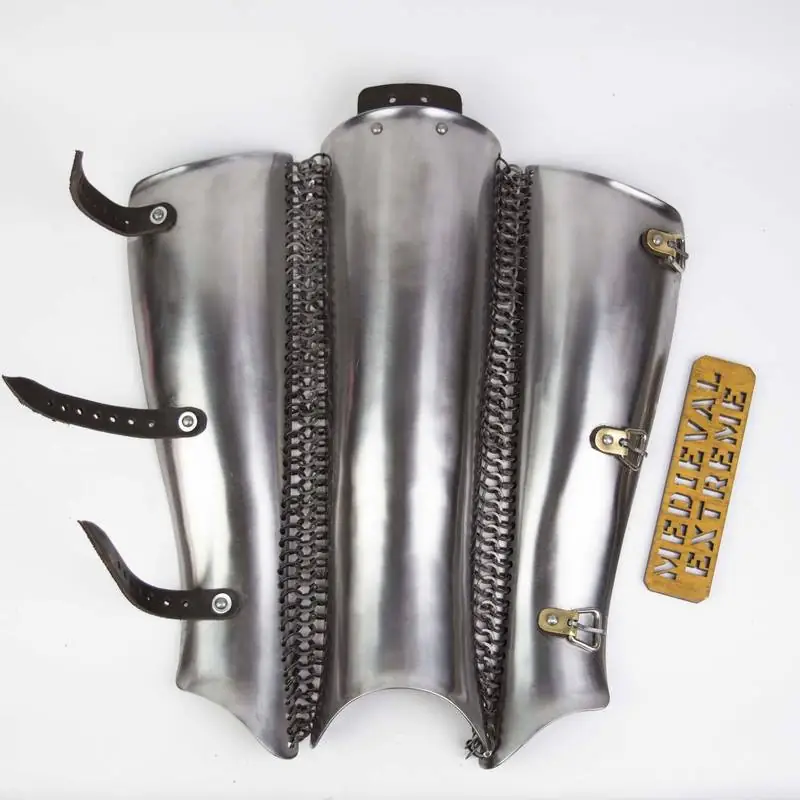
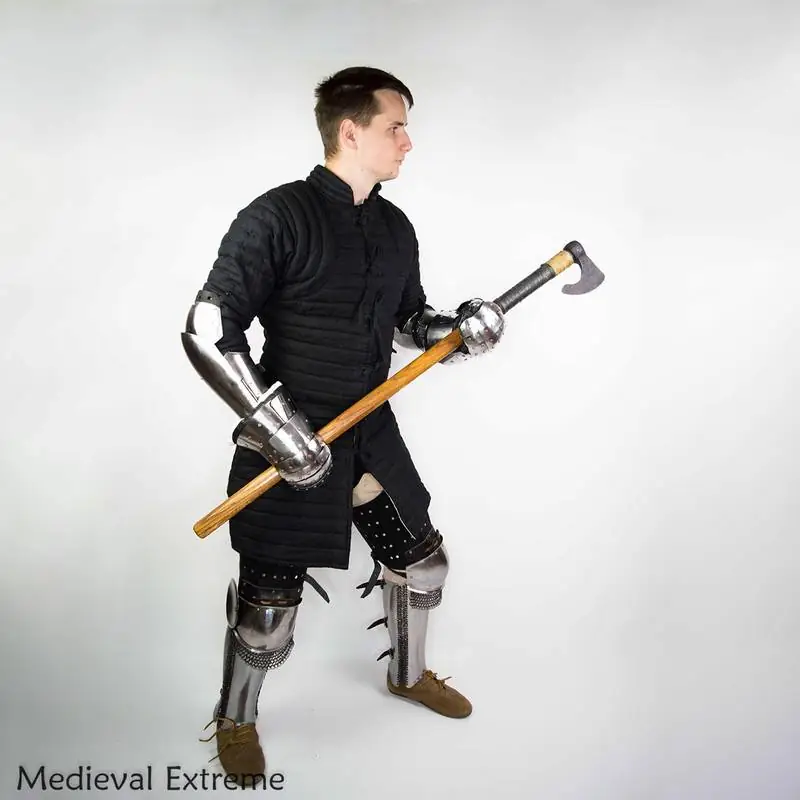
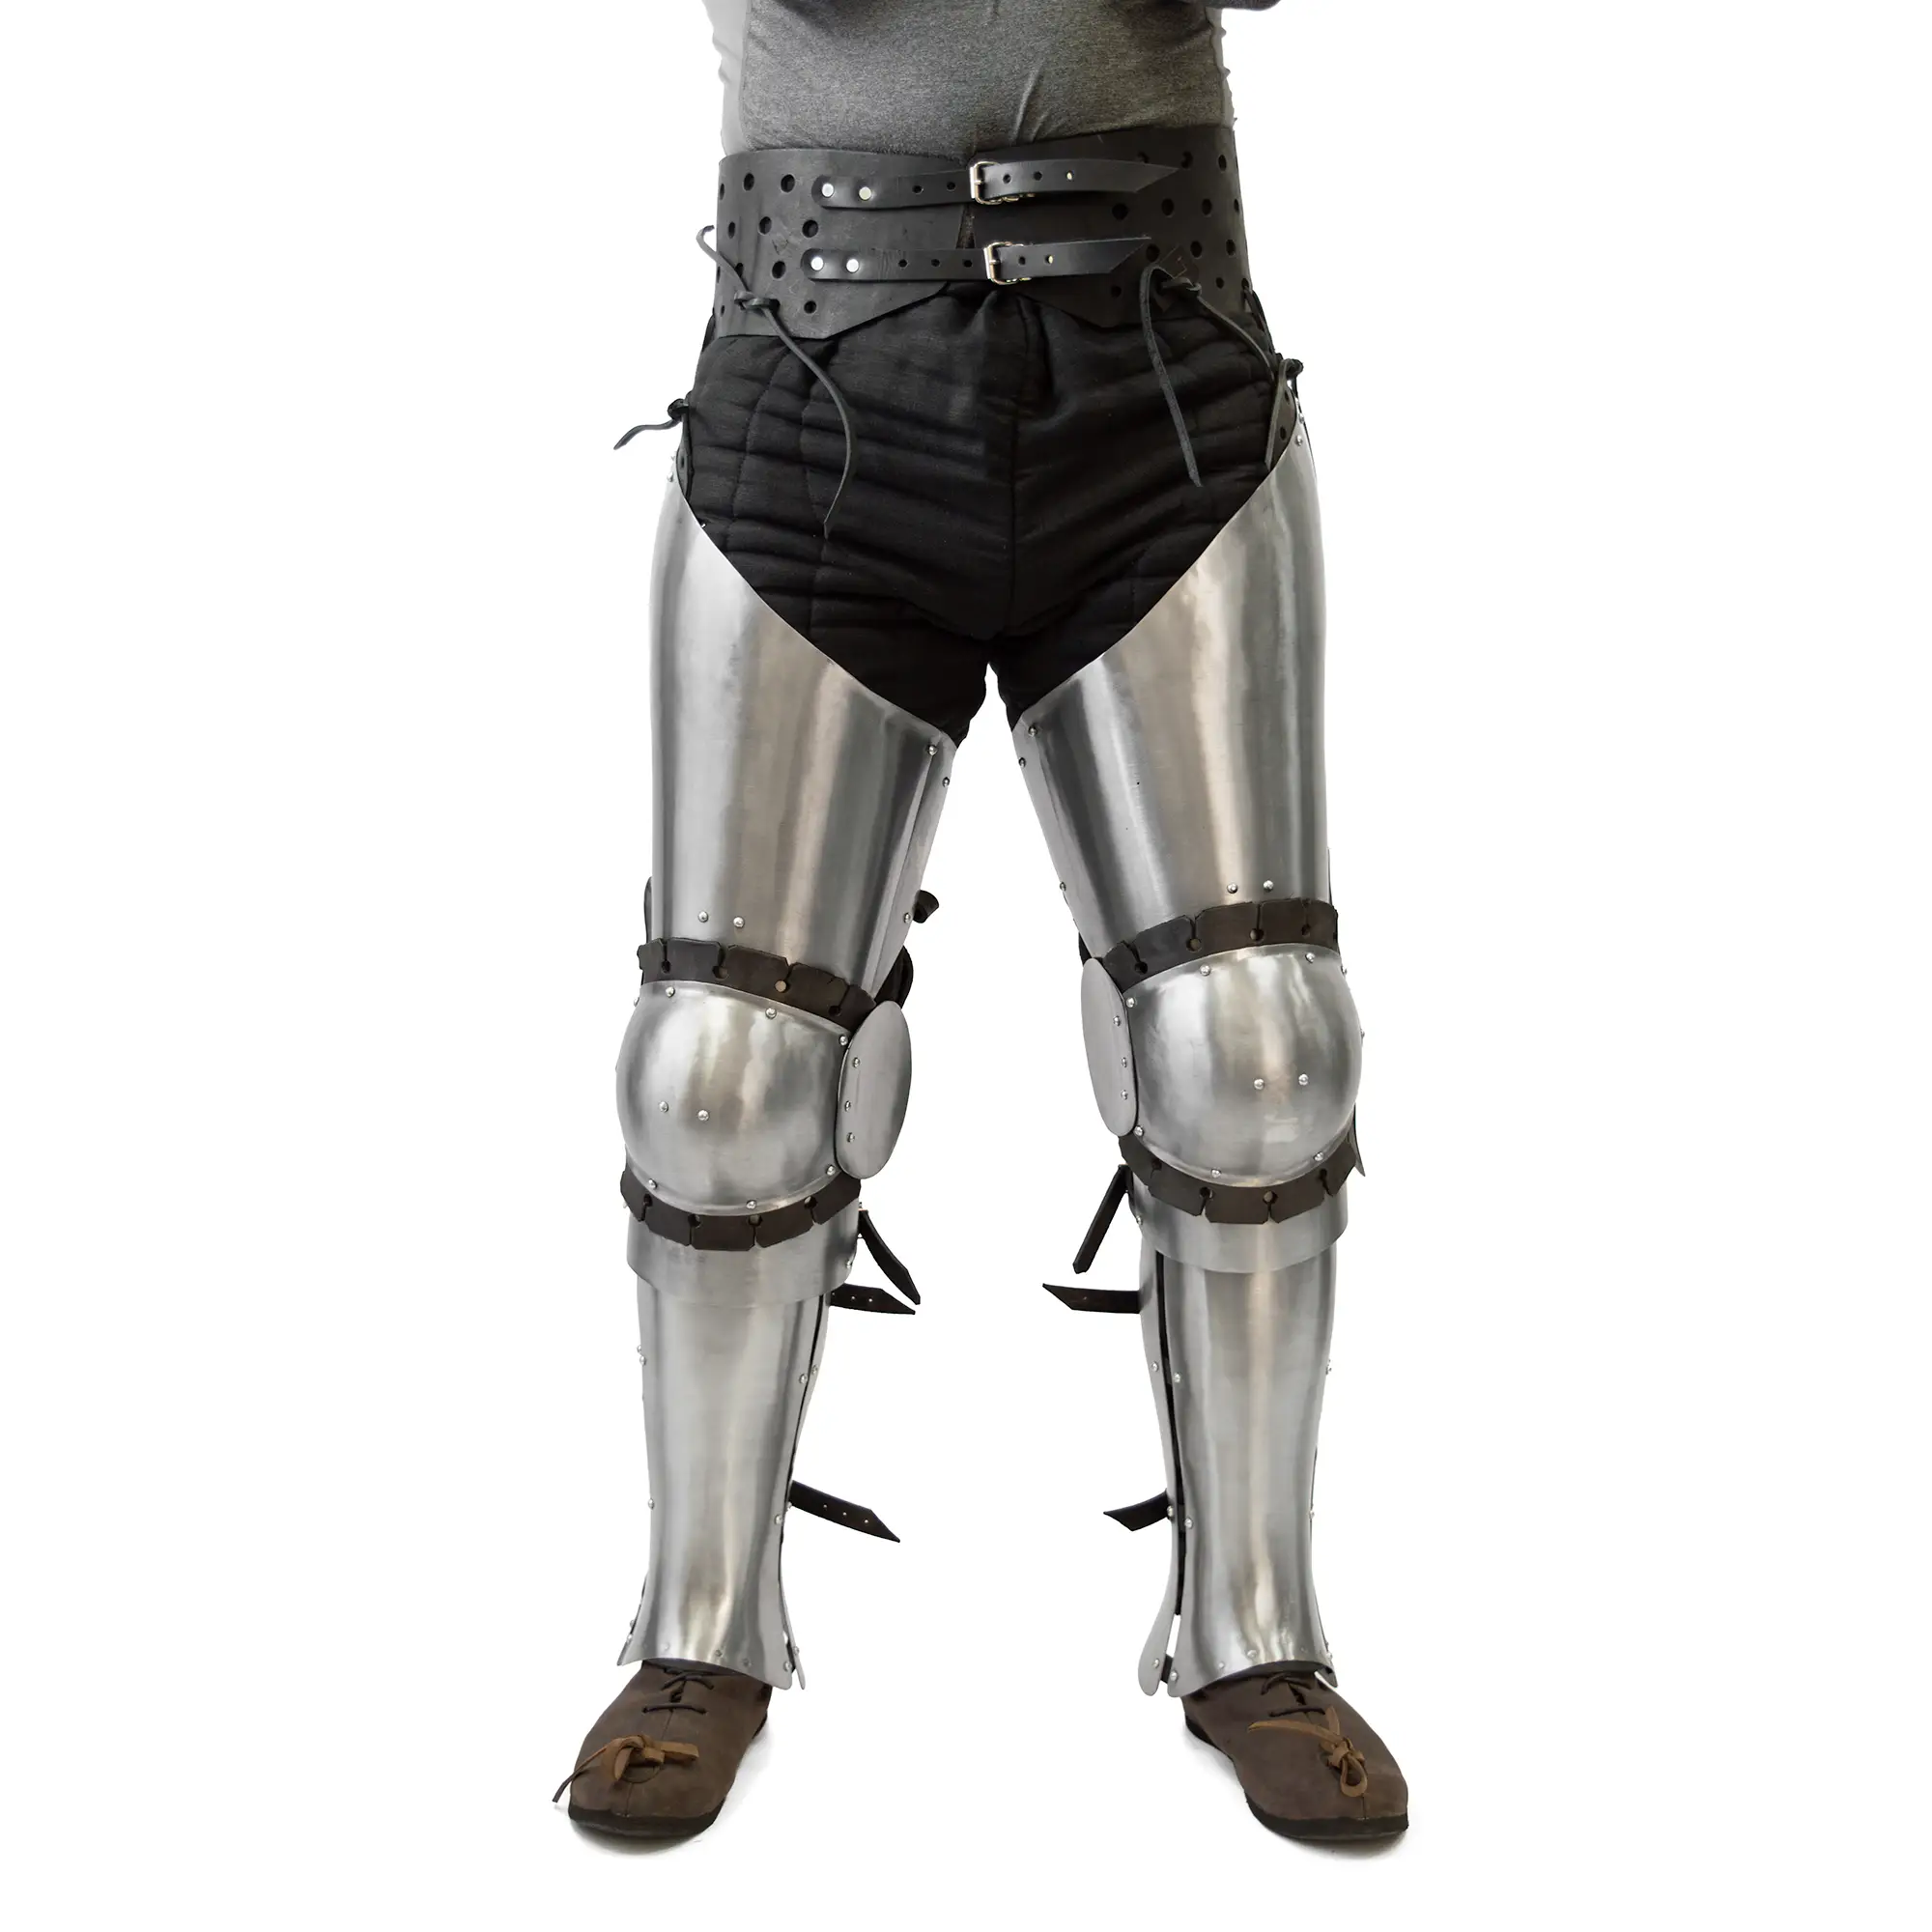
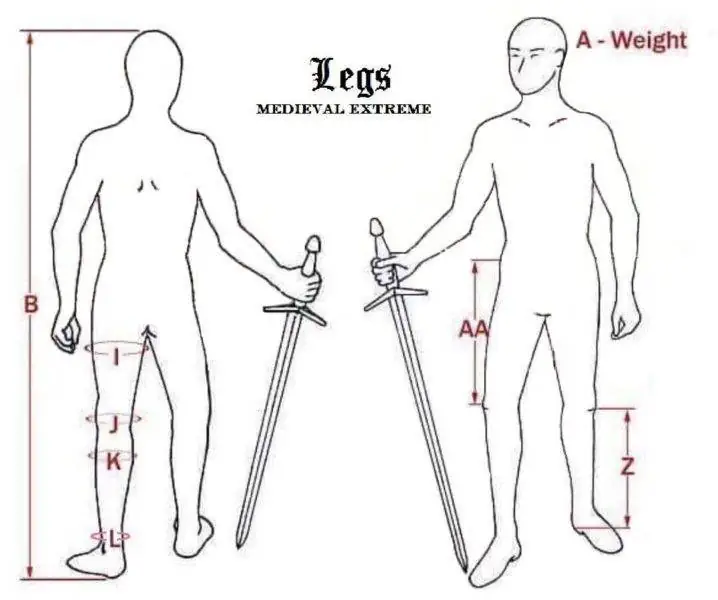
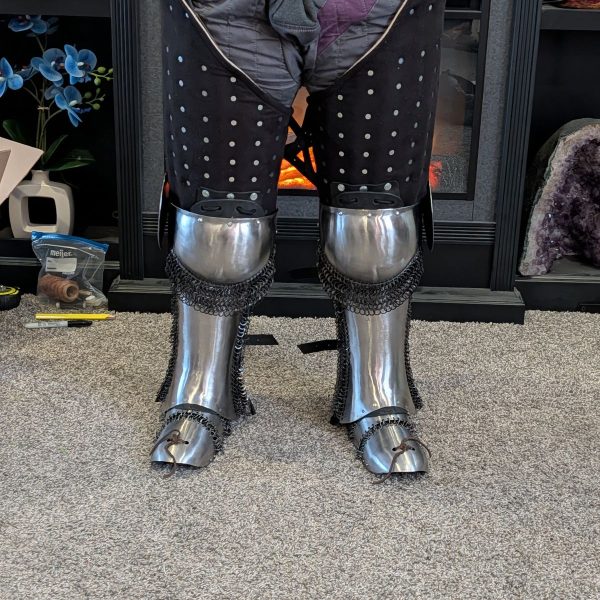
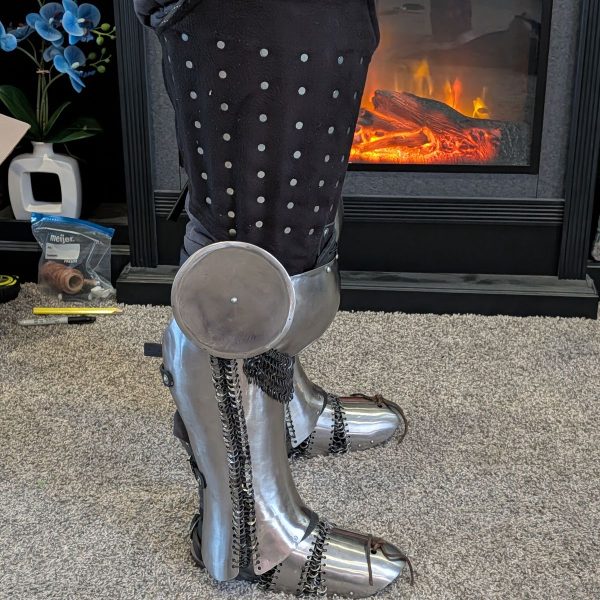
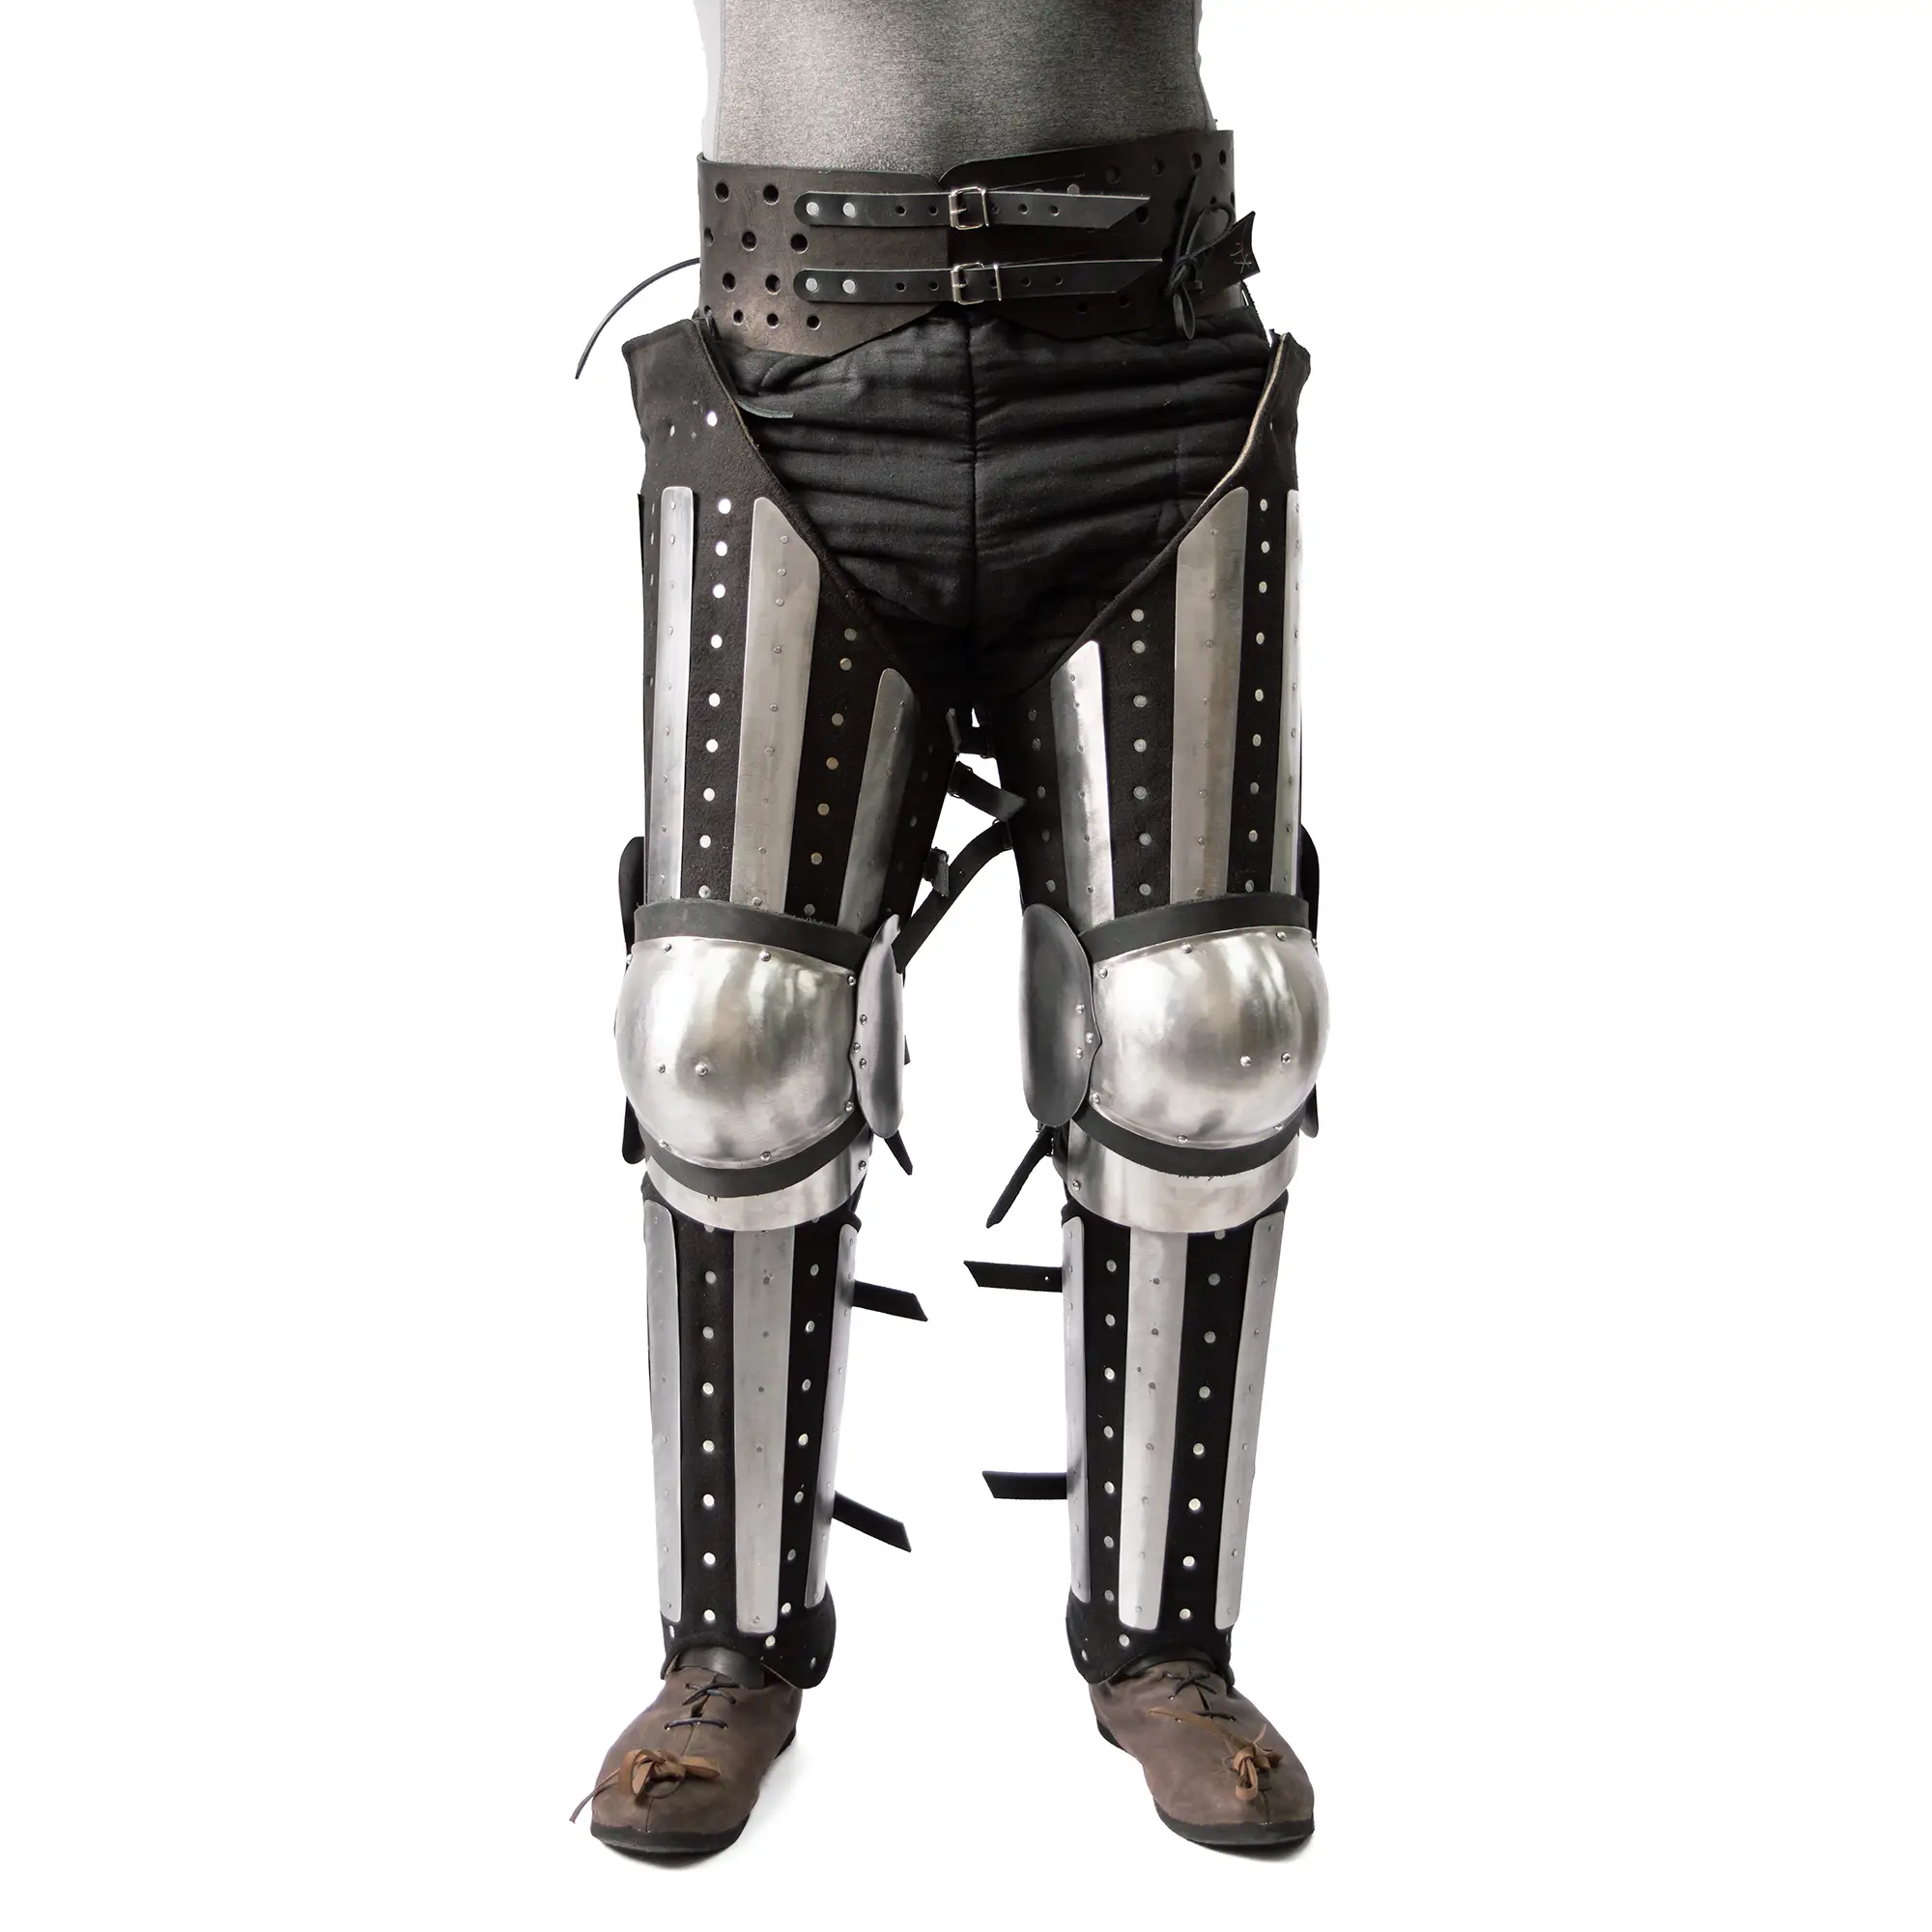
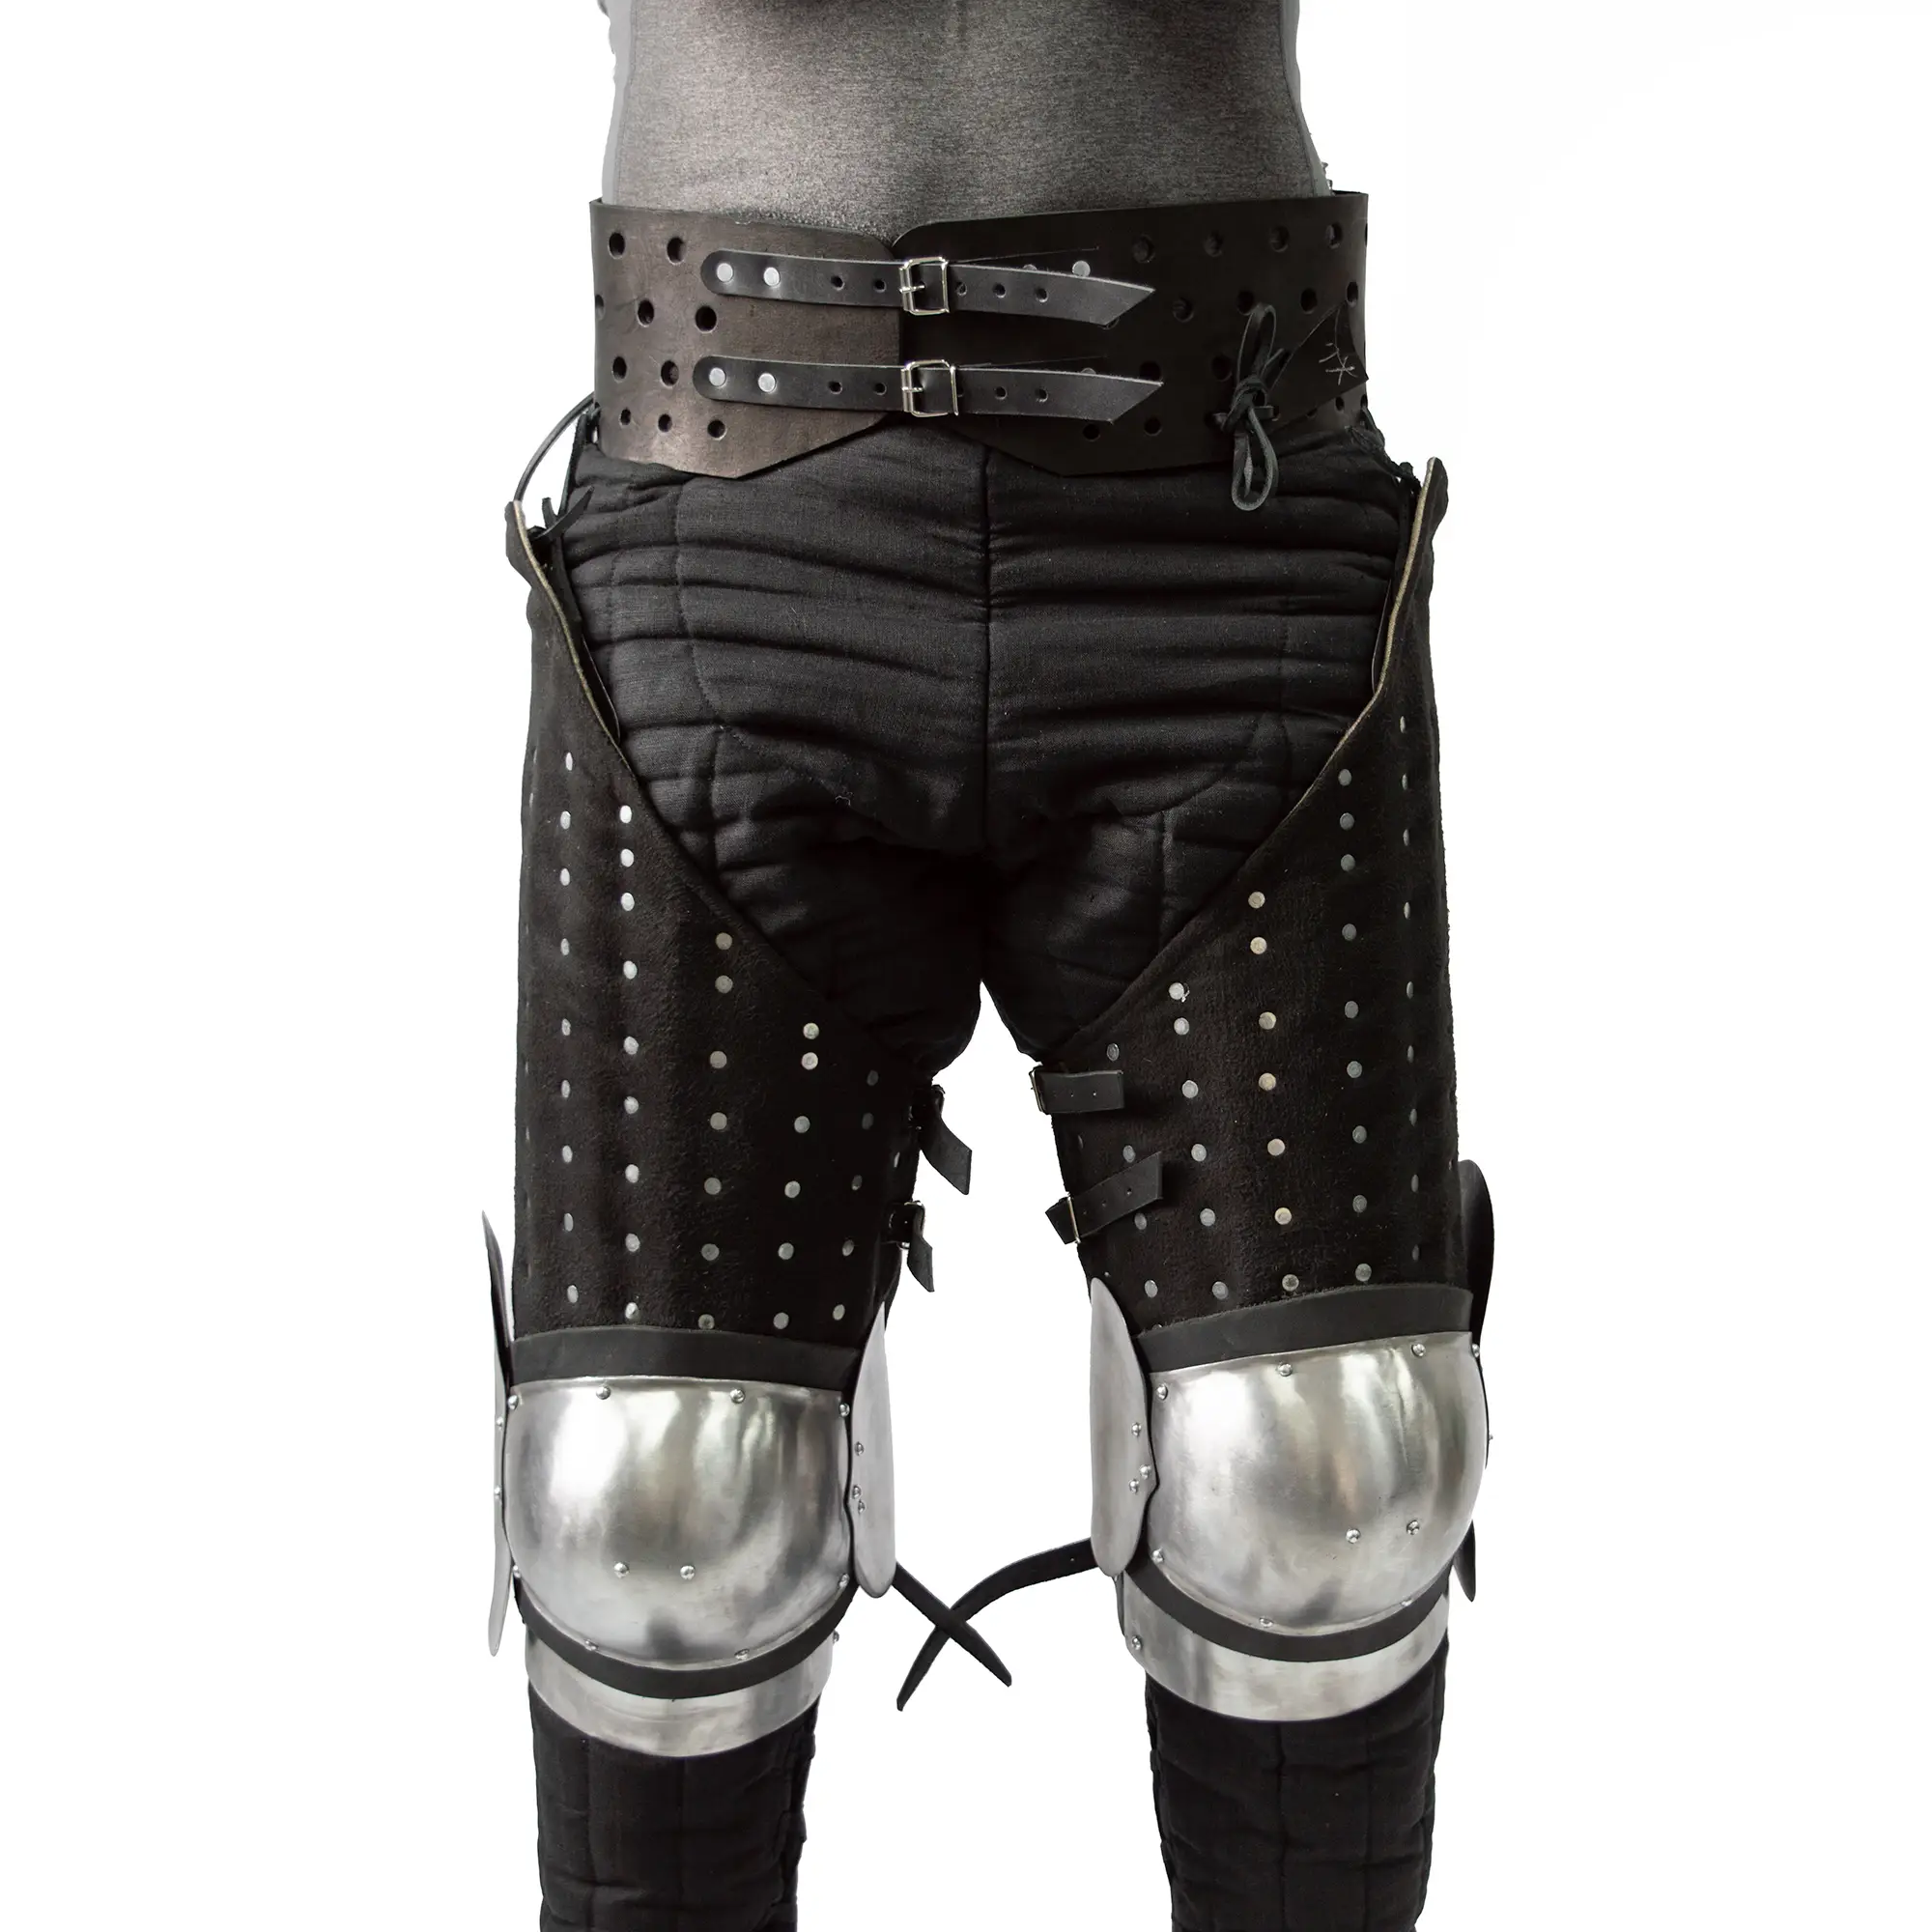
The eastern legs full set saqband is finally here.
Set includes:
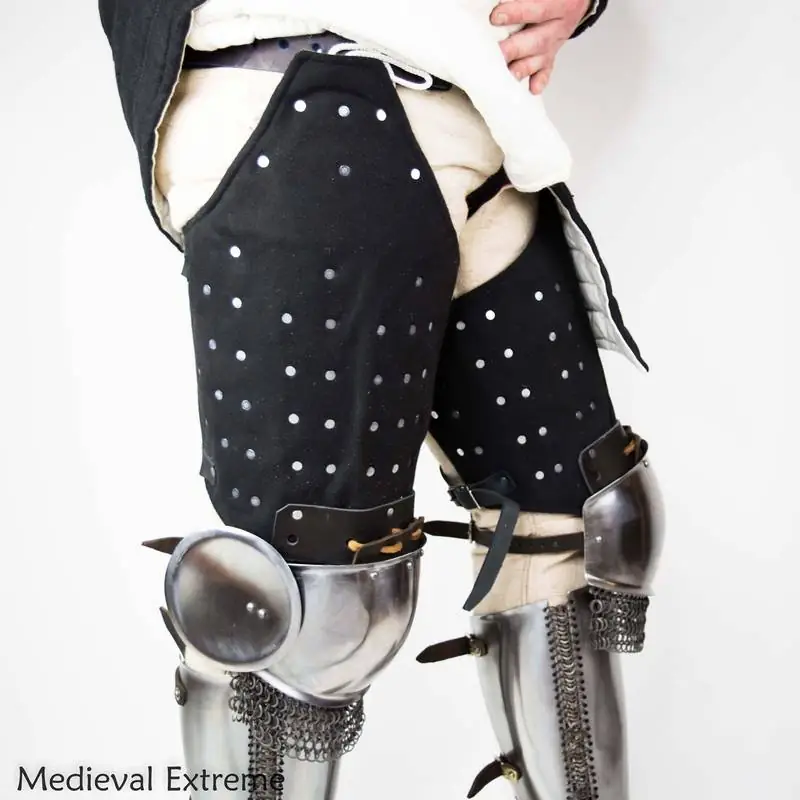
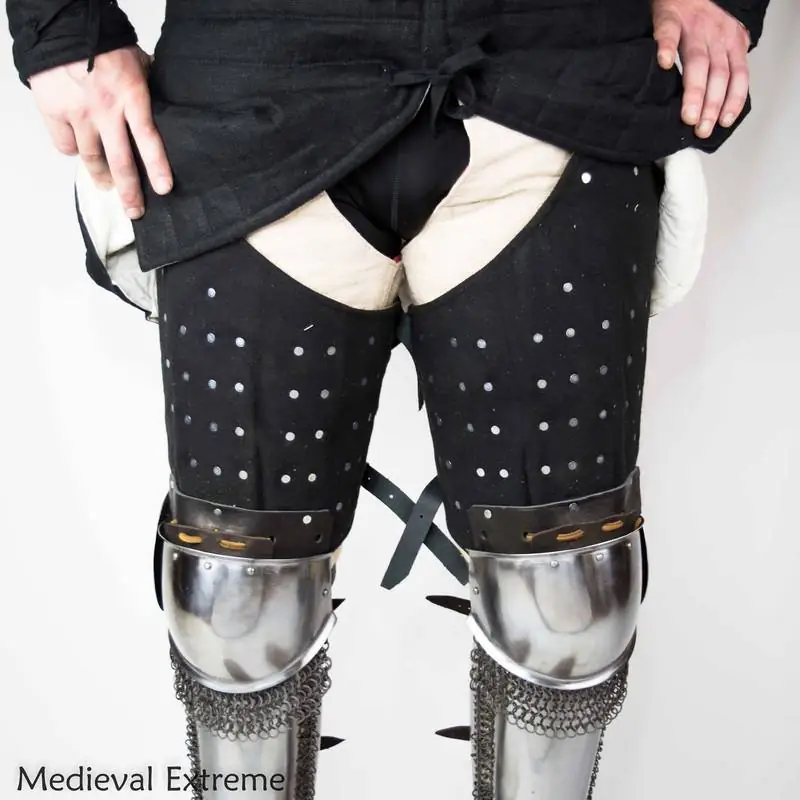
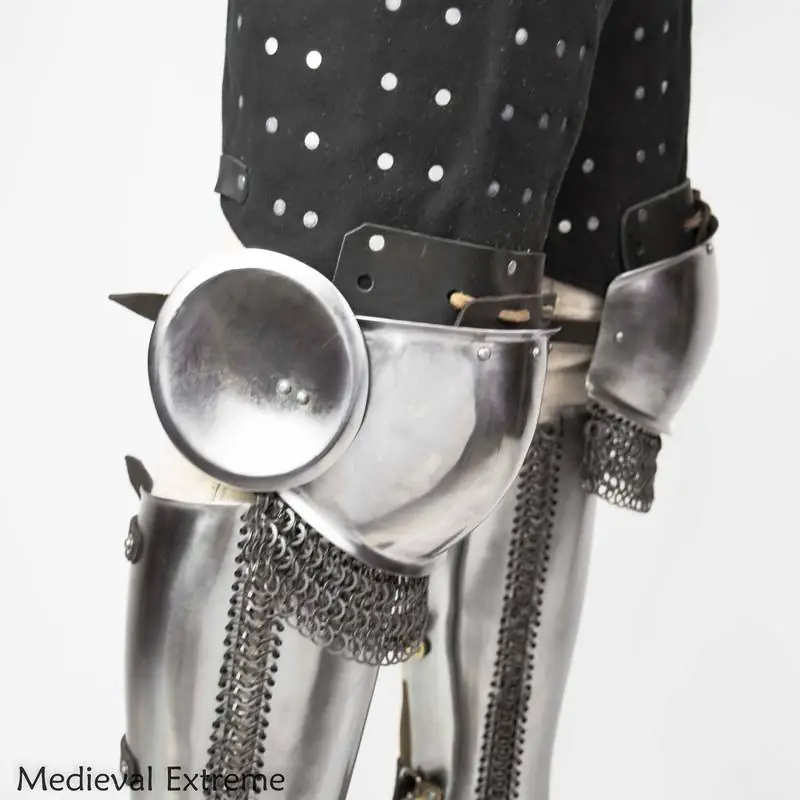
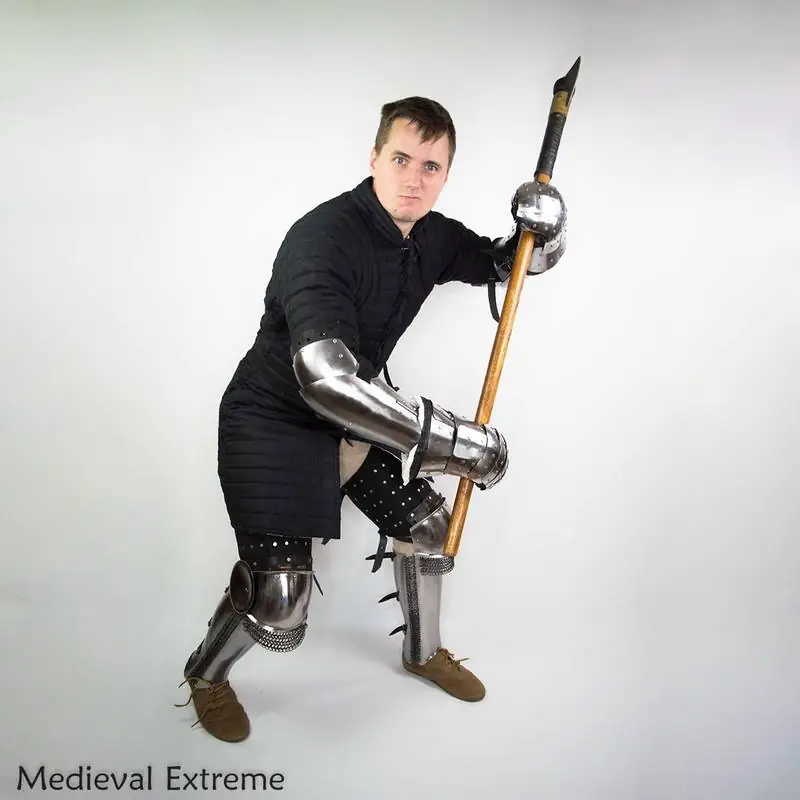
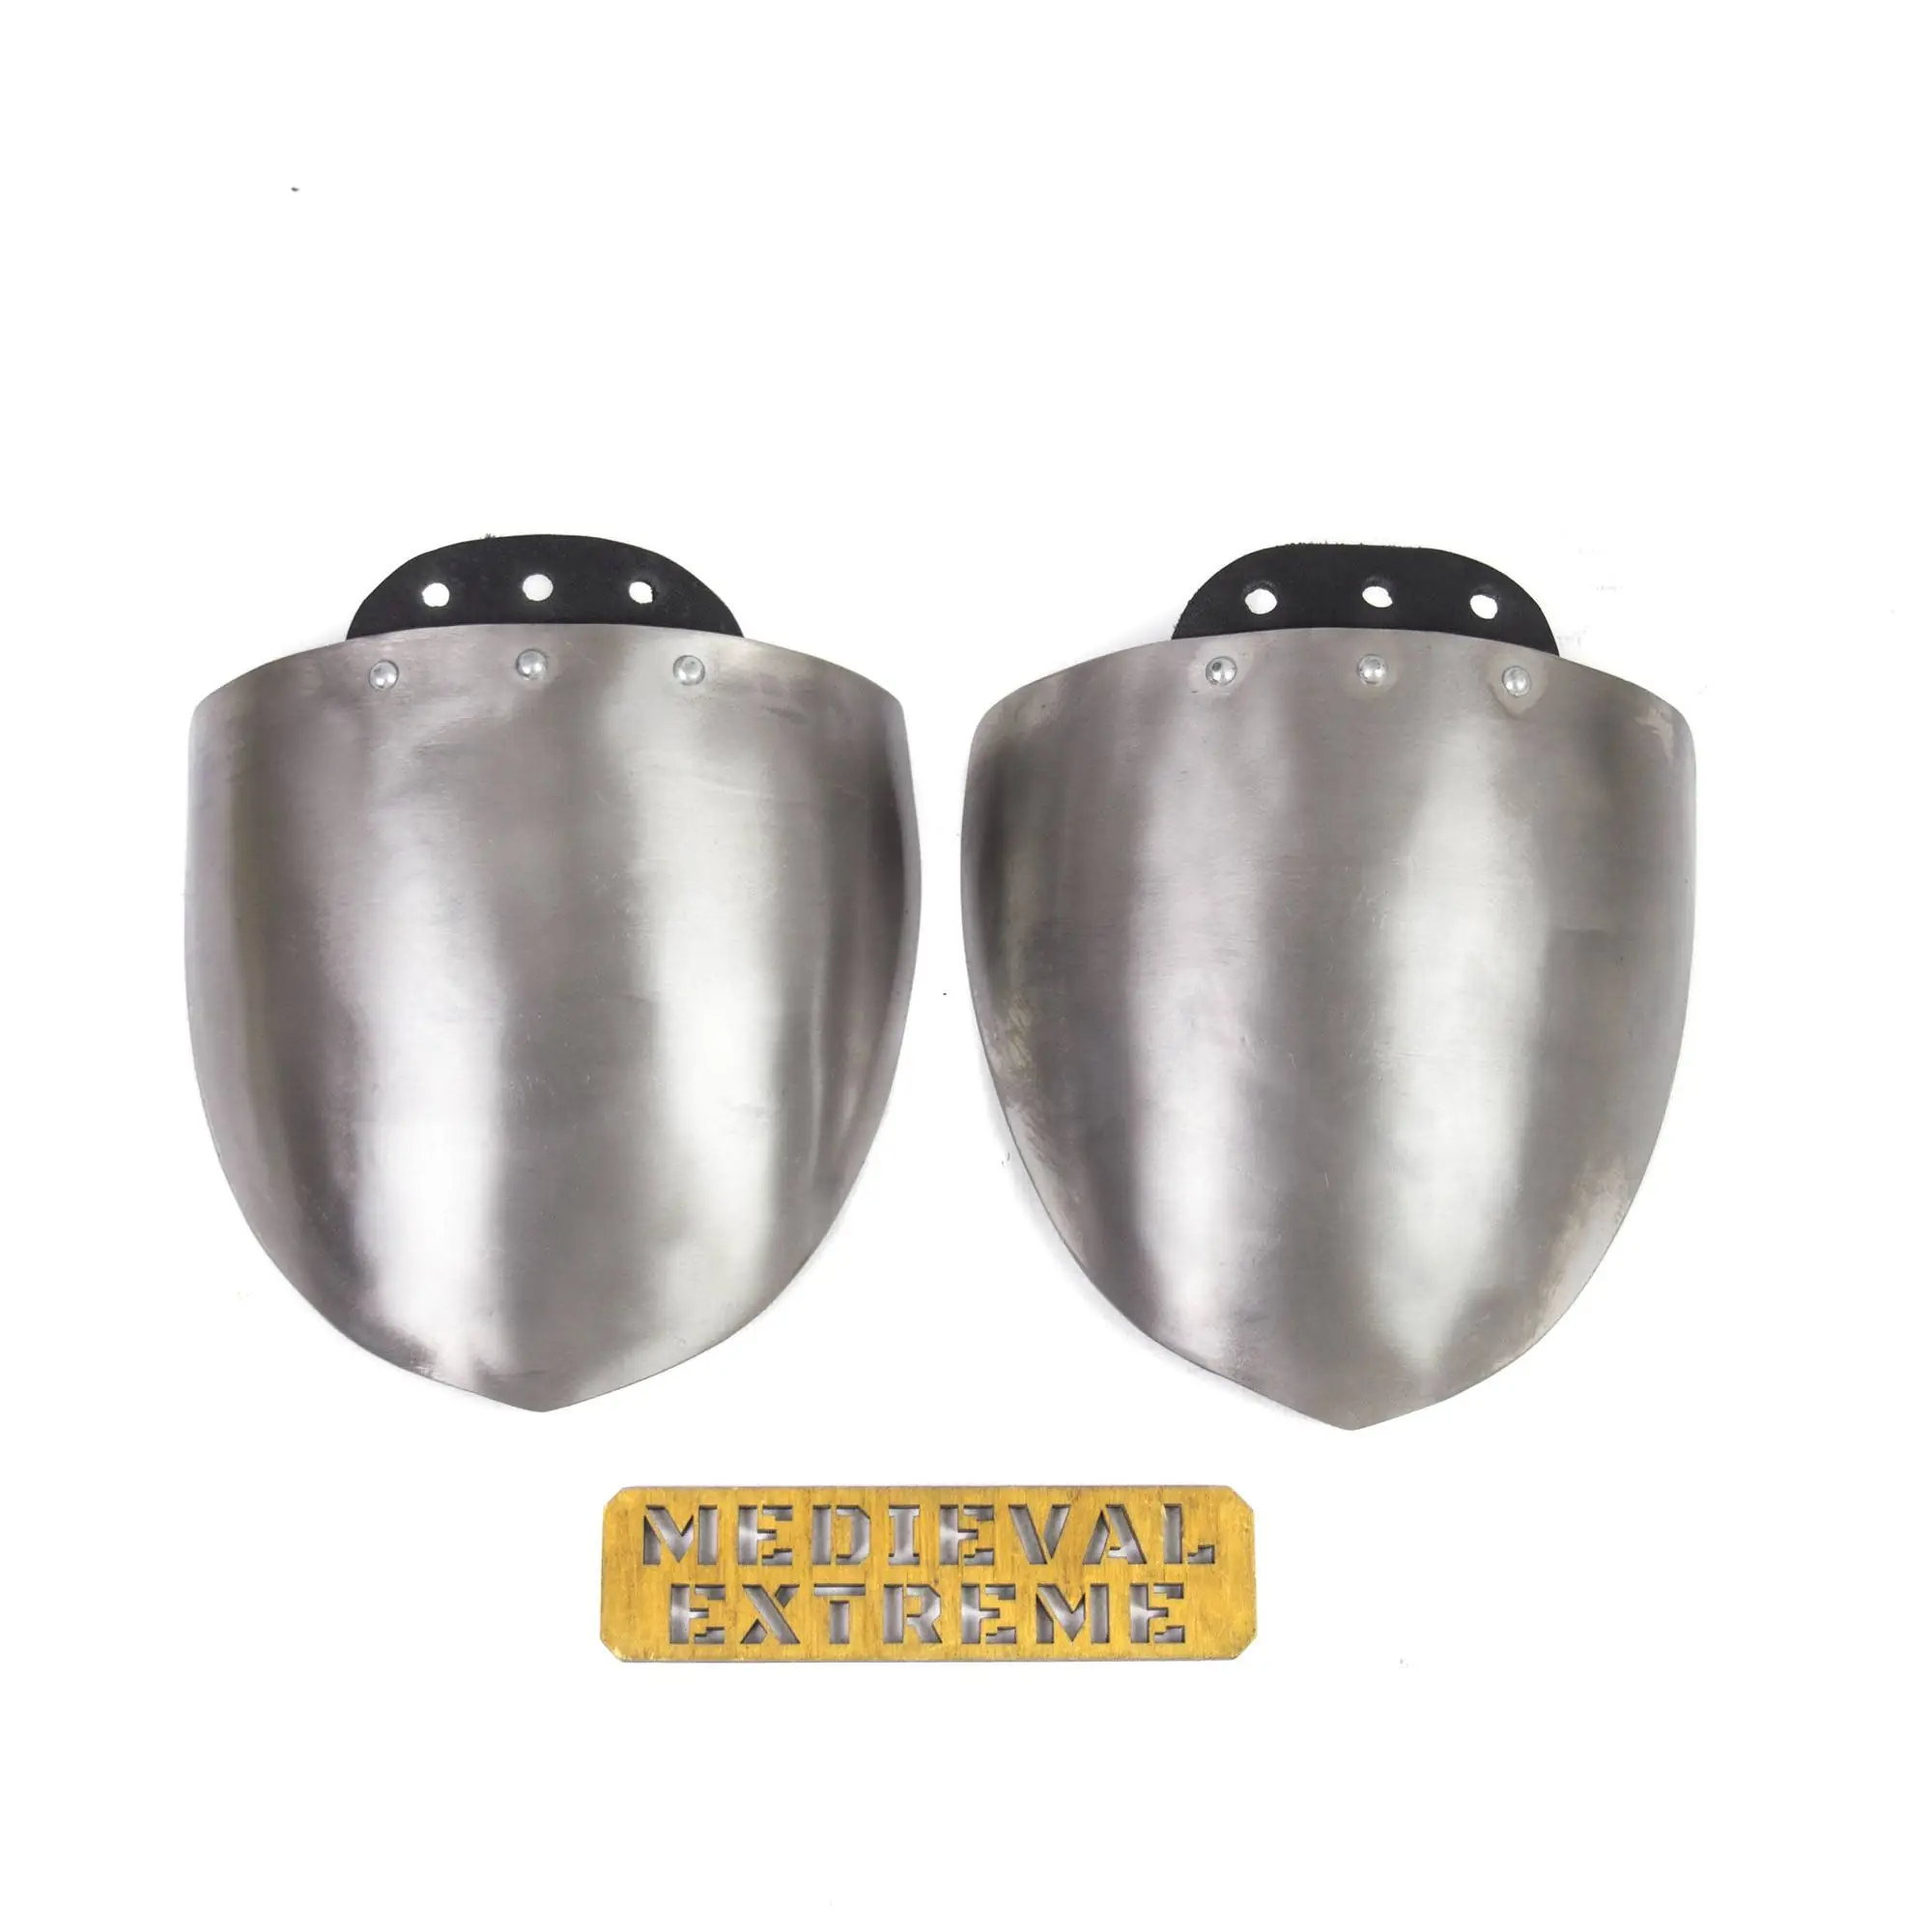
- Briganted thighs protection
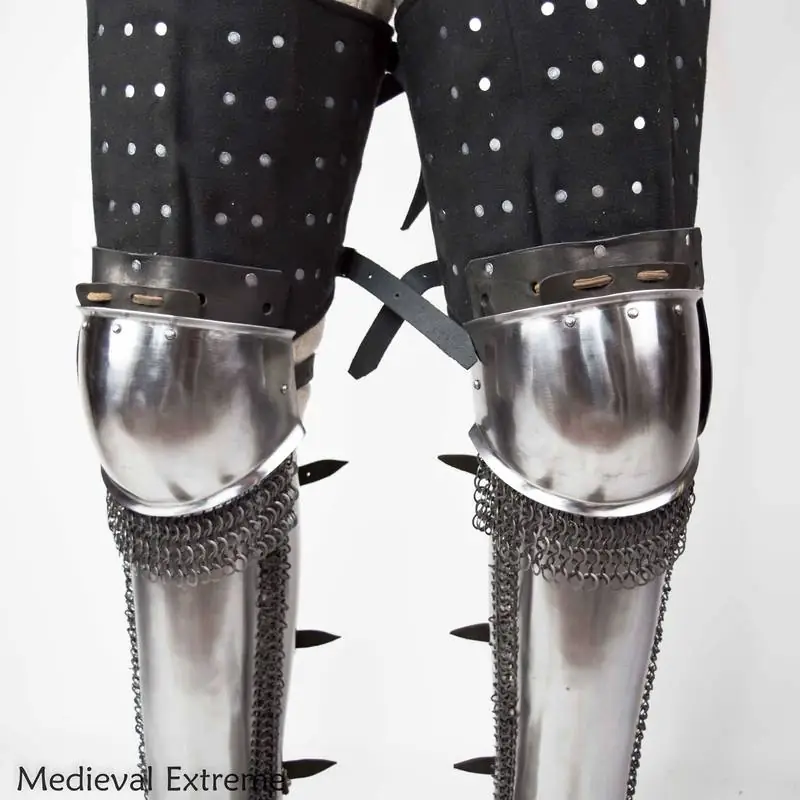
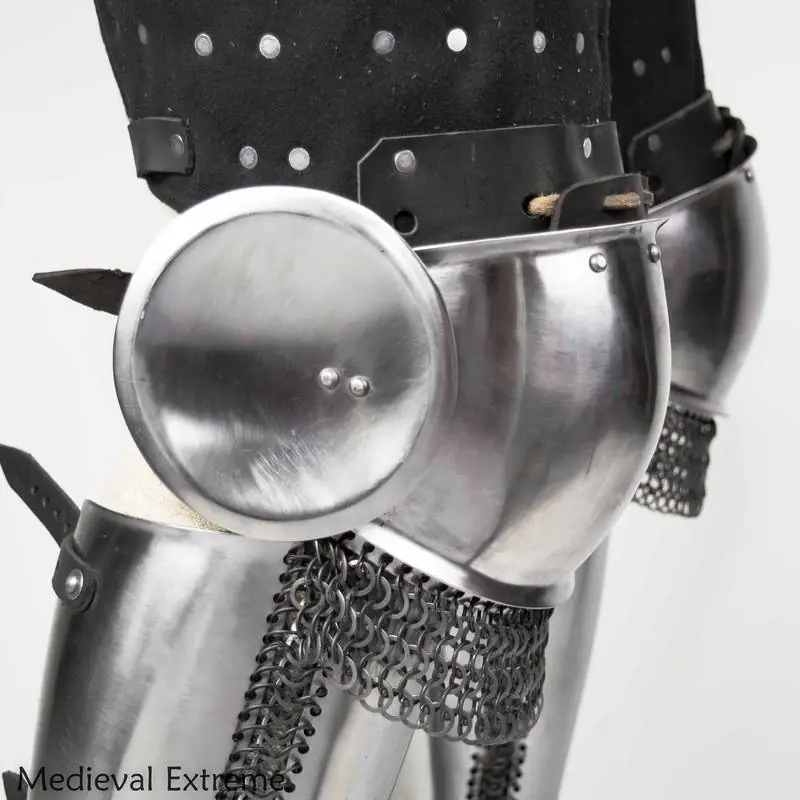
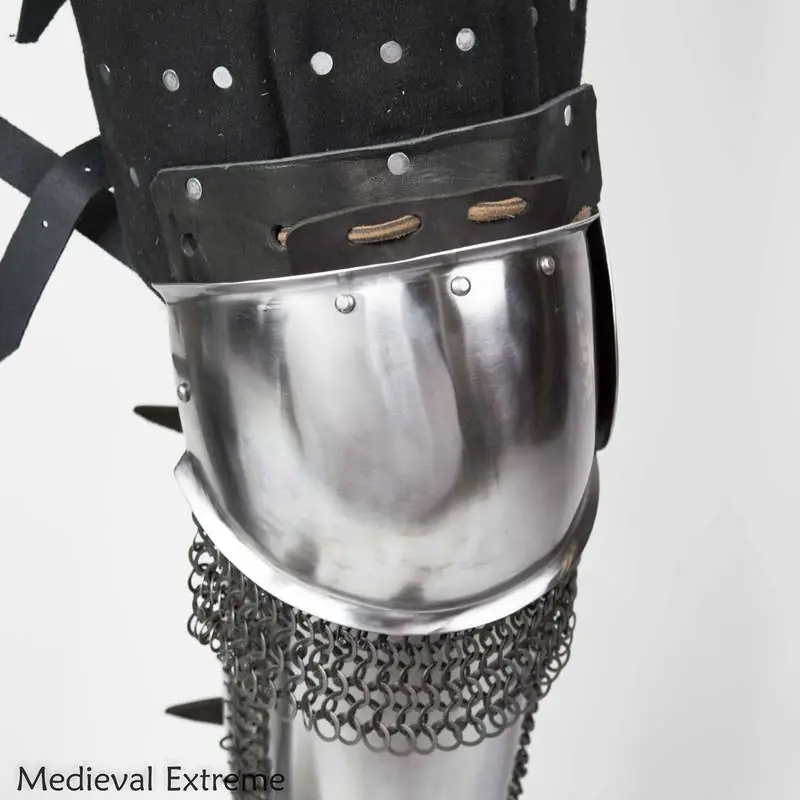
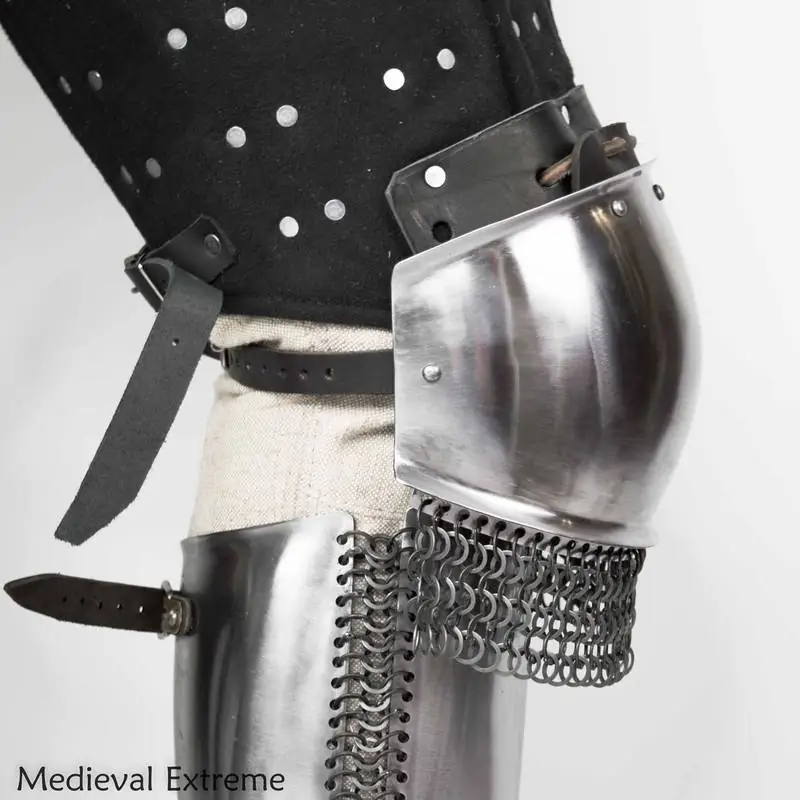
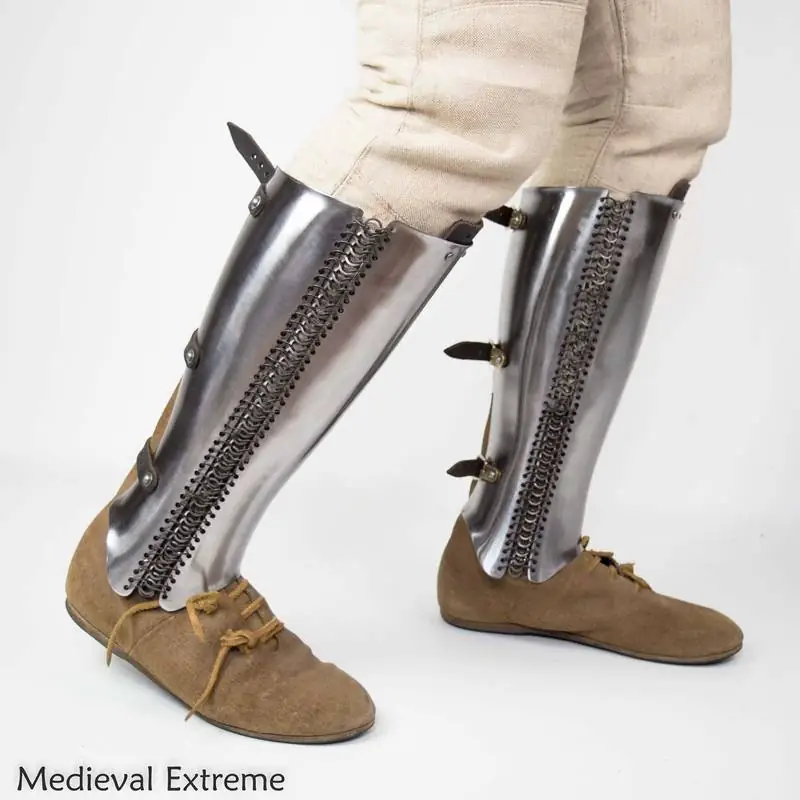
- Knees protection with chainmail
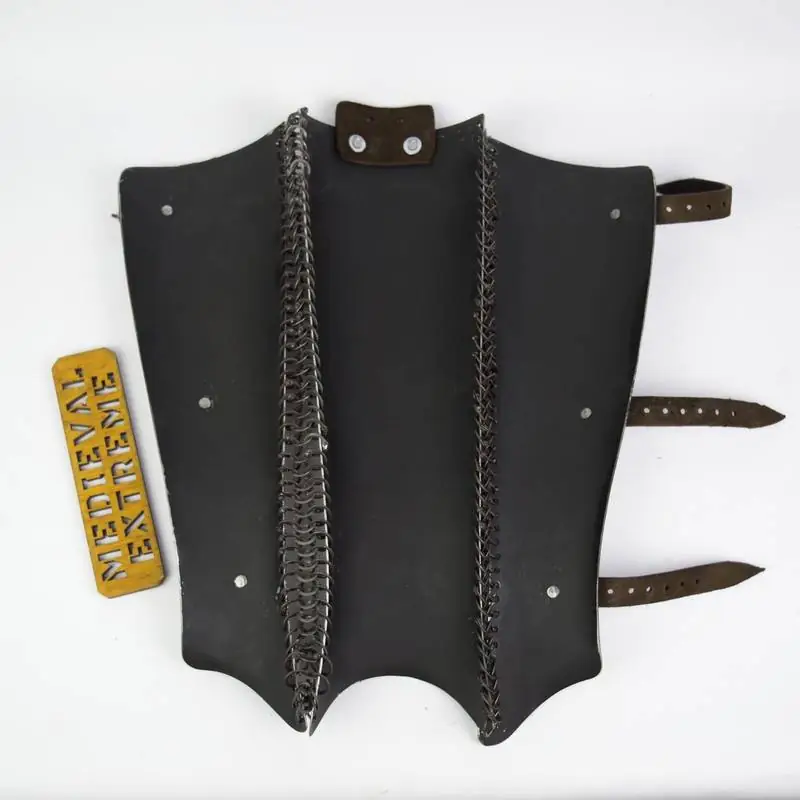
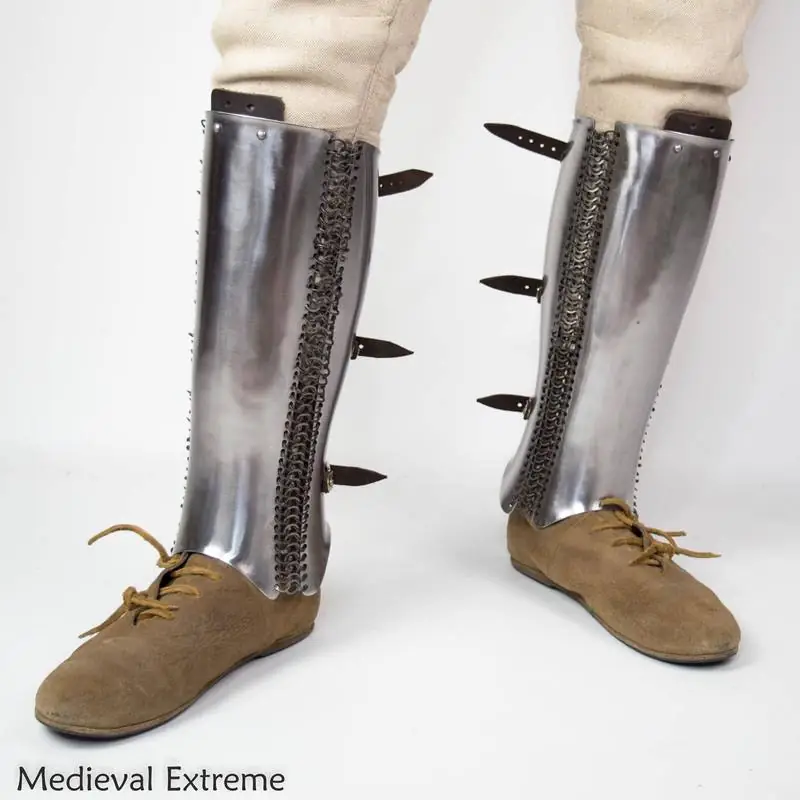
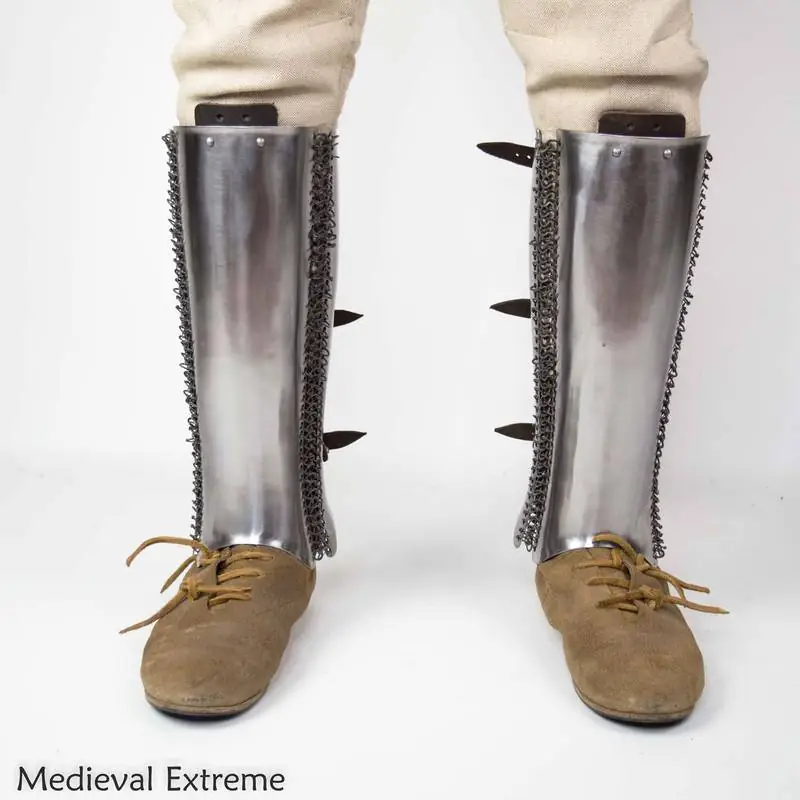
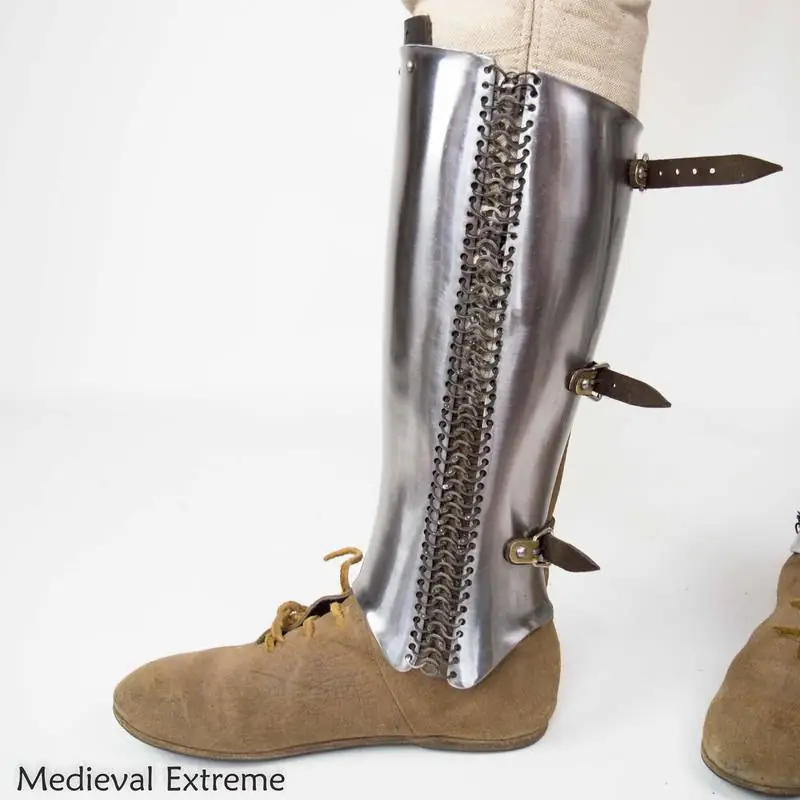
- 3-part anatomical greaves saqband
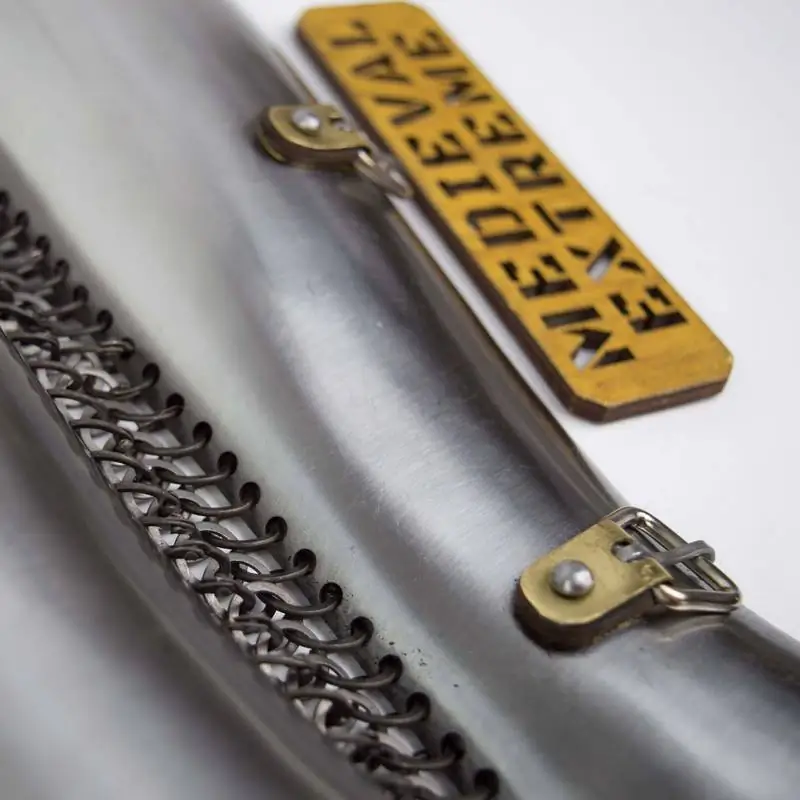
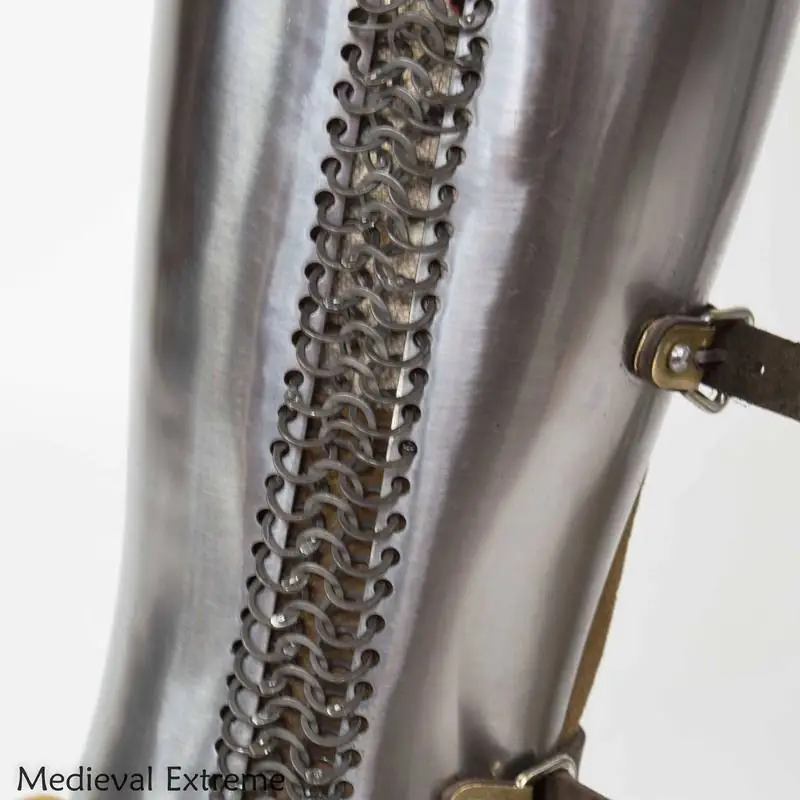
The chainmail in knees and greaves is made with steel riveted rings.
Please note, in both variations, the greaves are made of hardened steel for safety reasons.
The military tactics
Since ancient times, the military tactics of the population of Asia have been based on the active use of light and maneuverable cavalry armed with bows and arrows. The complex protective weapons of the Central Asian warrior did not involve the use of heavy armor. Such armor was in use only among the small nobility and a special kind of heavy cavalry, whose combat participation was limited to a final powerful attack on the already trembling ranks of the enemy army.
However, starting from the XIIIth century, more and more metal armor began to appear in the armies of nomads. The history of the development of the defensive weapons of the warriors of Central Asia can be conditionally divided into two stages: the Timurid and Bukhara stages.
Successful military campaigns
The formation of the Timurid state was the result of numerous wars of conquest and successful military campaigns, which characterized the highest rise of the development of military affairs of the nomadic Turkic-speaking population of Central Asia, which united all the peoples of the Middle East under the banner of Timur.
Despite the relatively short period of existence and the subsequent disintegration of the mighty military state of the Timurids, the peculiarities of military affairs, weapons, and tactics of equestrian combat that developed in it were preserved during the subsequent periods of the late Middle Ages. A characteristic feature of the protective armor of the Central Asian warrior in the “Timurid” period was the predominance of numerous eastern, “Mongolian” elements brought to the Central Asian region during the period of the Mongol conquests by the warriors of Genghis Khan.
One of the main types of armor, as before, continued to be laminar armor, the so-called “kuyak”. The protection of the warrior’s legs in this period was provided by a skirt-like legguard, which was tied directly to the body armour.
Closer to the XVth century, splint thighs protection in combination with plate greaves and round knee protection covered with chain mail began to be used to protect the legs.
The main type of shin protection
In the first half of the XVth century. The main type of shin protection was iron greaves – “buturluks”. This protection was quite effective, but it contained one serious design flaw: “buturluks” protected the legs only up to the knees, leaving the thigh uncovered, so gunsmiths had to supply the laminar shells with long and wide legguards, which were bulky and not always effective.
The first attempts to replace laminar legguards with more flexible and light armor protection were made back in the XVth century. The new legguard consisted of an iron hemispherical knee pad (its shape was probably borrowed from the West) and a chain mail segment that covered the warrior’s thigh and part of the shin.
This construction was attached to the leg with special straps. The chainmail legguards with an iron knee pad quickly gained popularity among the mounted warriors, as they allowed them to get rid of the heavy kuyak legguards. However, flexibility was achieved by reducing the protective properties, therefore, already at the end of the XVth century, the legguards were reinforced with plates.
Thus, in the XVth century, leg protection consisted of ring-plate legguards – “butluk”, hemispherical knee pads – “dizlik” and a chain-mail segment suspended from the knee pad and covering the shin protection- “buturluk”. The “dizlik-butluk”system was so effective that alternative leg protection options were defeated and consigned to oblivion throughout Central Asia.
Get your eastern legs full set today!


![Large teardrop shield for medieval combat [71x55]](https://medievalextreme.com/wp-content/uploads/2024/06/DSC_1325-Edit.jpeg.webp)


Great quality to price ratio.
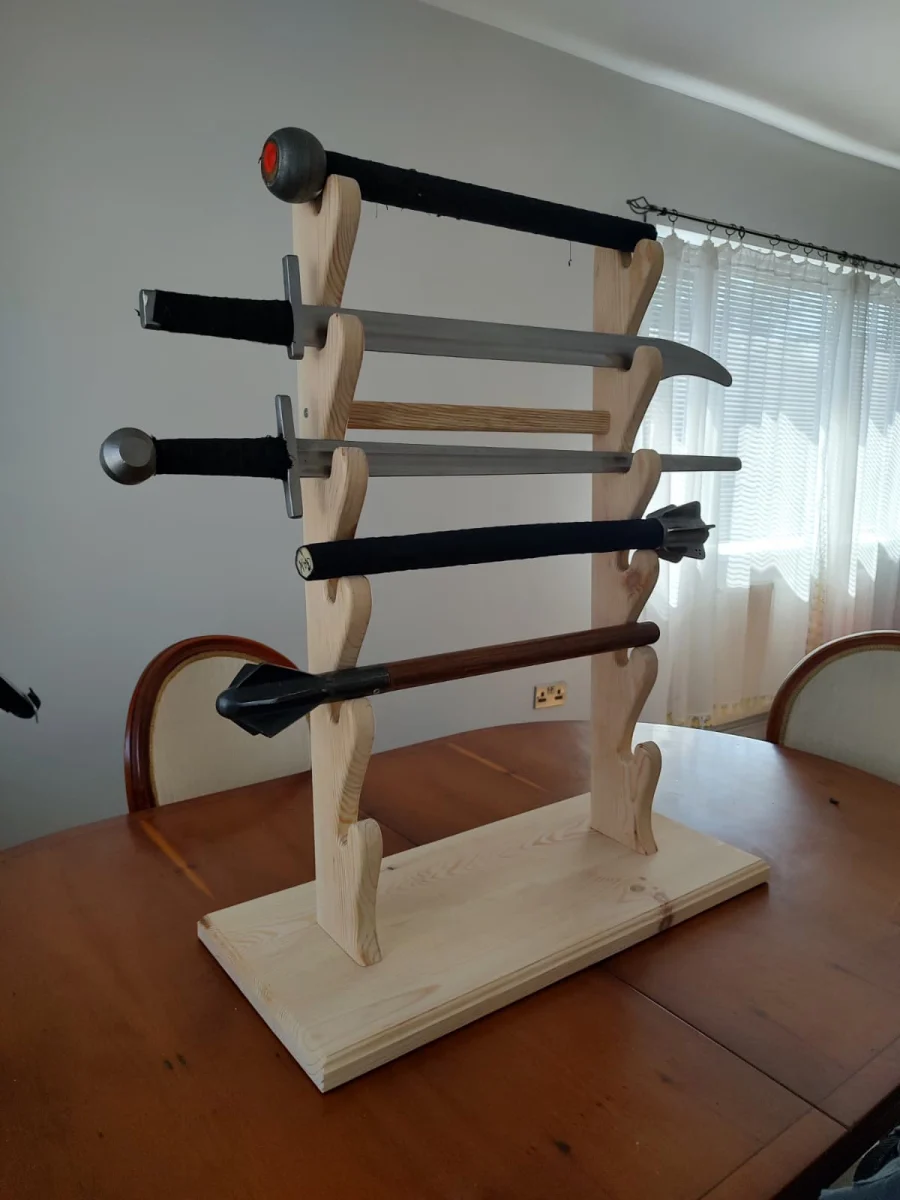
Good bundle if you actually fight. Both feel solid enough for armored combat. I like having both options in the same kit because you never know what weapon will feel better for a specific case.
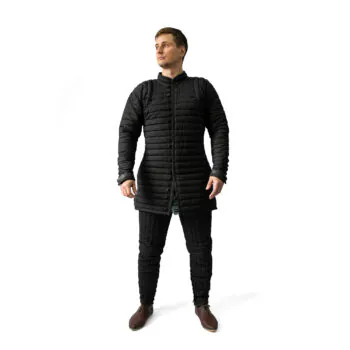
Really useful upgrade if your leg armor tends to pull the belt down. The lendenier feels light but supportive, and the suspenders make the whole setup much more stable when moving. I also like that it has several arming points, so it’s easier to adjust the height of the leg armor instead of constantly fixing it between rounds. A solid, practical piece of gear for buhurt training and fighting.
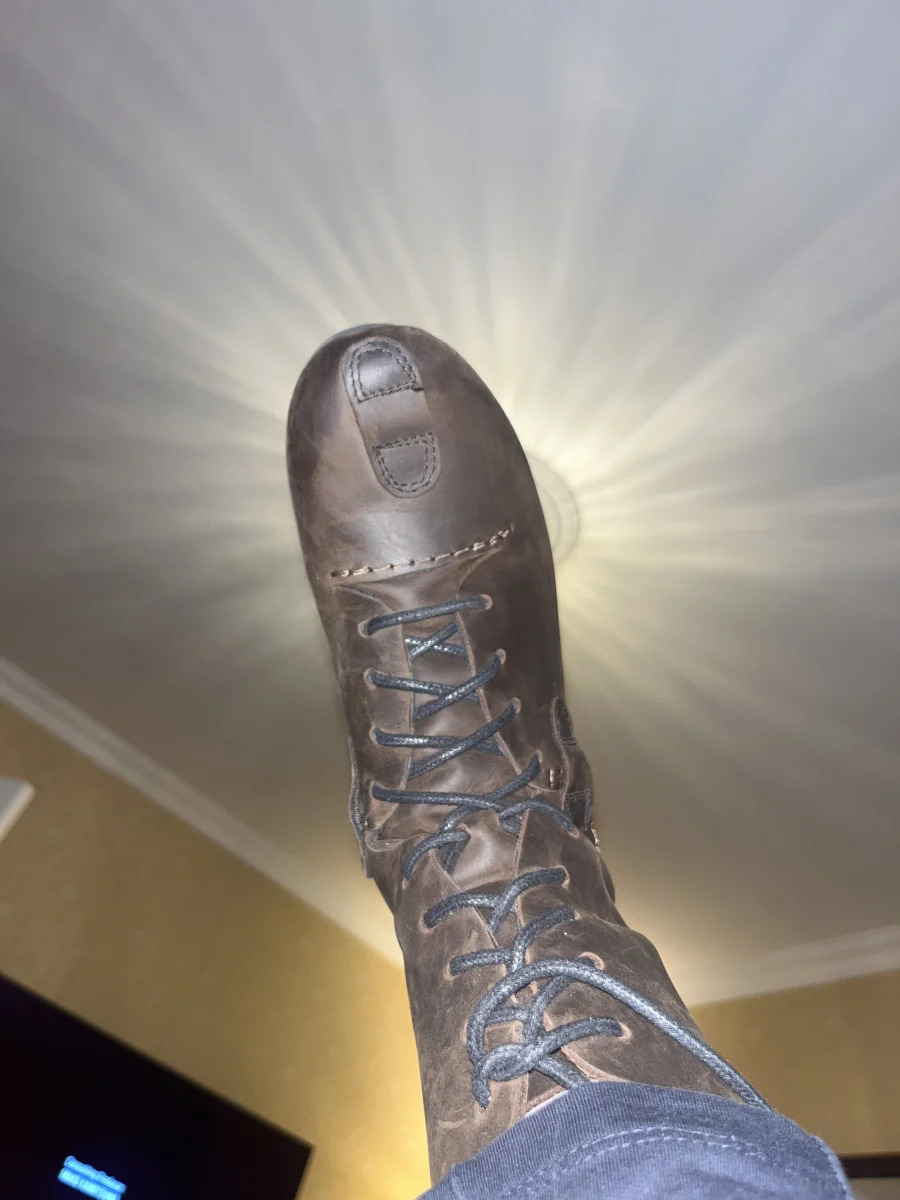
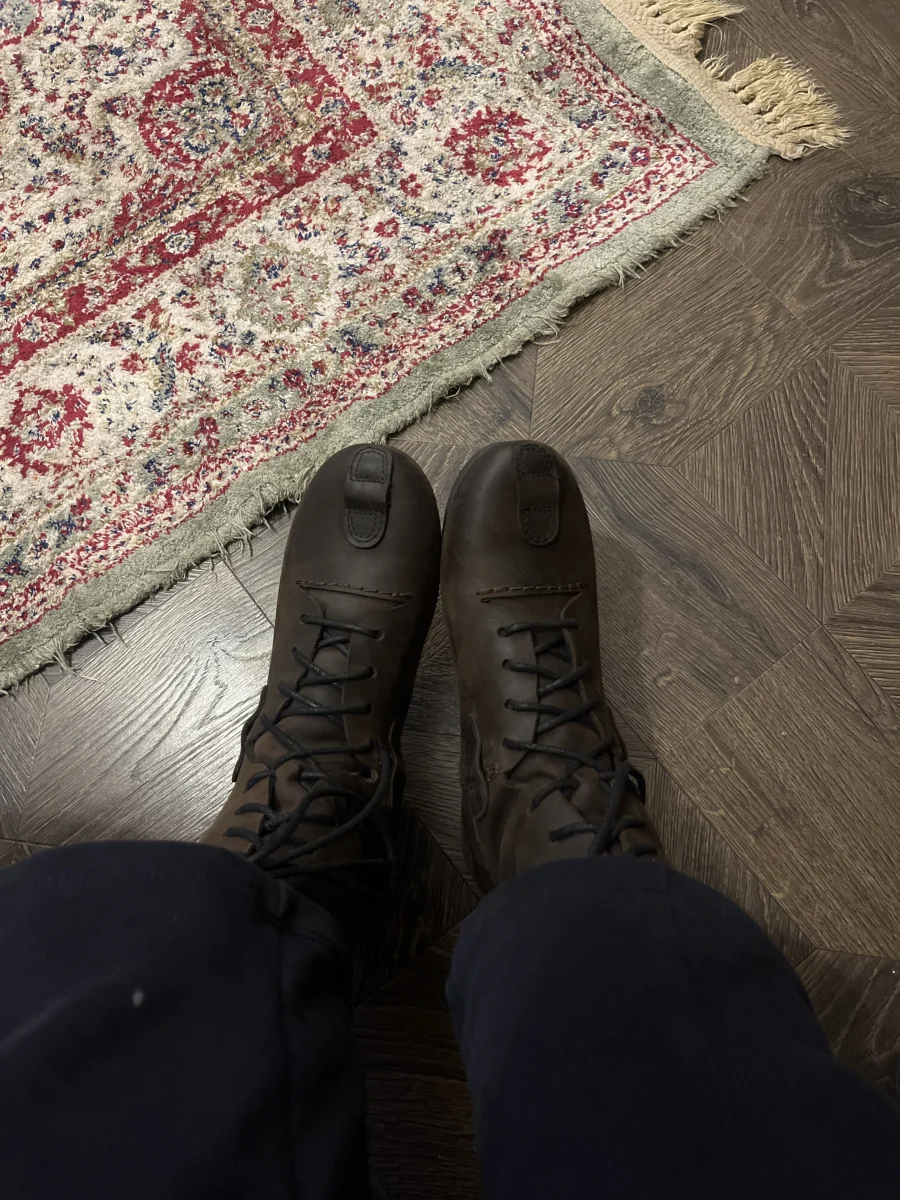
Fantastic boots, made custom to my measurements. The fit is perfect and they’re surprisingly comfortable. Would absolutely recommend these boots to anyone interested in competing in Buhurt!
Top quality, love it
You guys rocked it on this brig. It’s so much lighter than any one I’ve ever seen before. Amazing work
Very comfy! ideal fit and arrived much earlier than the estimated delivery date. Excellent customer service too.
Excellent little bit of kit. Easy to put together, and sufficiently chunky for the job.