


Description
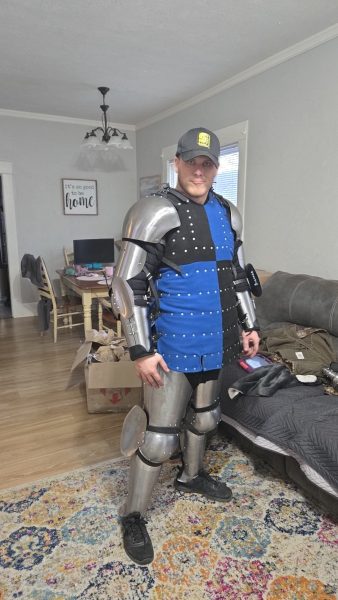
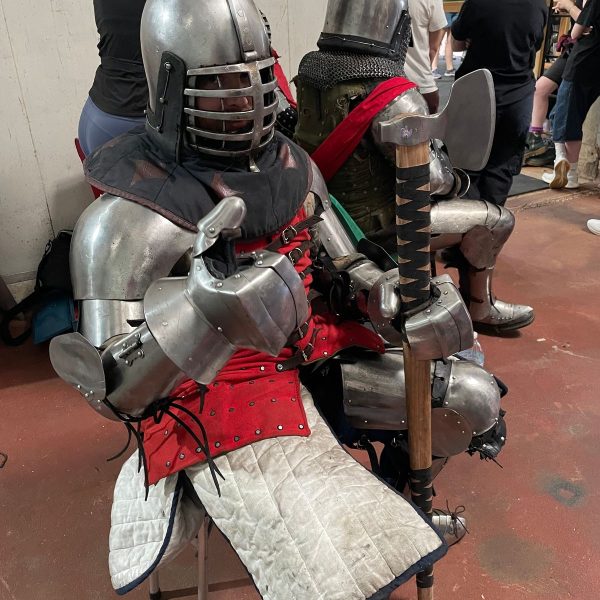
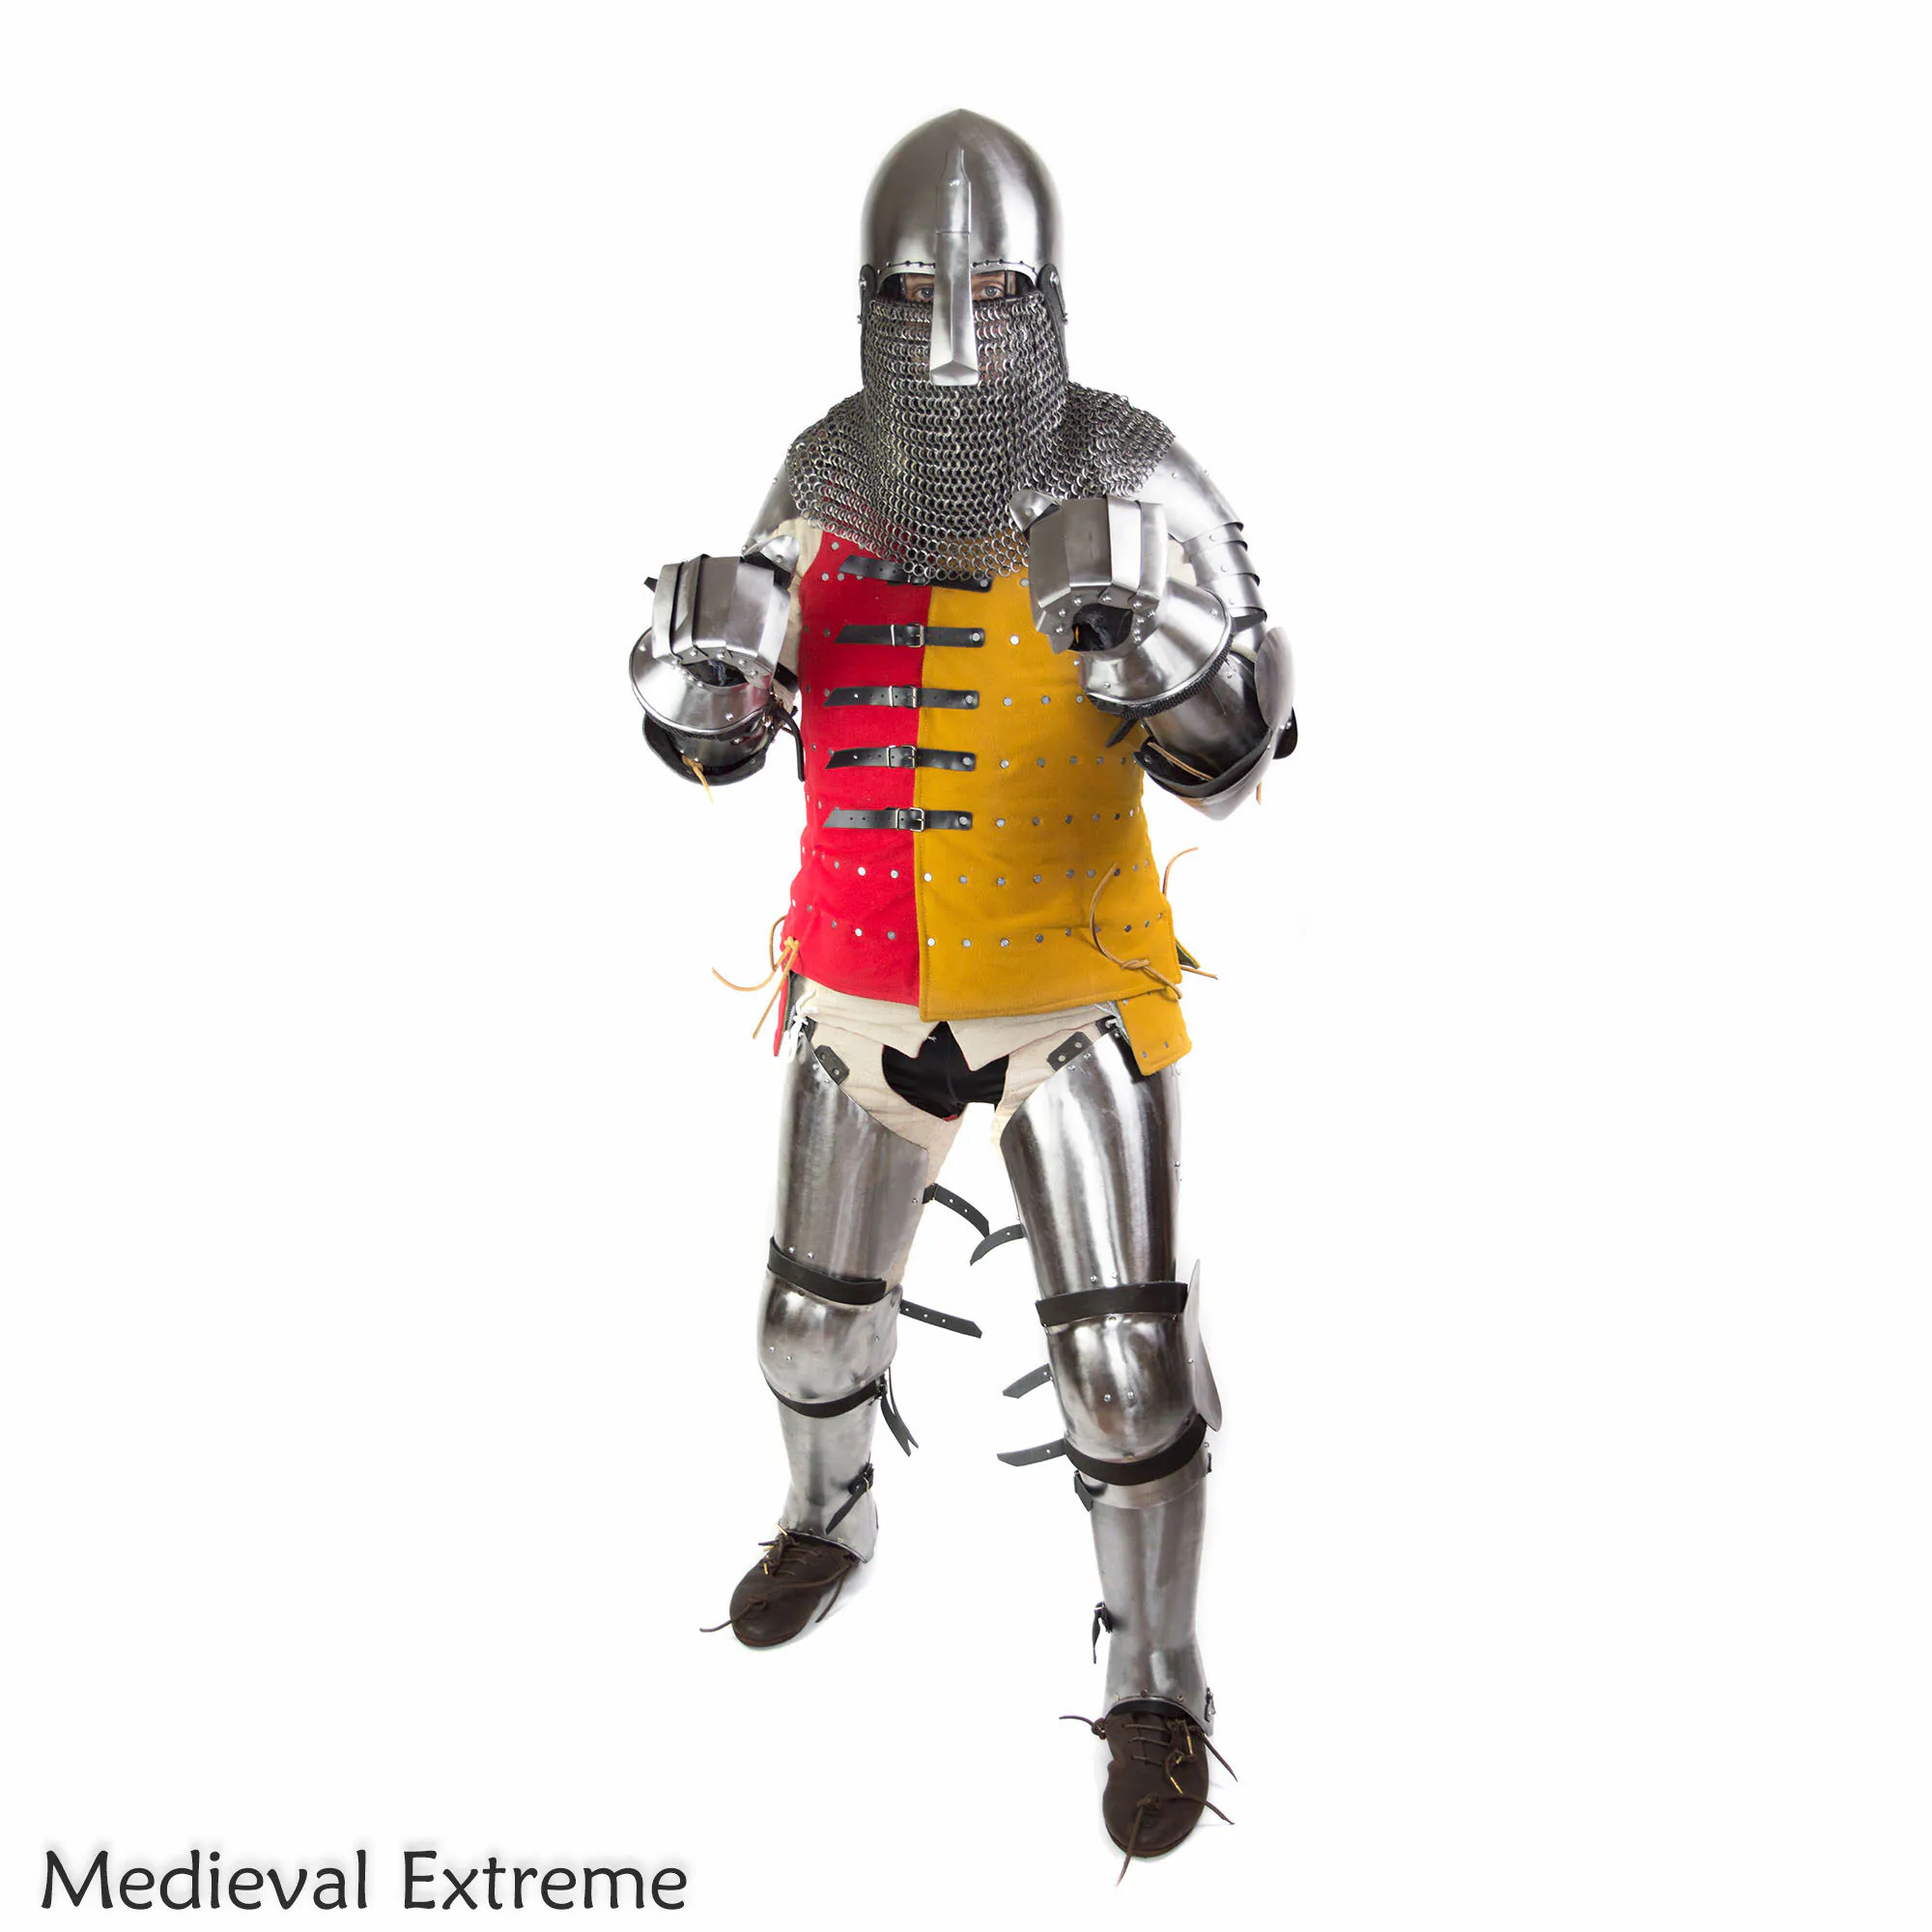
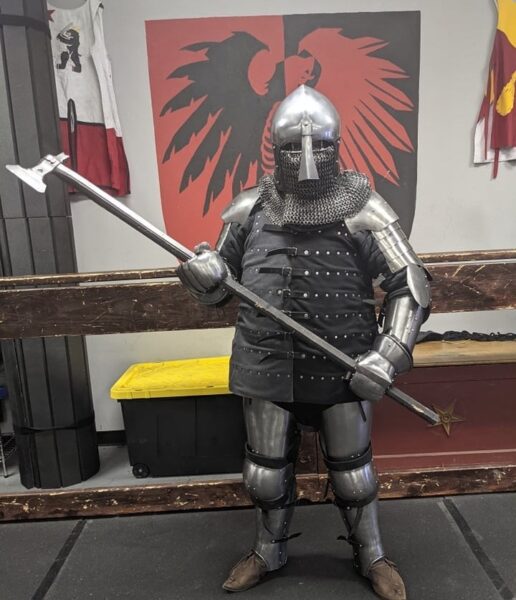
Meet the Starter armor kit for medieval combat.
You can choose one of 4 bundles for this set. All items are buhurt-ready and made in hardened spring steel according to the technical requirements of armored combat leagues.
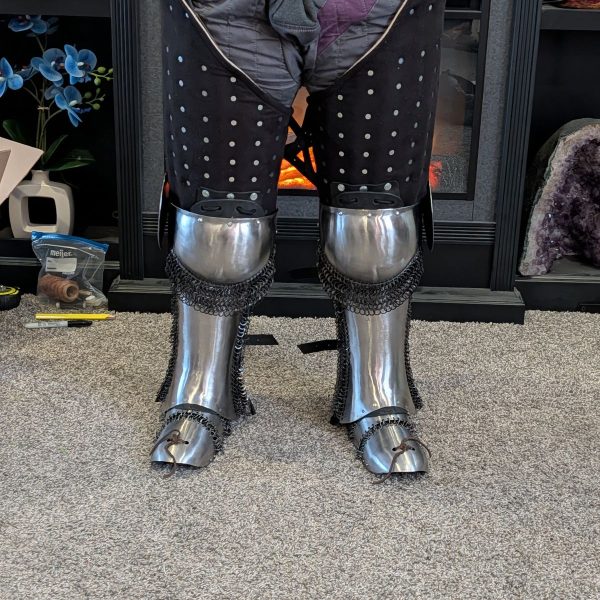
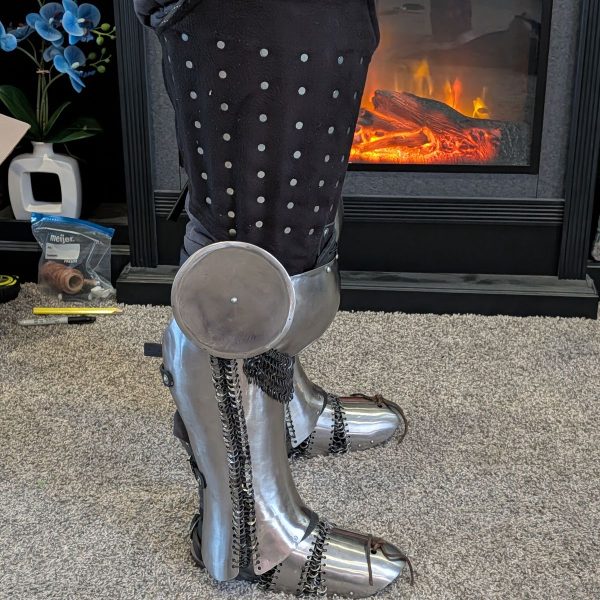
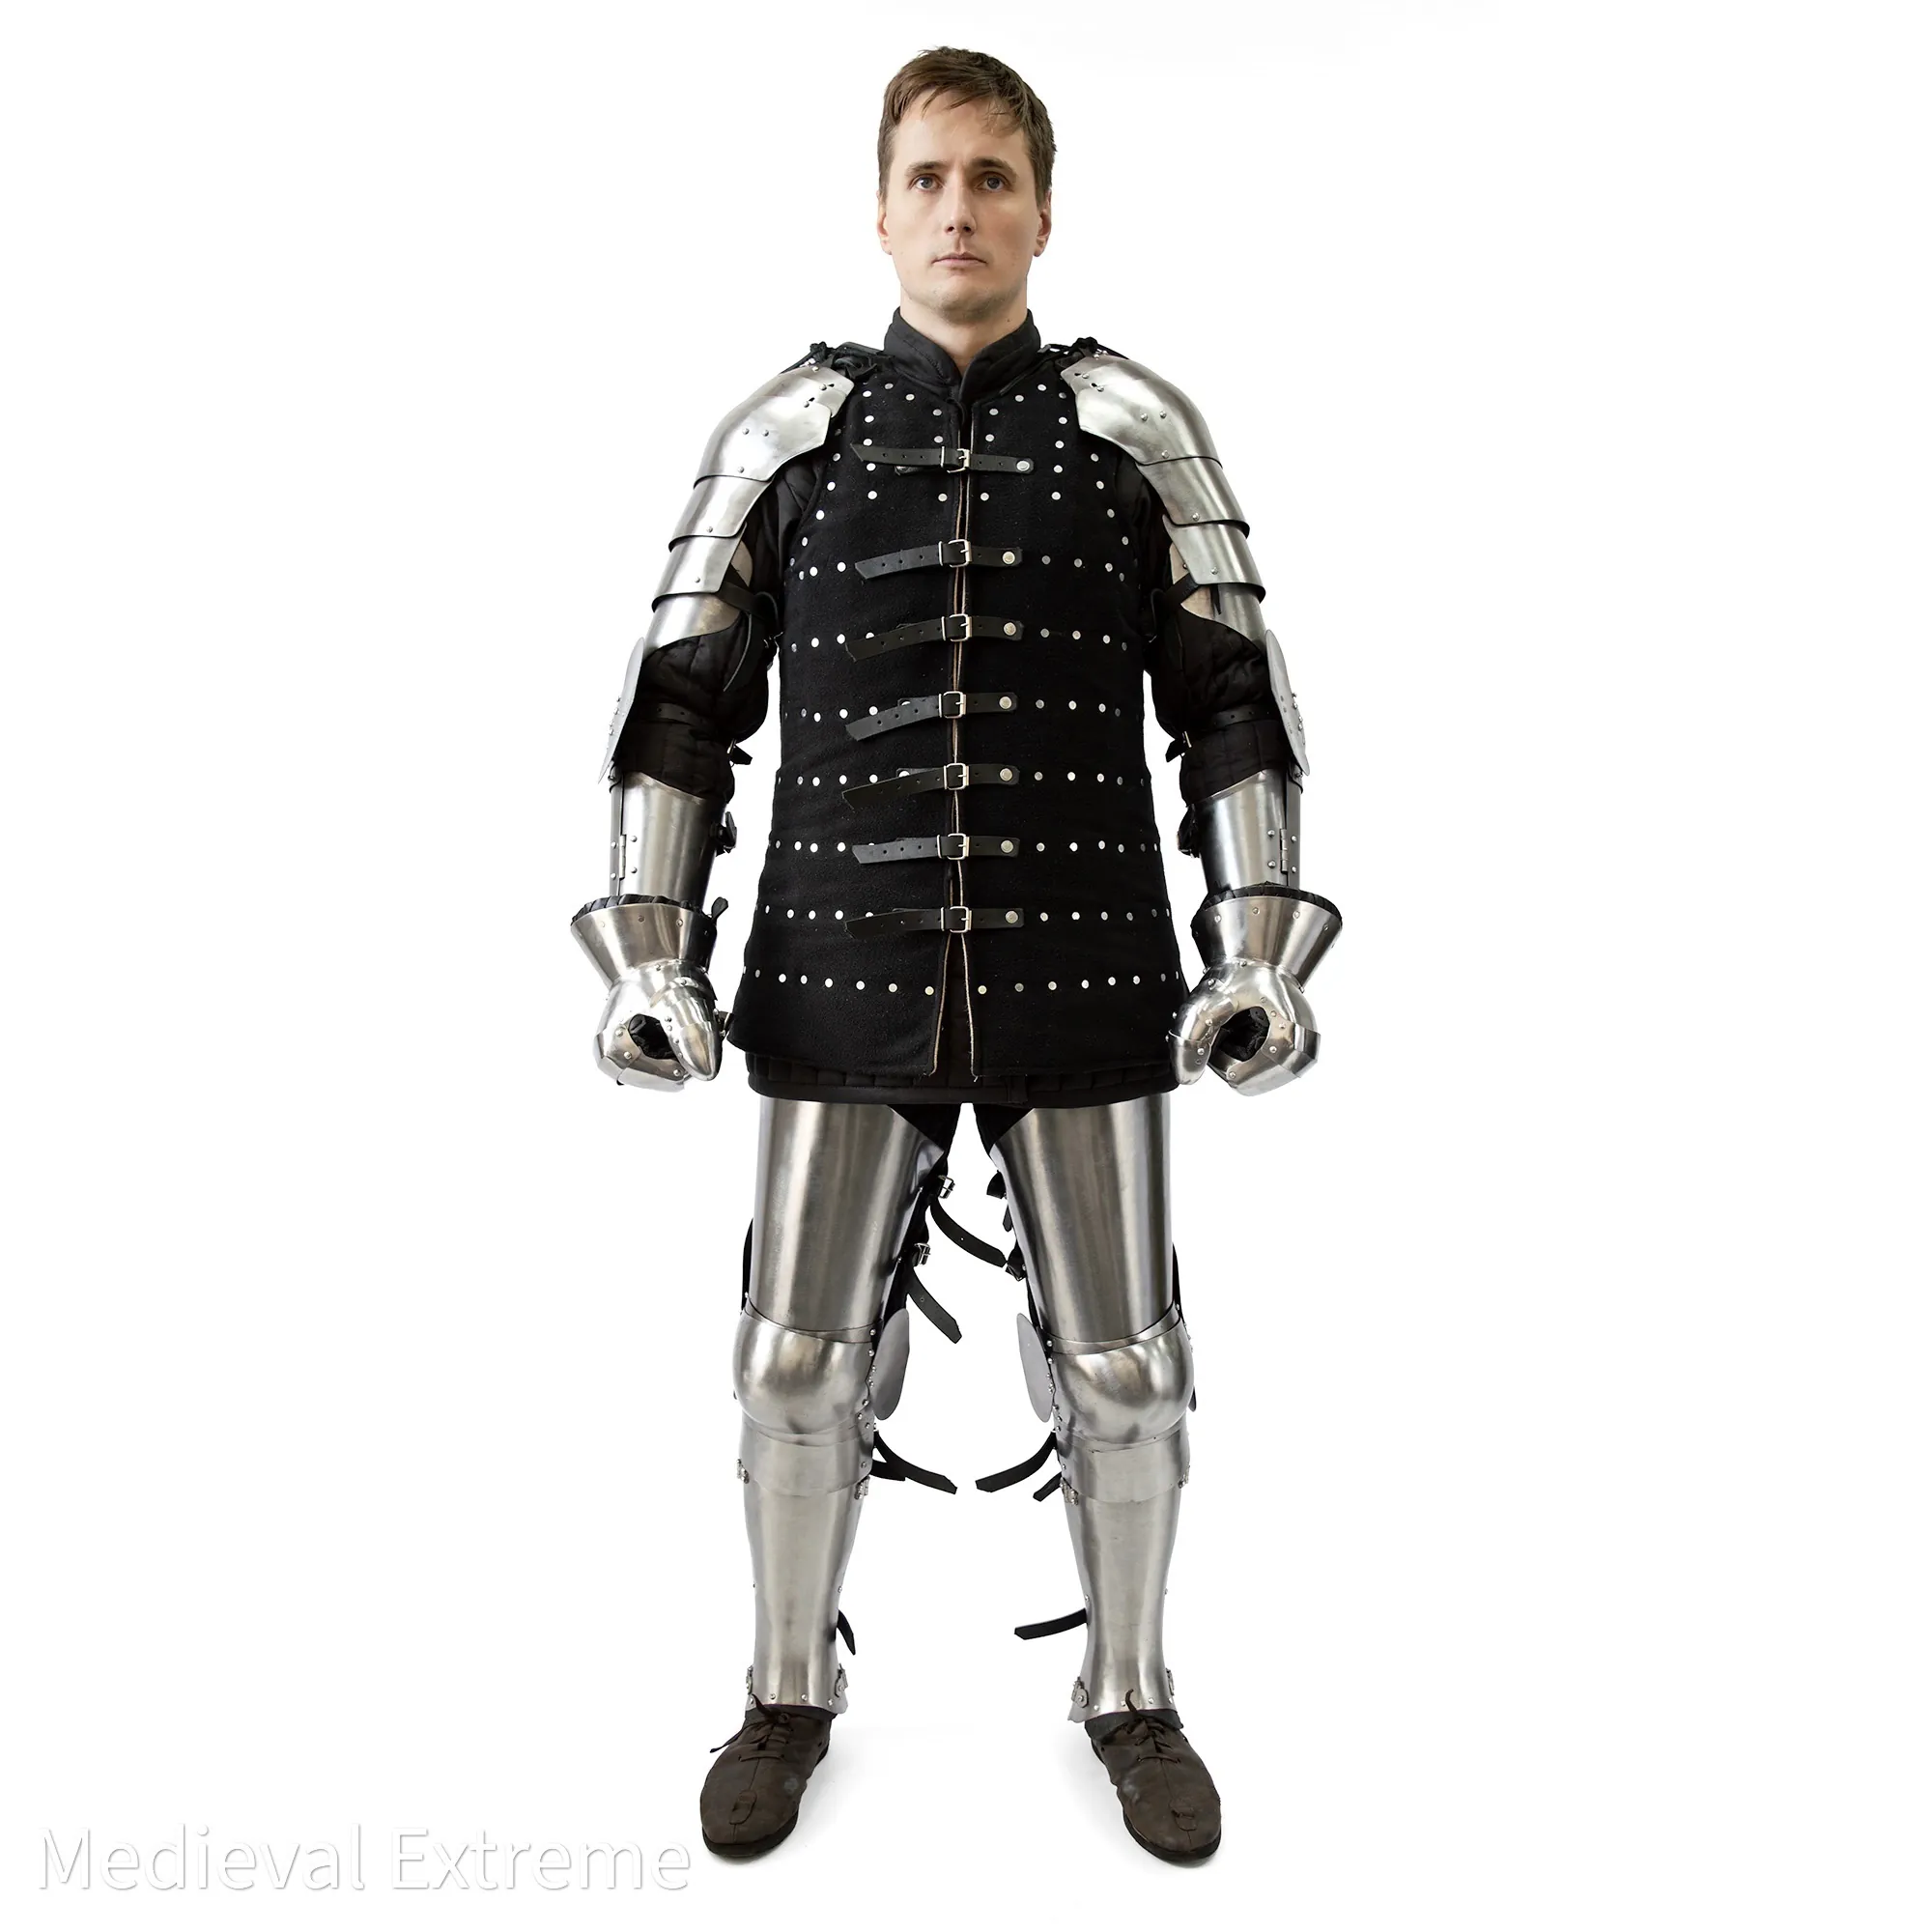
Legs supplied with light 3/4 greaves that would protect you against most tricky strikes.
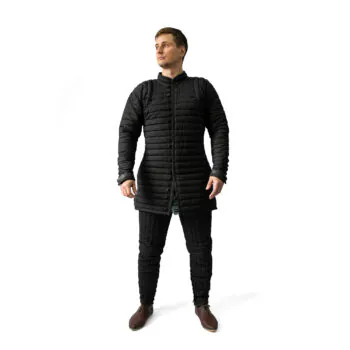
Helmet supplied with padding, leather straps (including Simon strap), and chainmail – ready to battle.
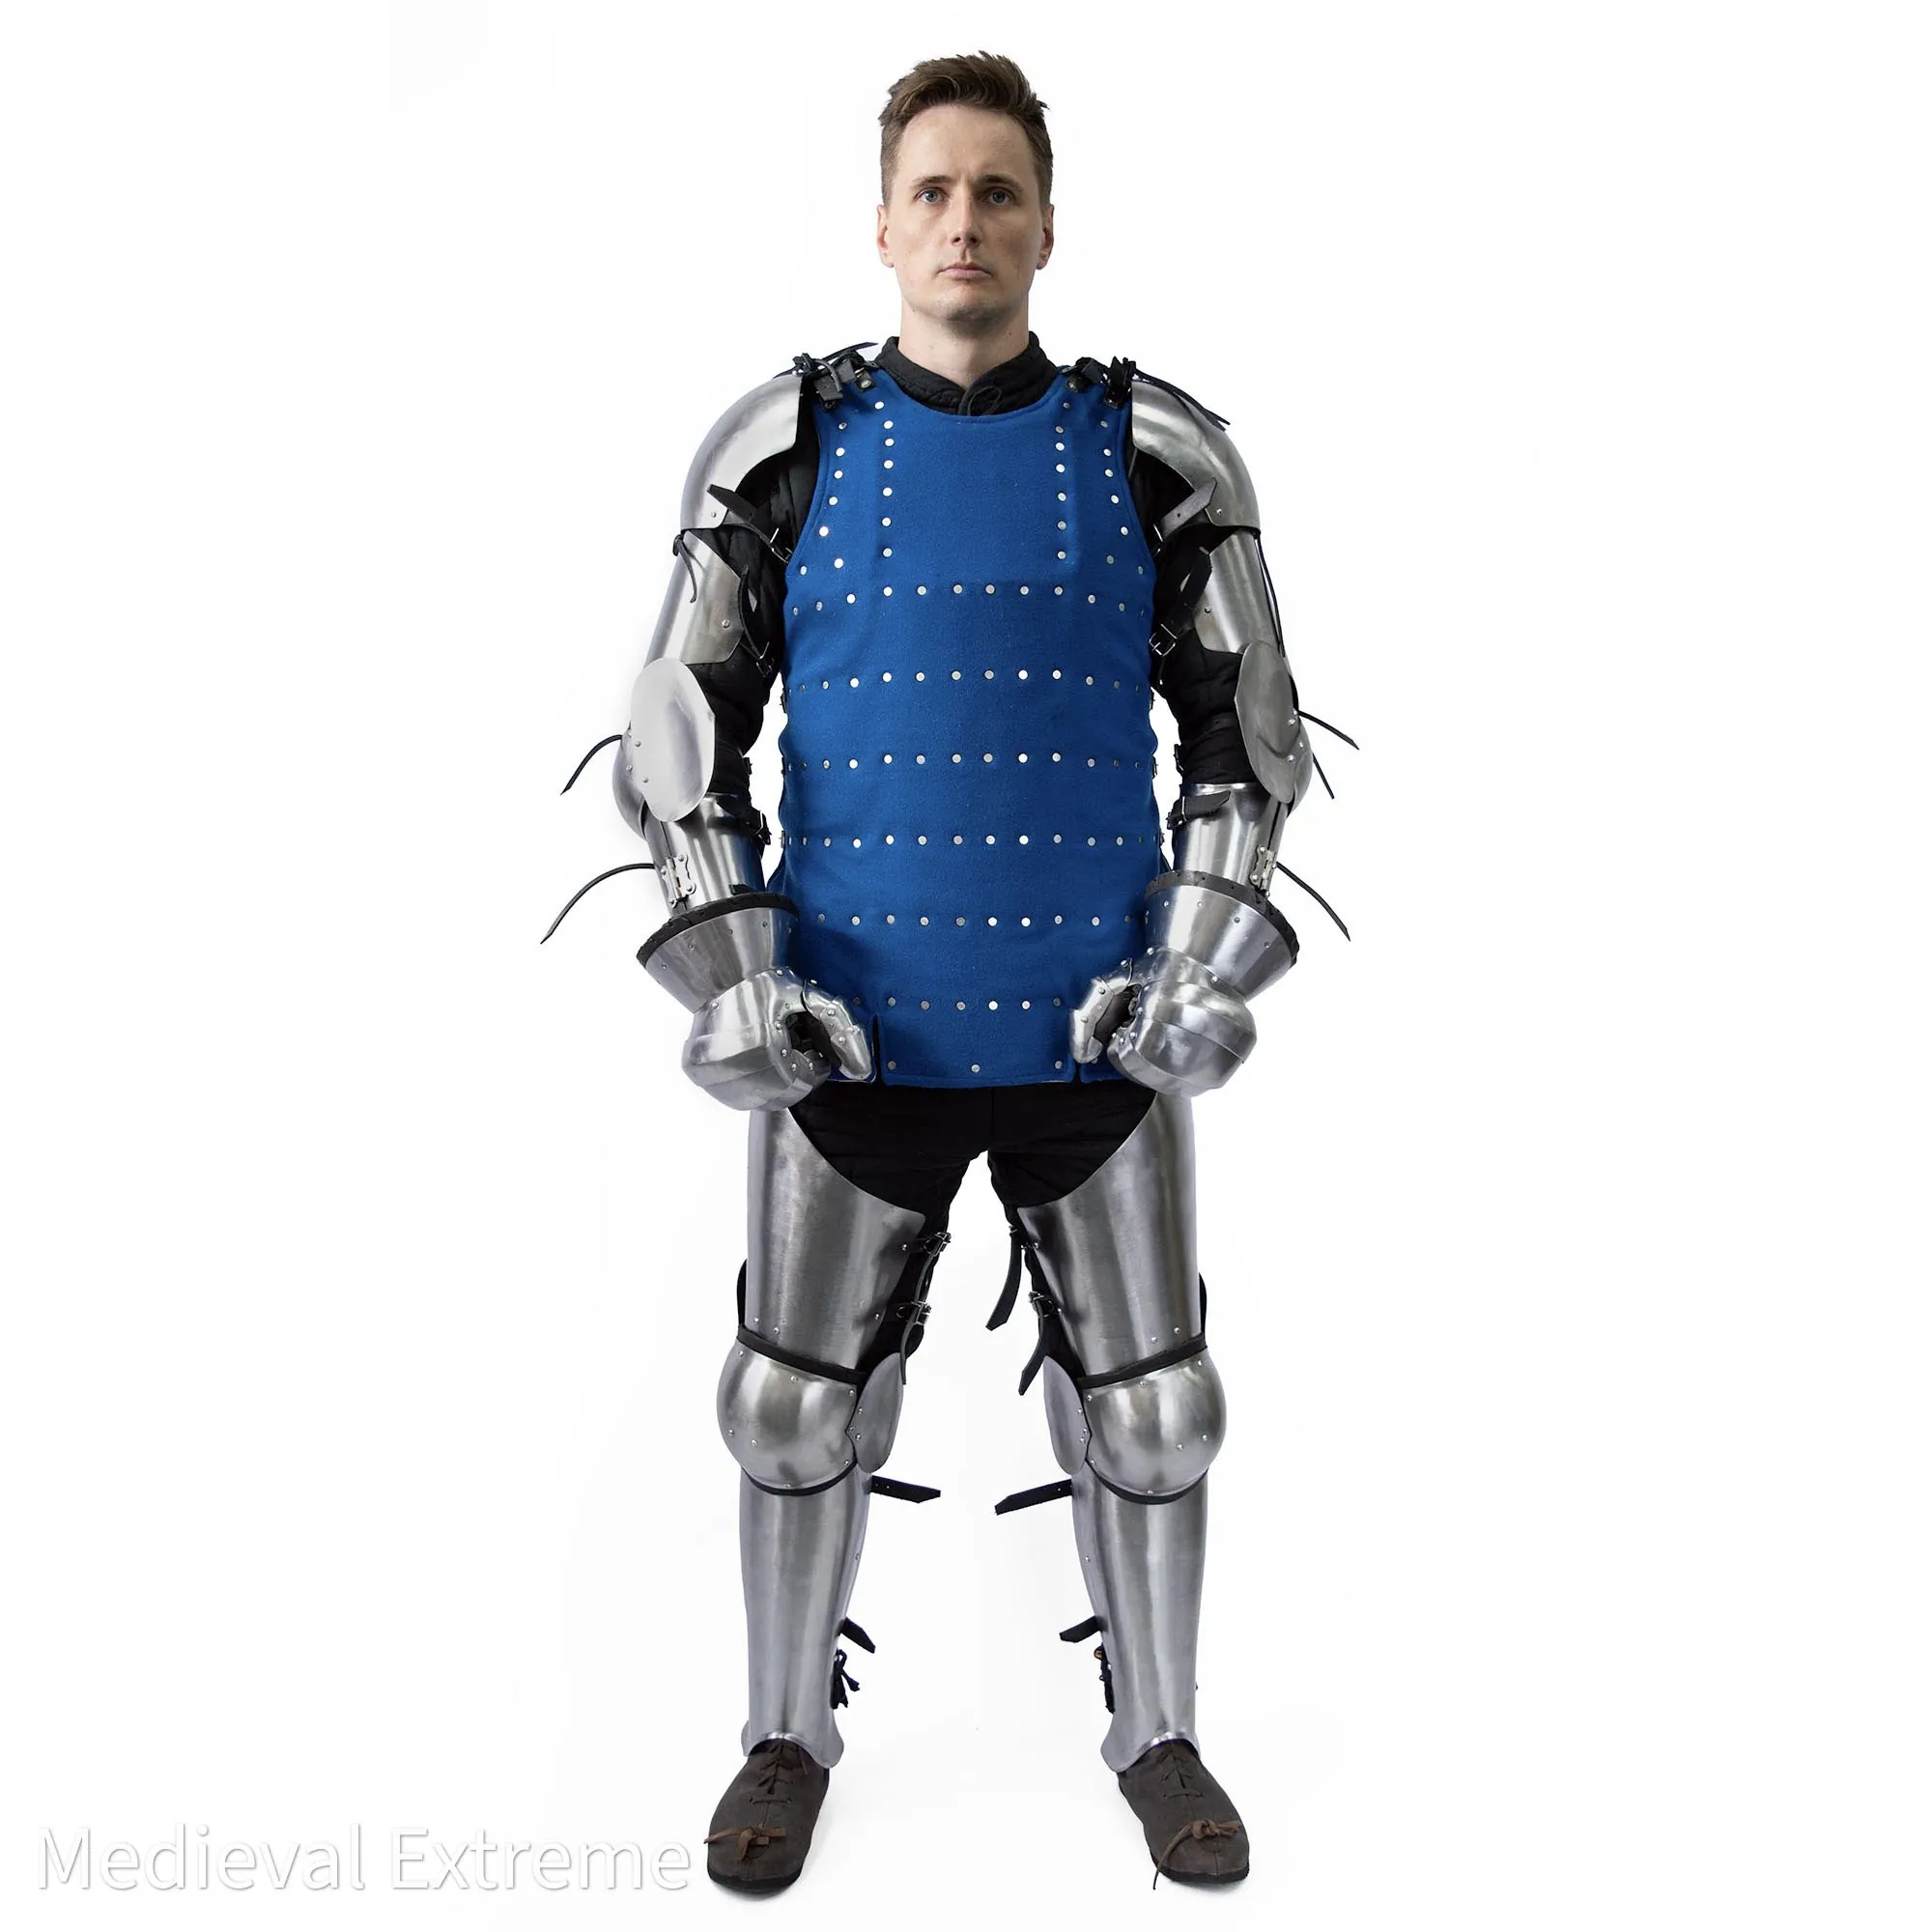
The brigantine could be done in single or two colors according to your choice.
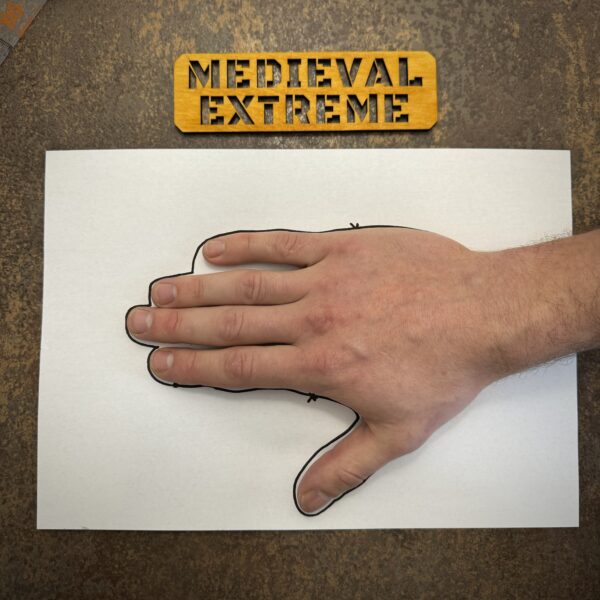
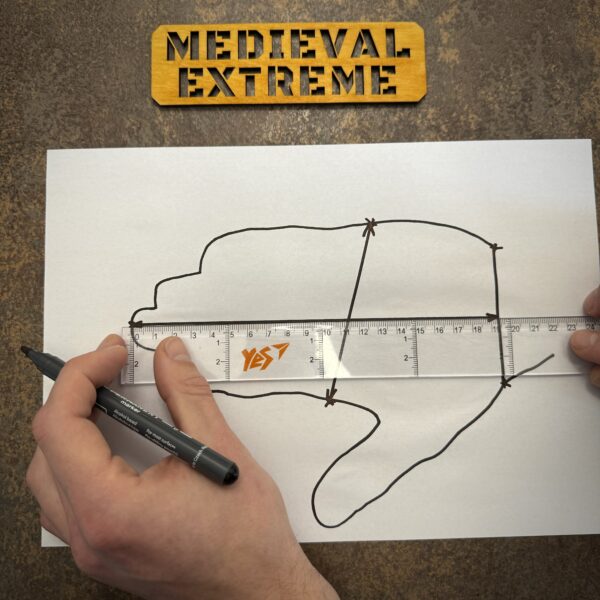
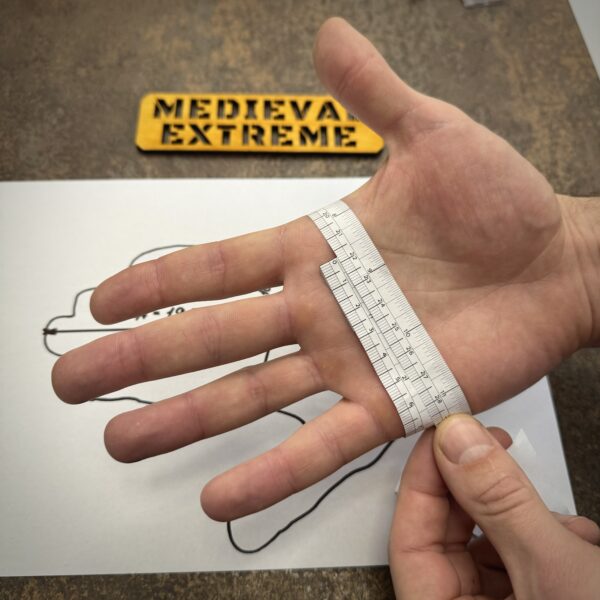
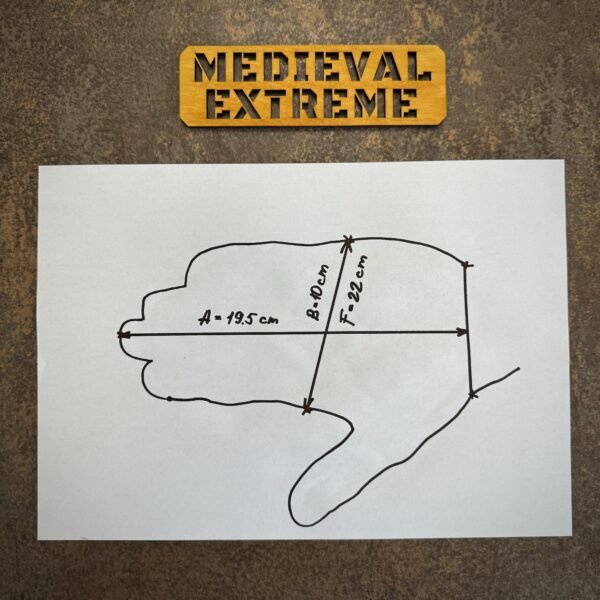
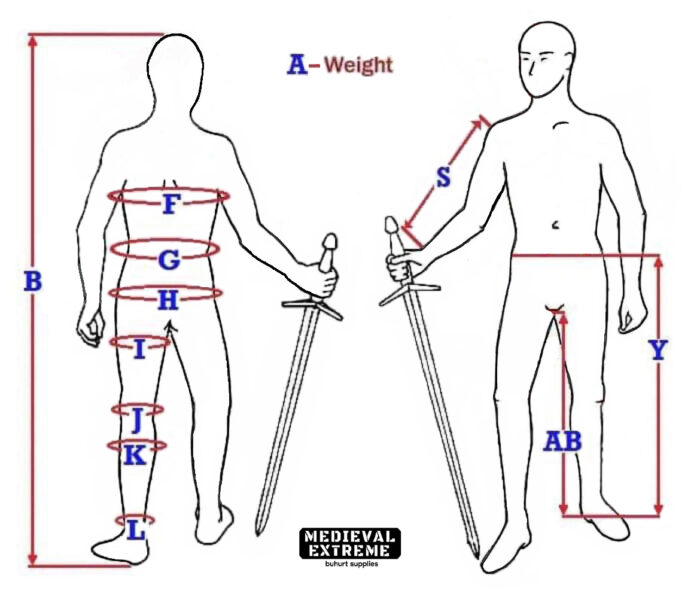
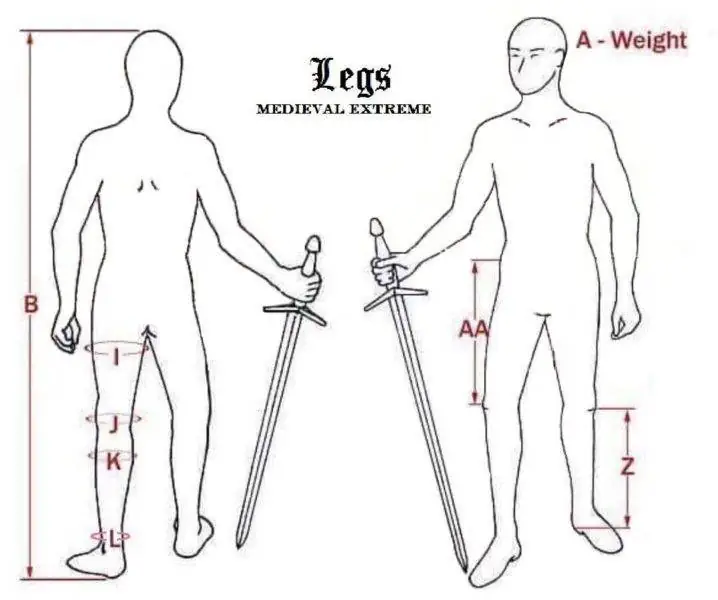
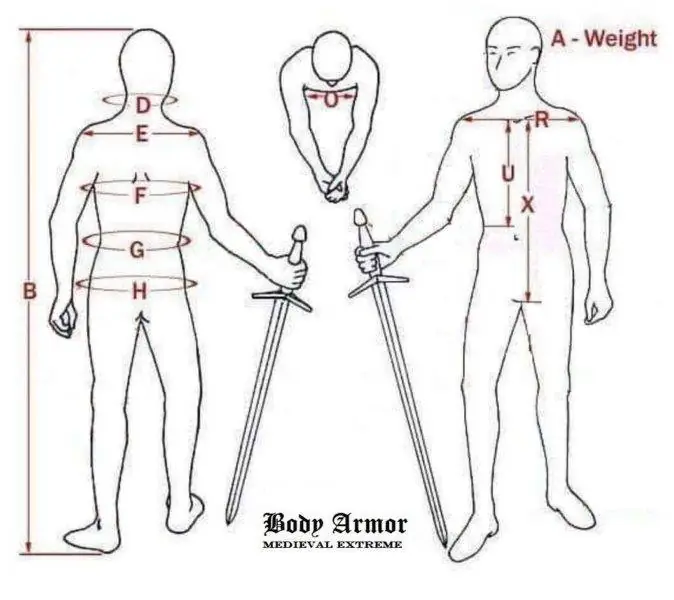
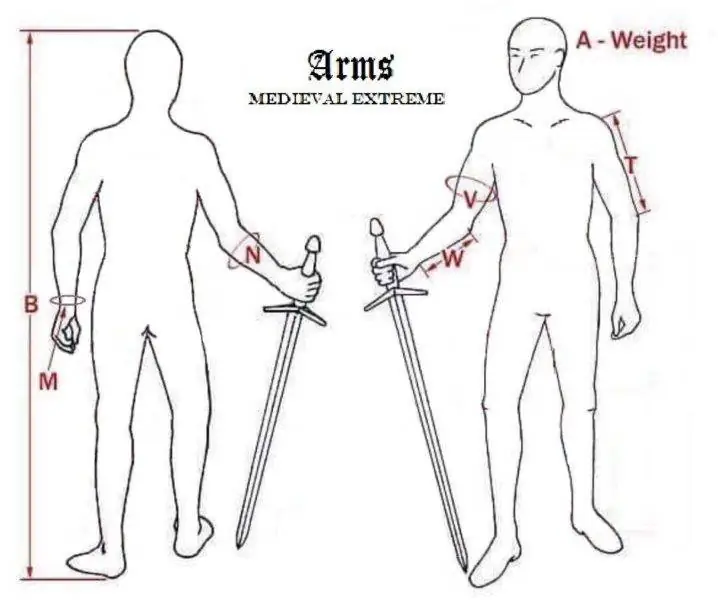
All items will be done according to your measurements – the charts will get to your email after you place the order.
Features of the packs:
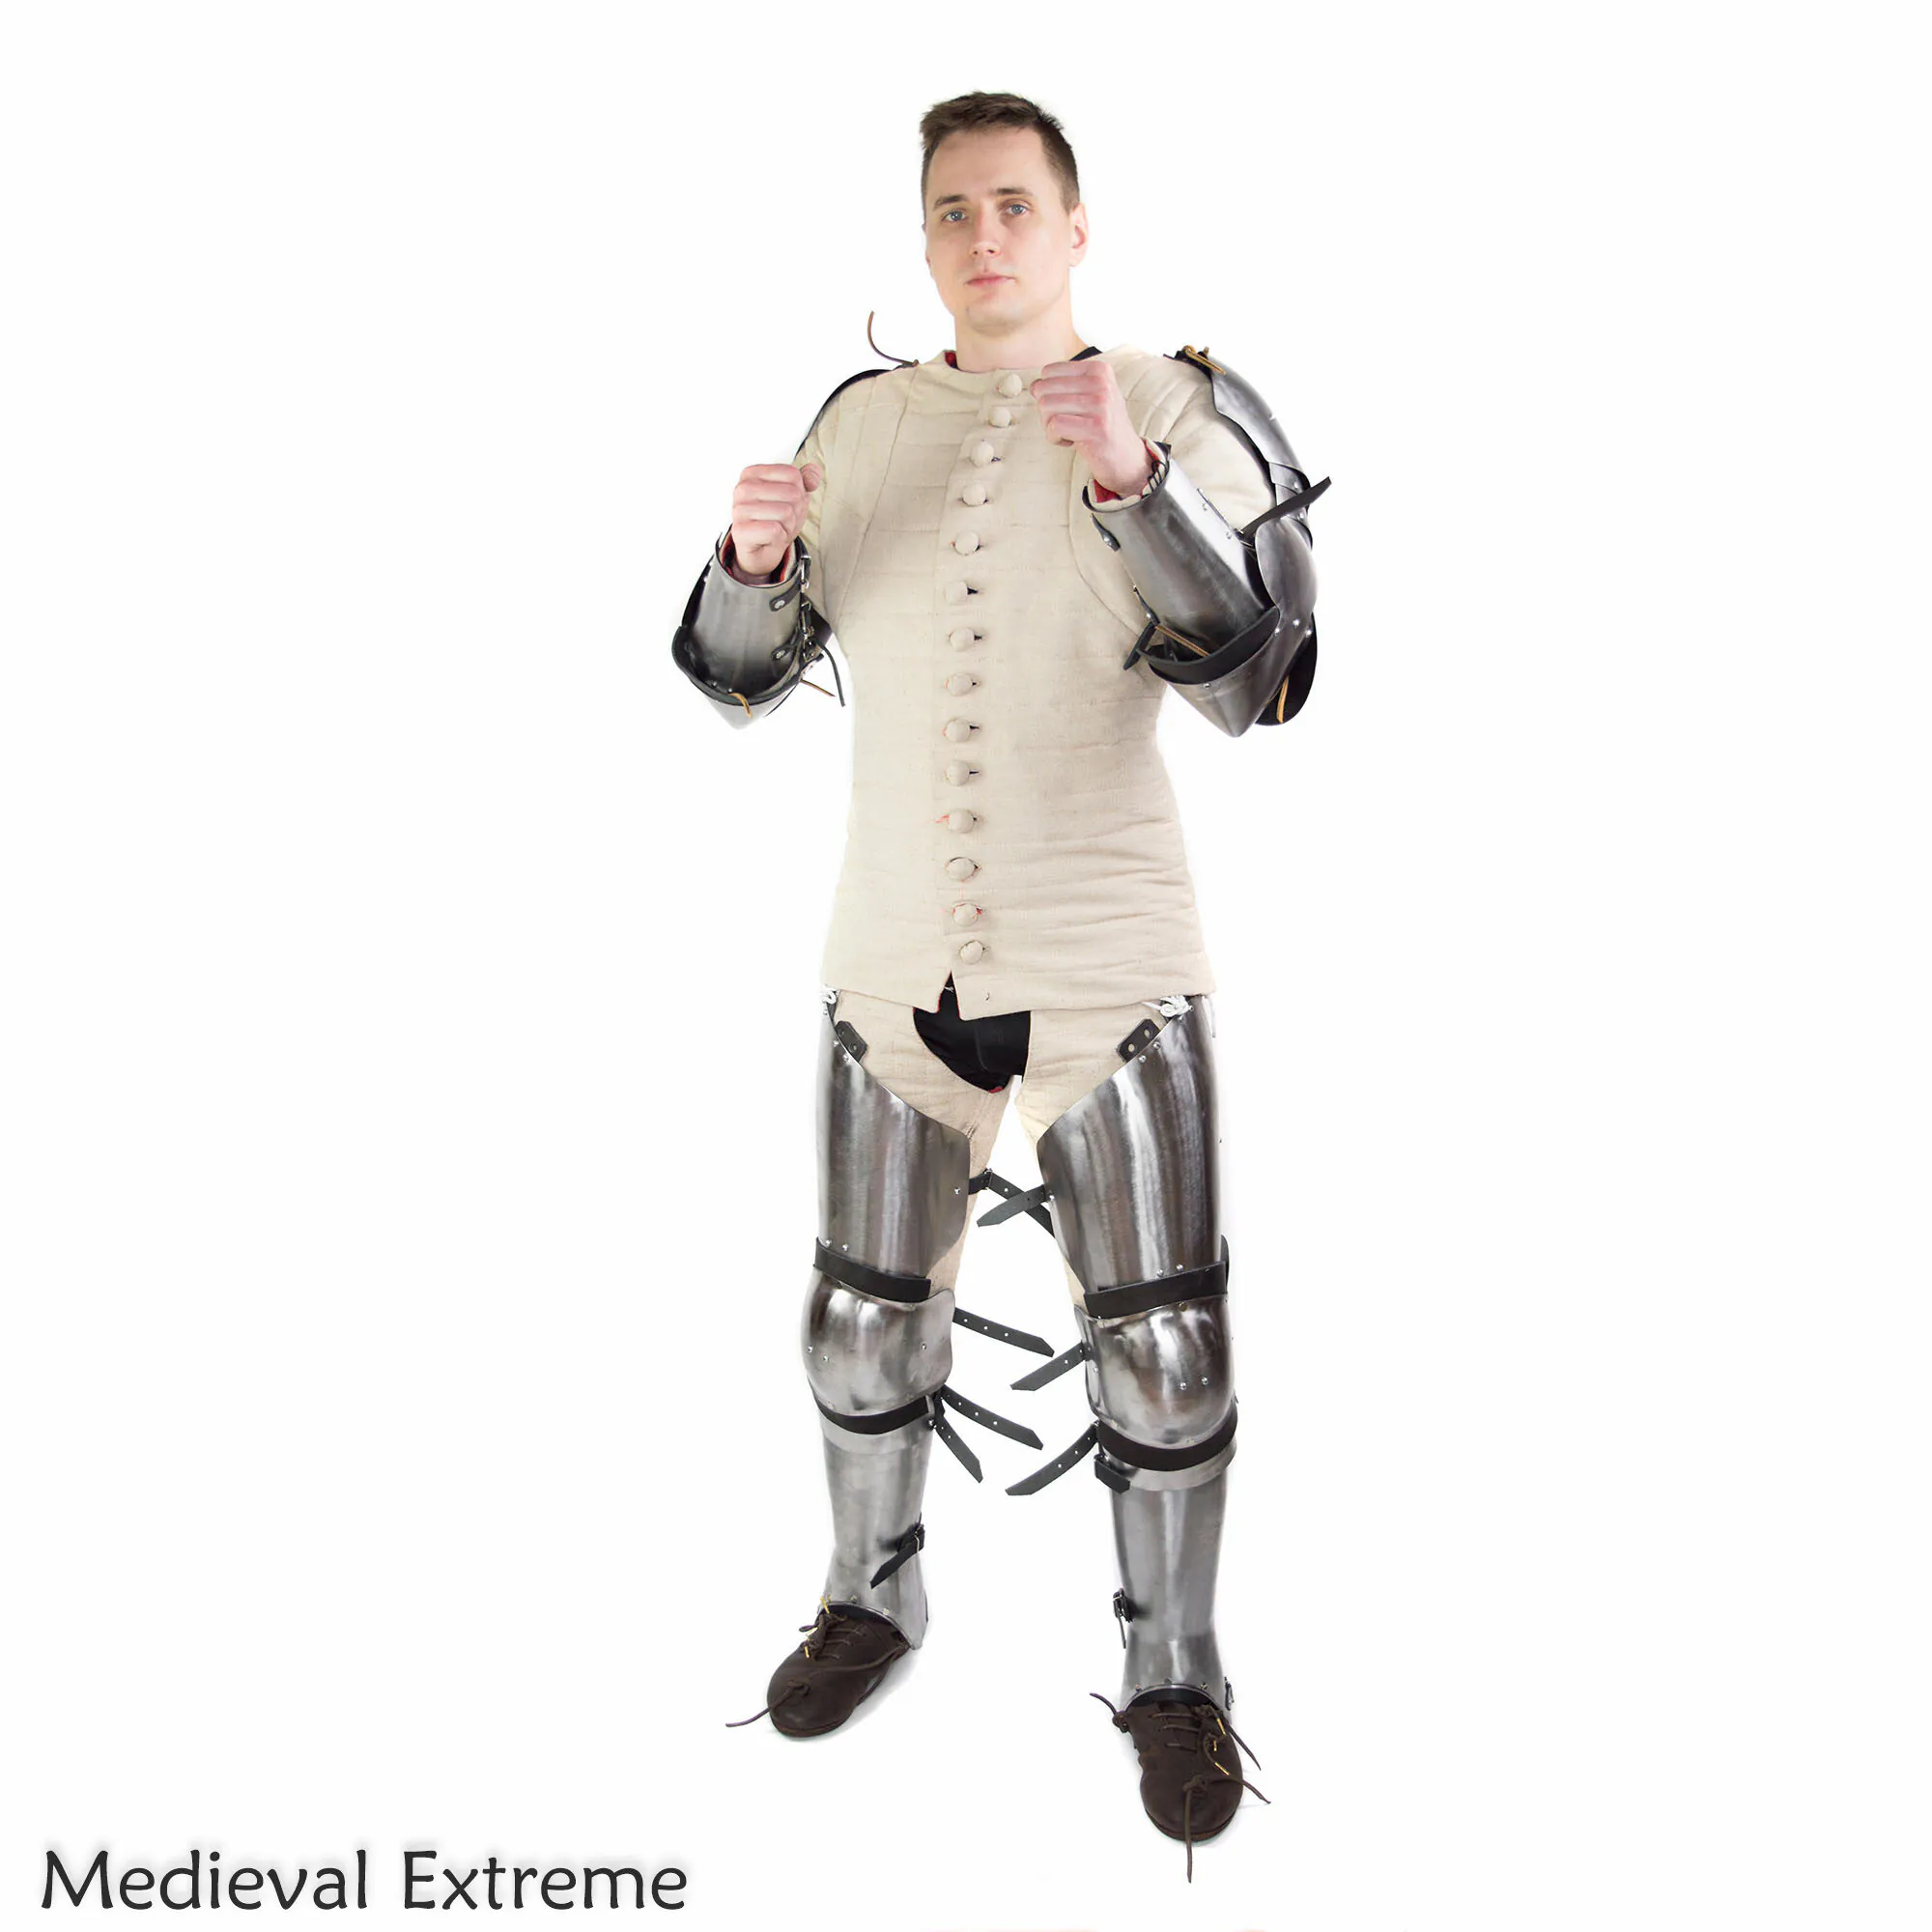
1. Starter
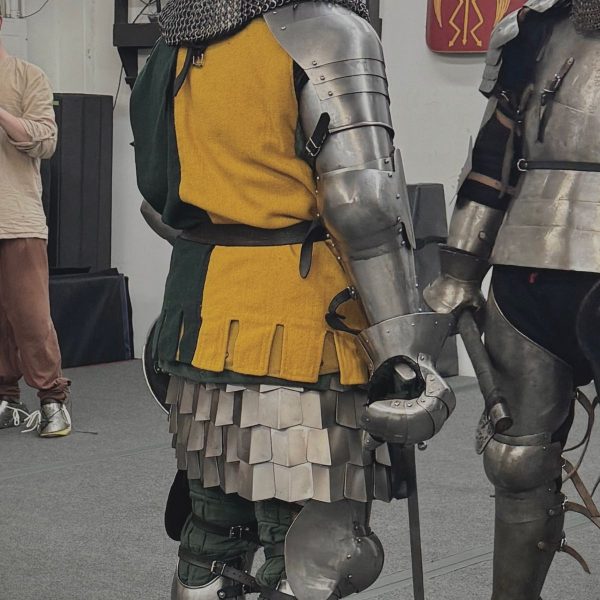
- Hardened steel floating arms set
- Hardened steel floating legs set with 3/4 greaves
Bonus: Free shipping
2. Basic
- Hardened steel floating arms set
- Hardened steel floating legs set with 3/4 greaves
- Hardened steel gauntlets
Bonus:
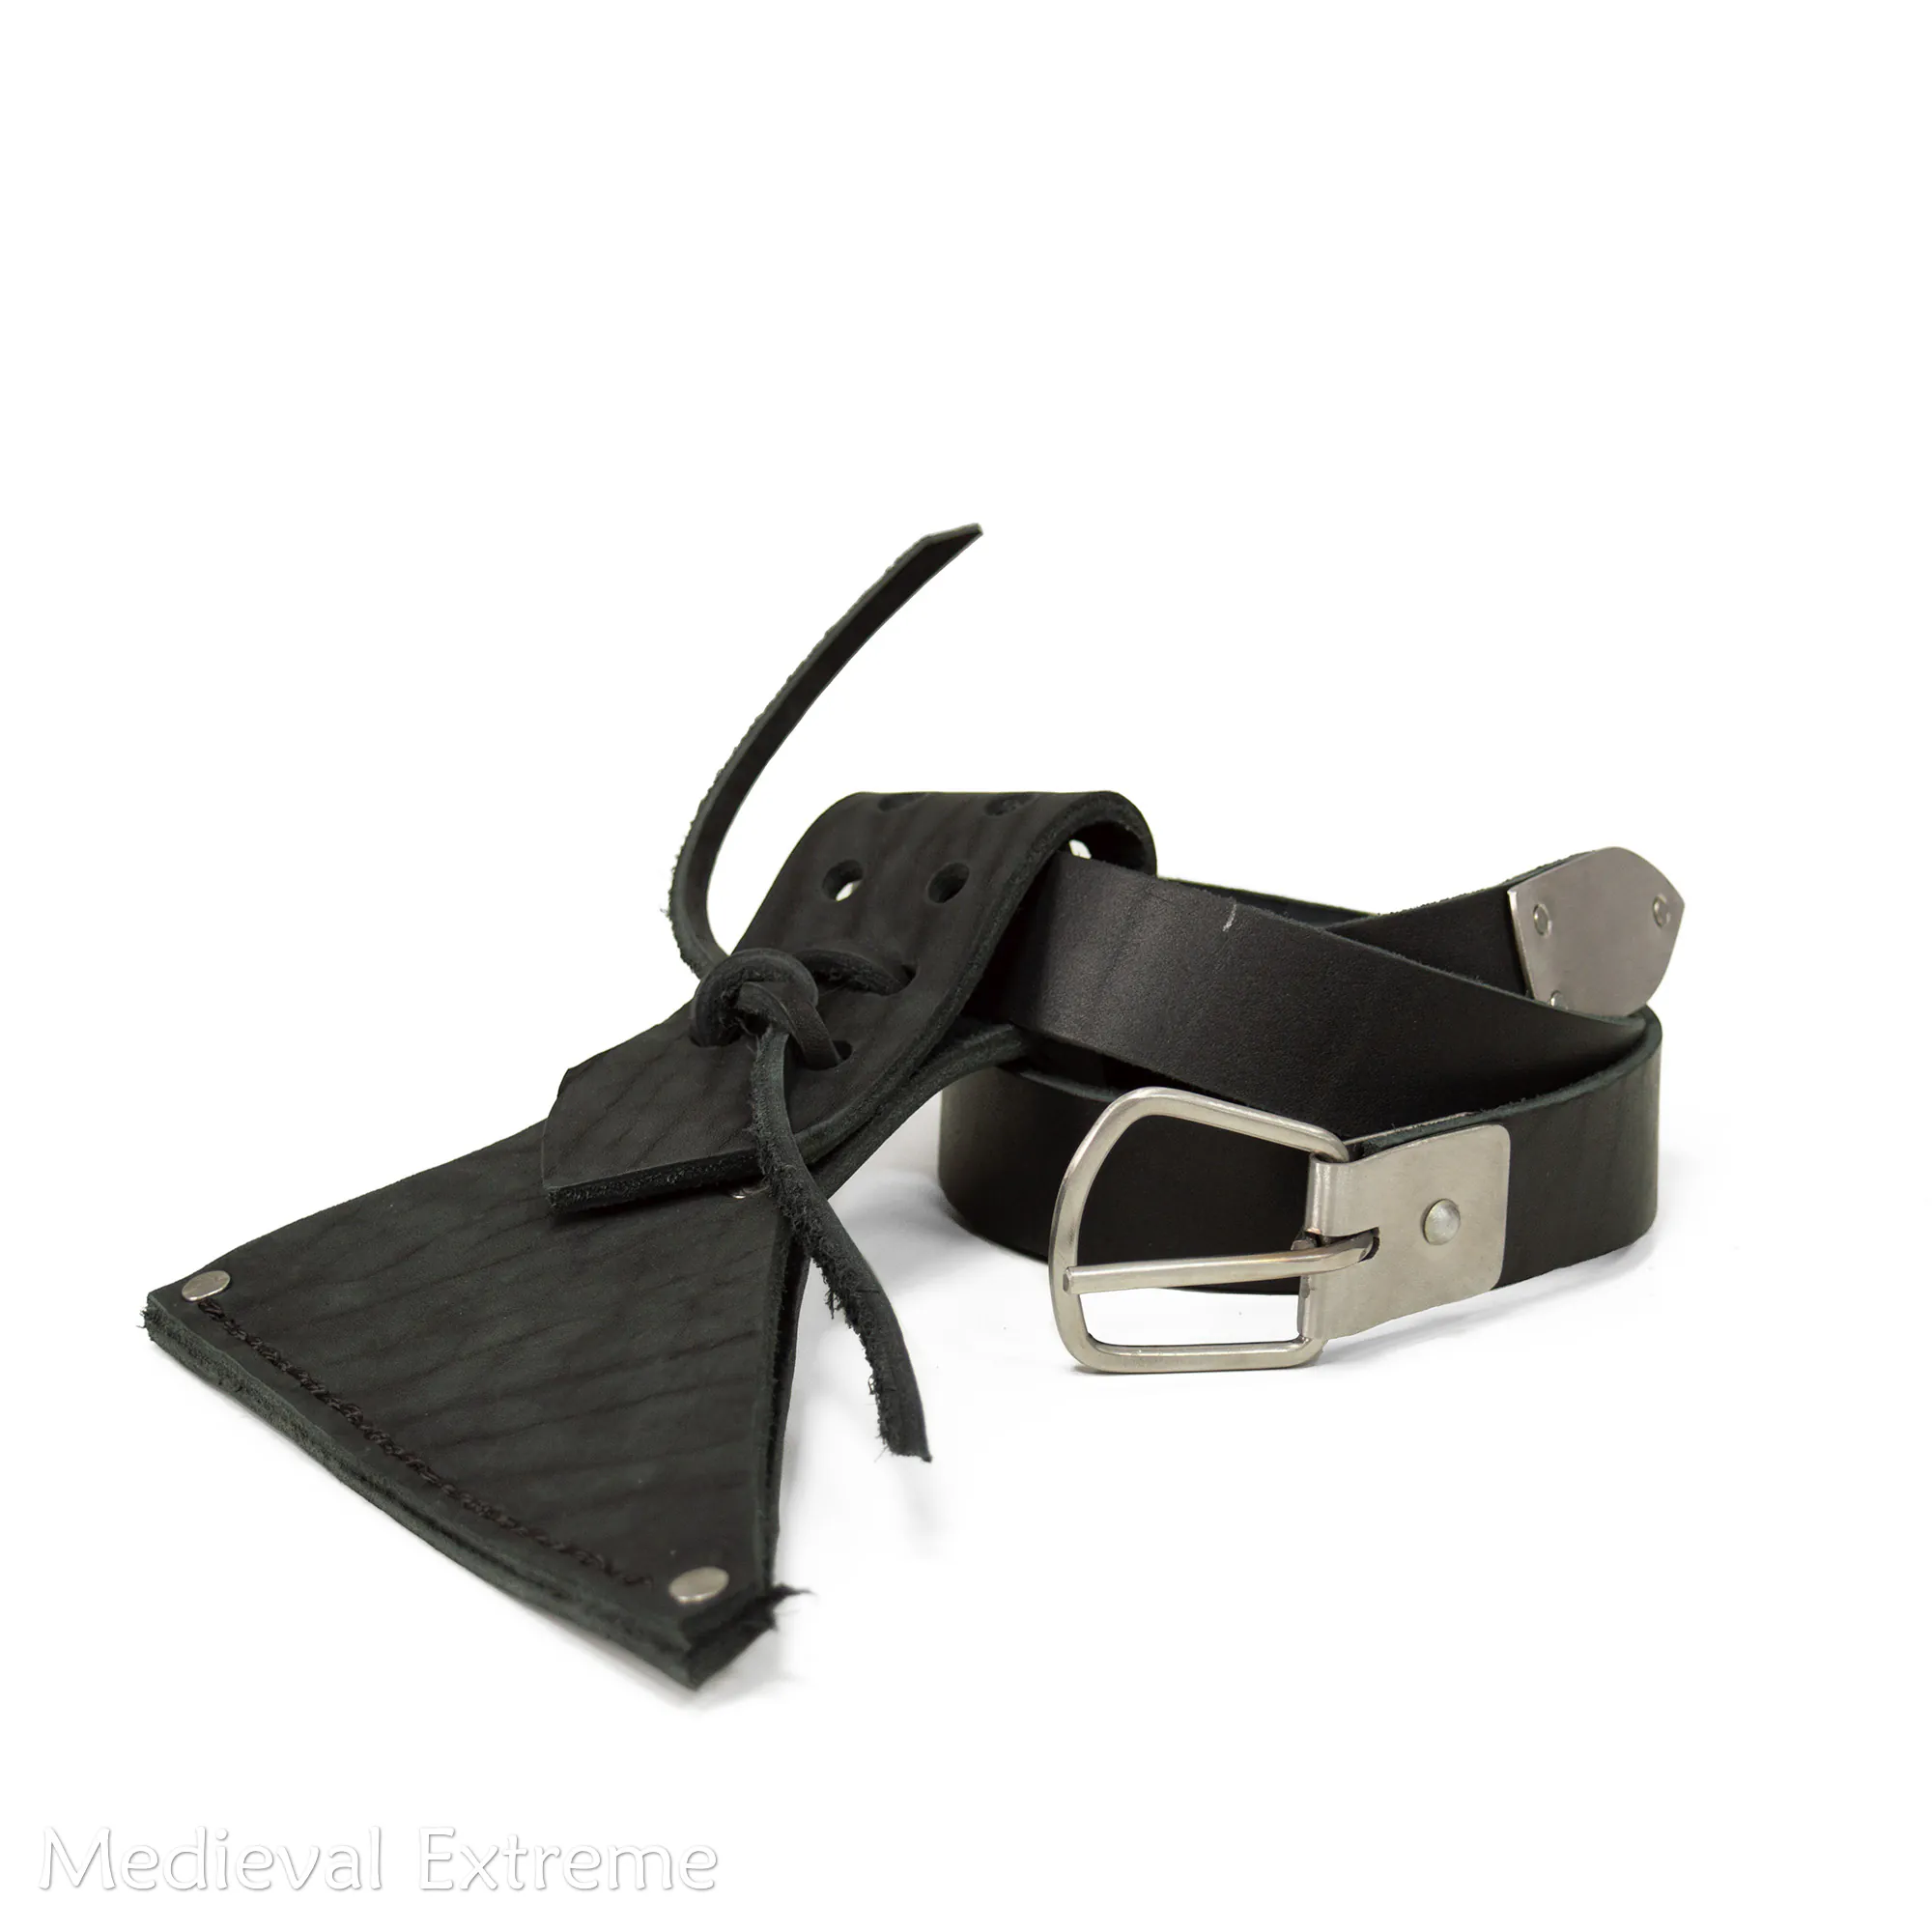
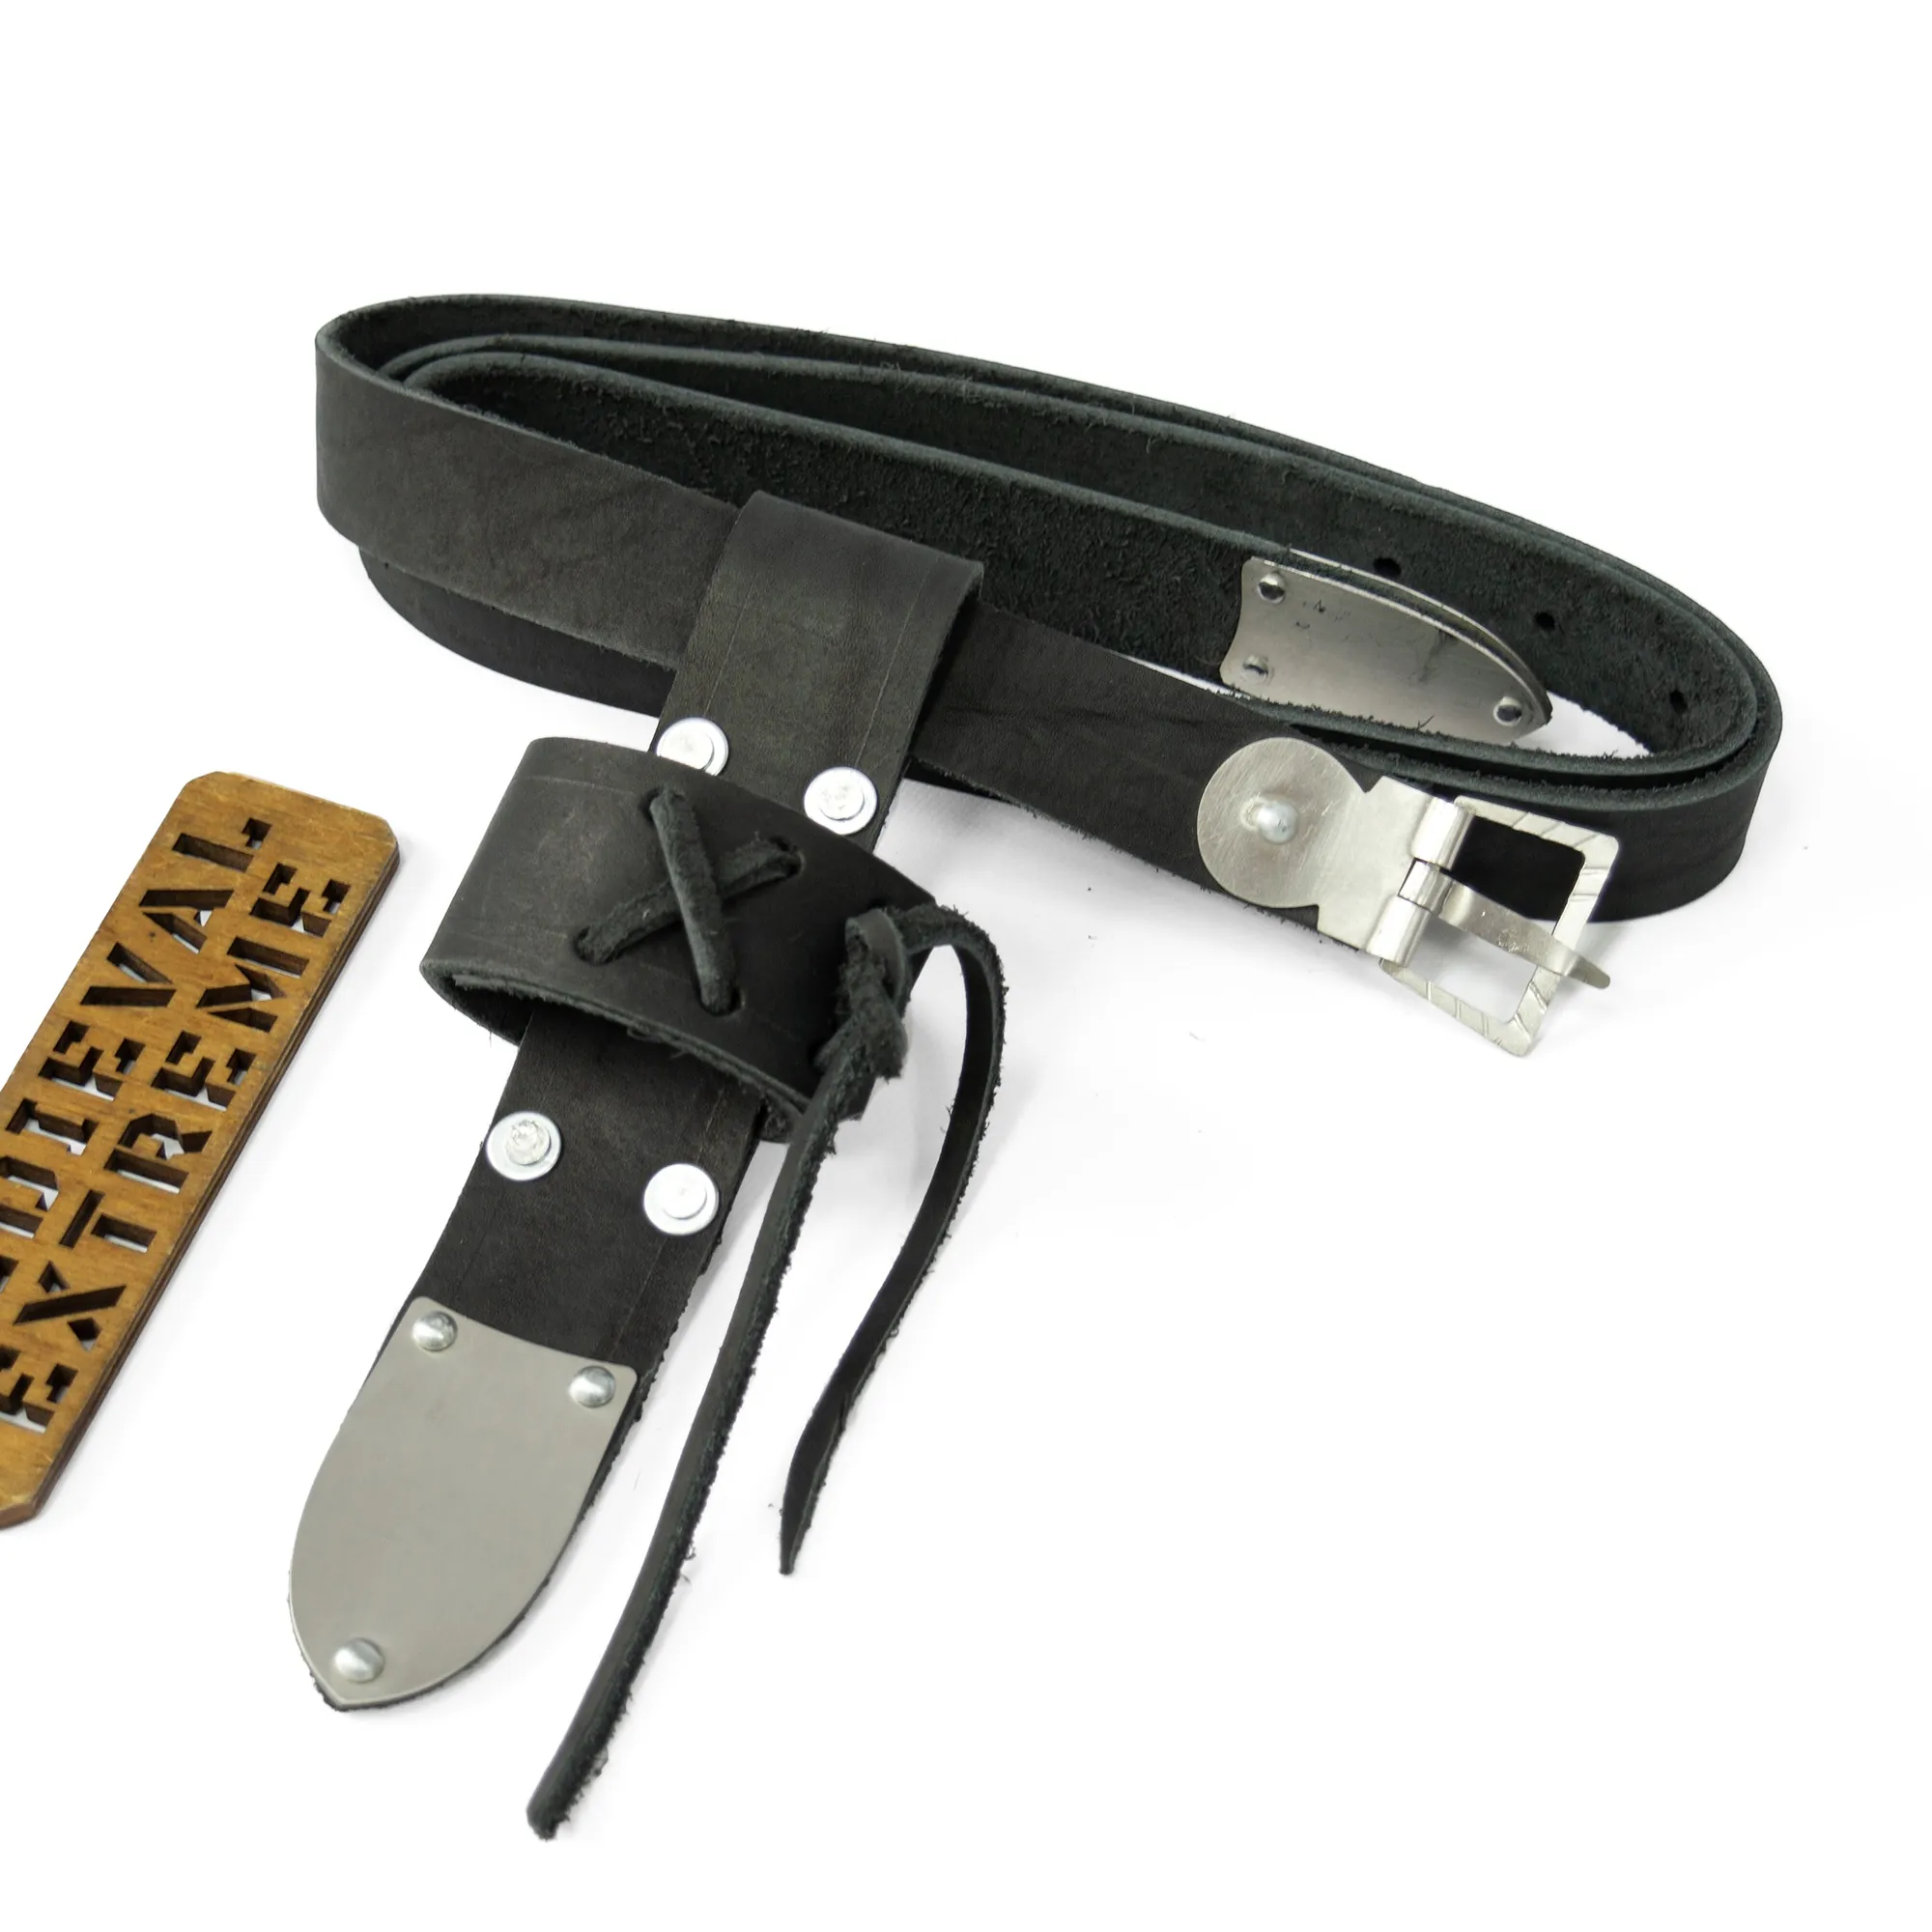
Free C-belt
Free shipping
3. Advanced
- Hardened steel floating arms set
- Hardened steel floating legs set with 3/4 greaves
- Hardened steel gauntlets
- Hardened steel brigantine type Wimbledon’s (color or colors of your choice).
Bonus:
Free C-belt
Free shipping
4. Ultimate
- Hardened steel floating arms set
- Hardened steel floating legs set with 3/4 greaves
- Hardened steel gauntlets
- Hardened steel brigantine type Wimbledon’s (colors of your choice)
- Hardened steel Nasal Bacinet helmet
Bonus:
Free C-belt
Free express shipping
Get your Starter armor kit for medieval combat today – do not waste your time on other options.
Feel free to discuss your order with us here: https://www.facebook.com/MedievalExtreme/
PS: Changing the helmet into a visored one (only for the ultimate edition) option allows you to get a Spoletto helmet instead of Nasal Bascinet.

![Mace for armored combat Extinction [blackened haft]](https://medievalextreme.com/wp-content/uploads/2025/07/DSC_1474-Edit-2.jpeg.webp)
![Punch shield + shield mitten bundle [61x37]](https://medievalextreme.com/wp-content/uploads/2020/07/F5D79228-4B8D-4393-B39C-FA2154C38C5E.webp)


Very well done skirt. Easy to move, very light weight. Reparability is high. Very satisfied with this one
Well received! Thanks a lot!
EVERYTHING feels amazing
Saved my hips, recommended for spear/shor sword combat fights
Best titanium armor for fight