


Description
Basic Floating Armor Kit “Aurora”: Your Gateway to Armored Combat
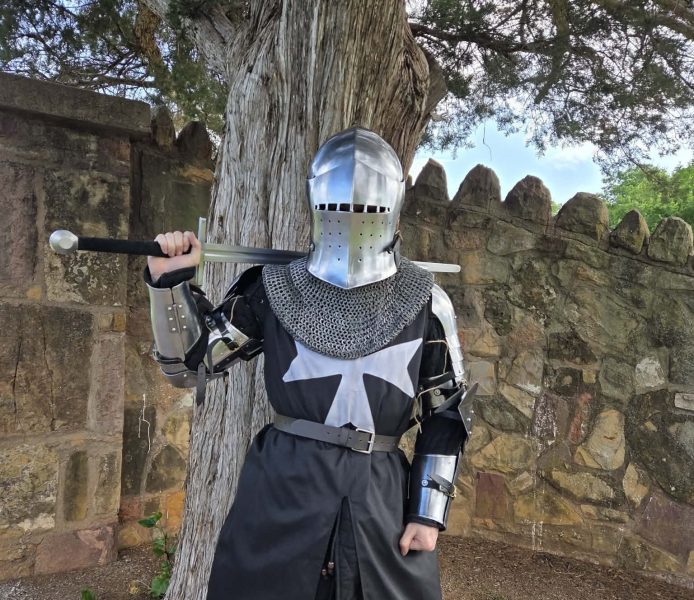
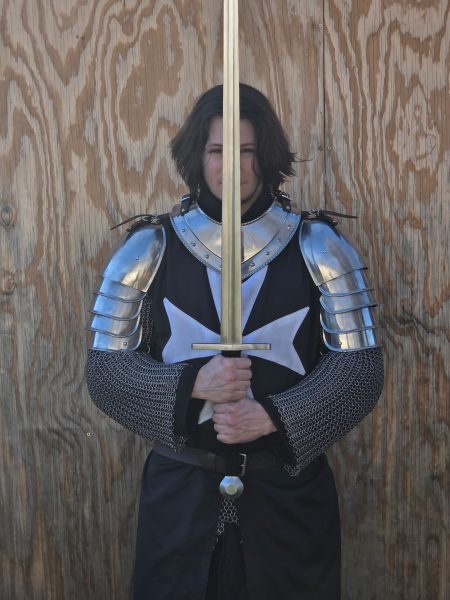
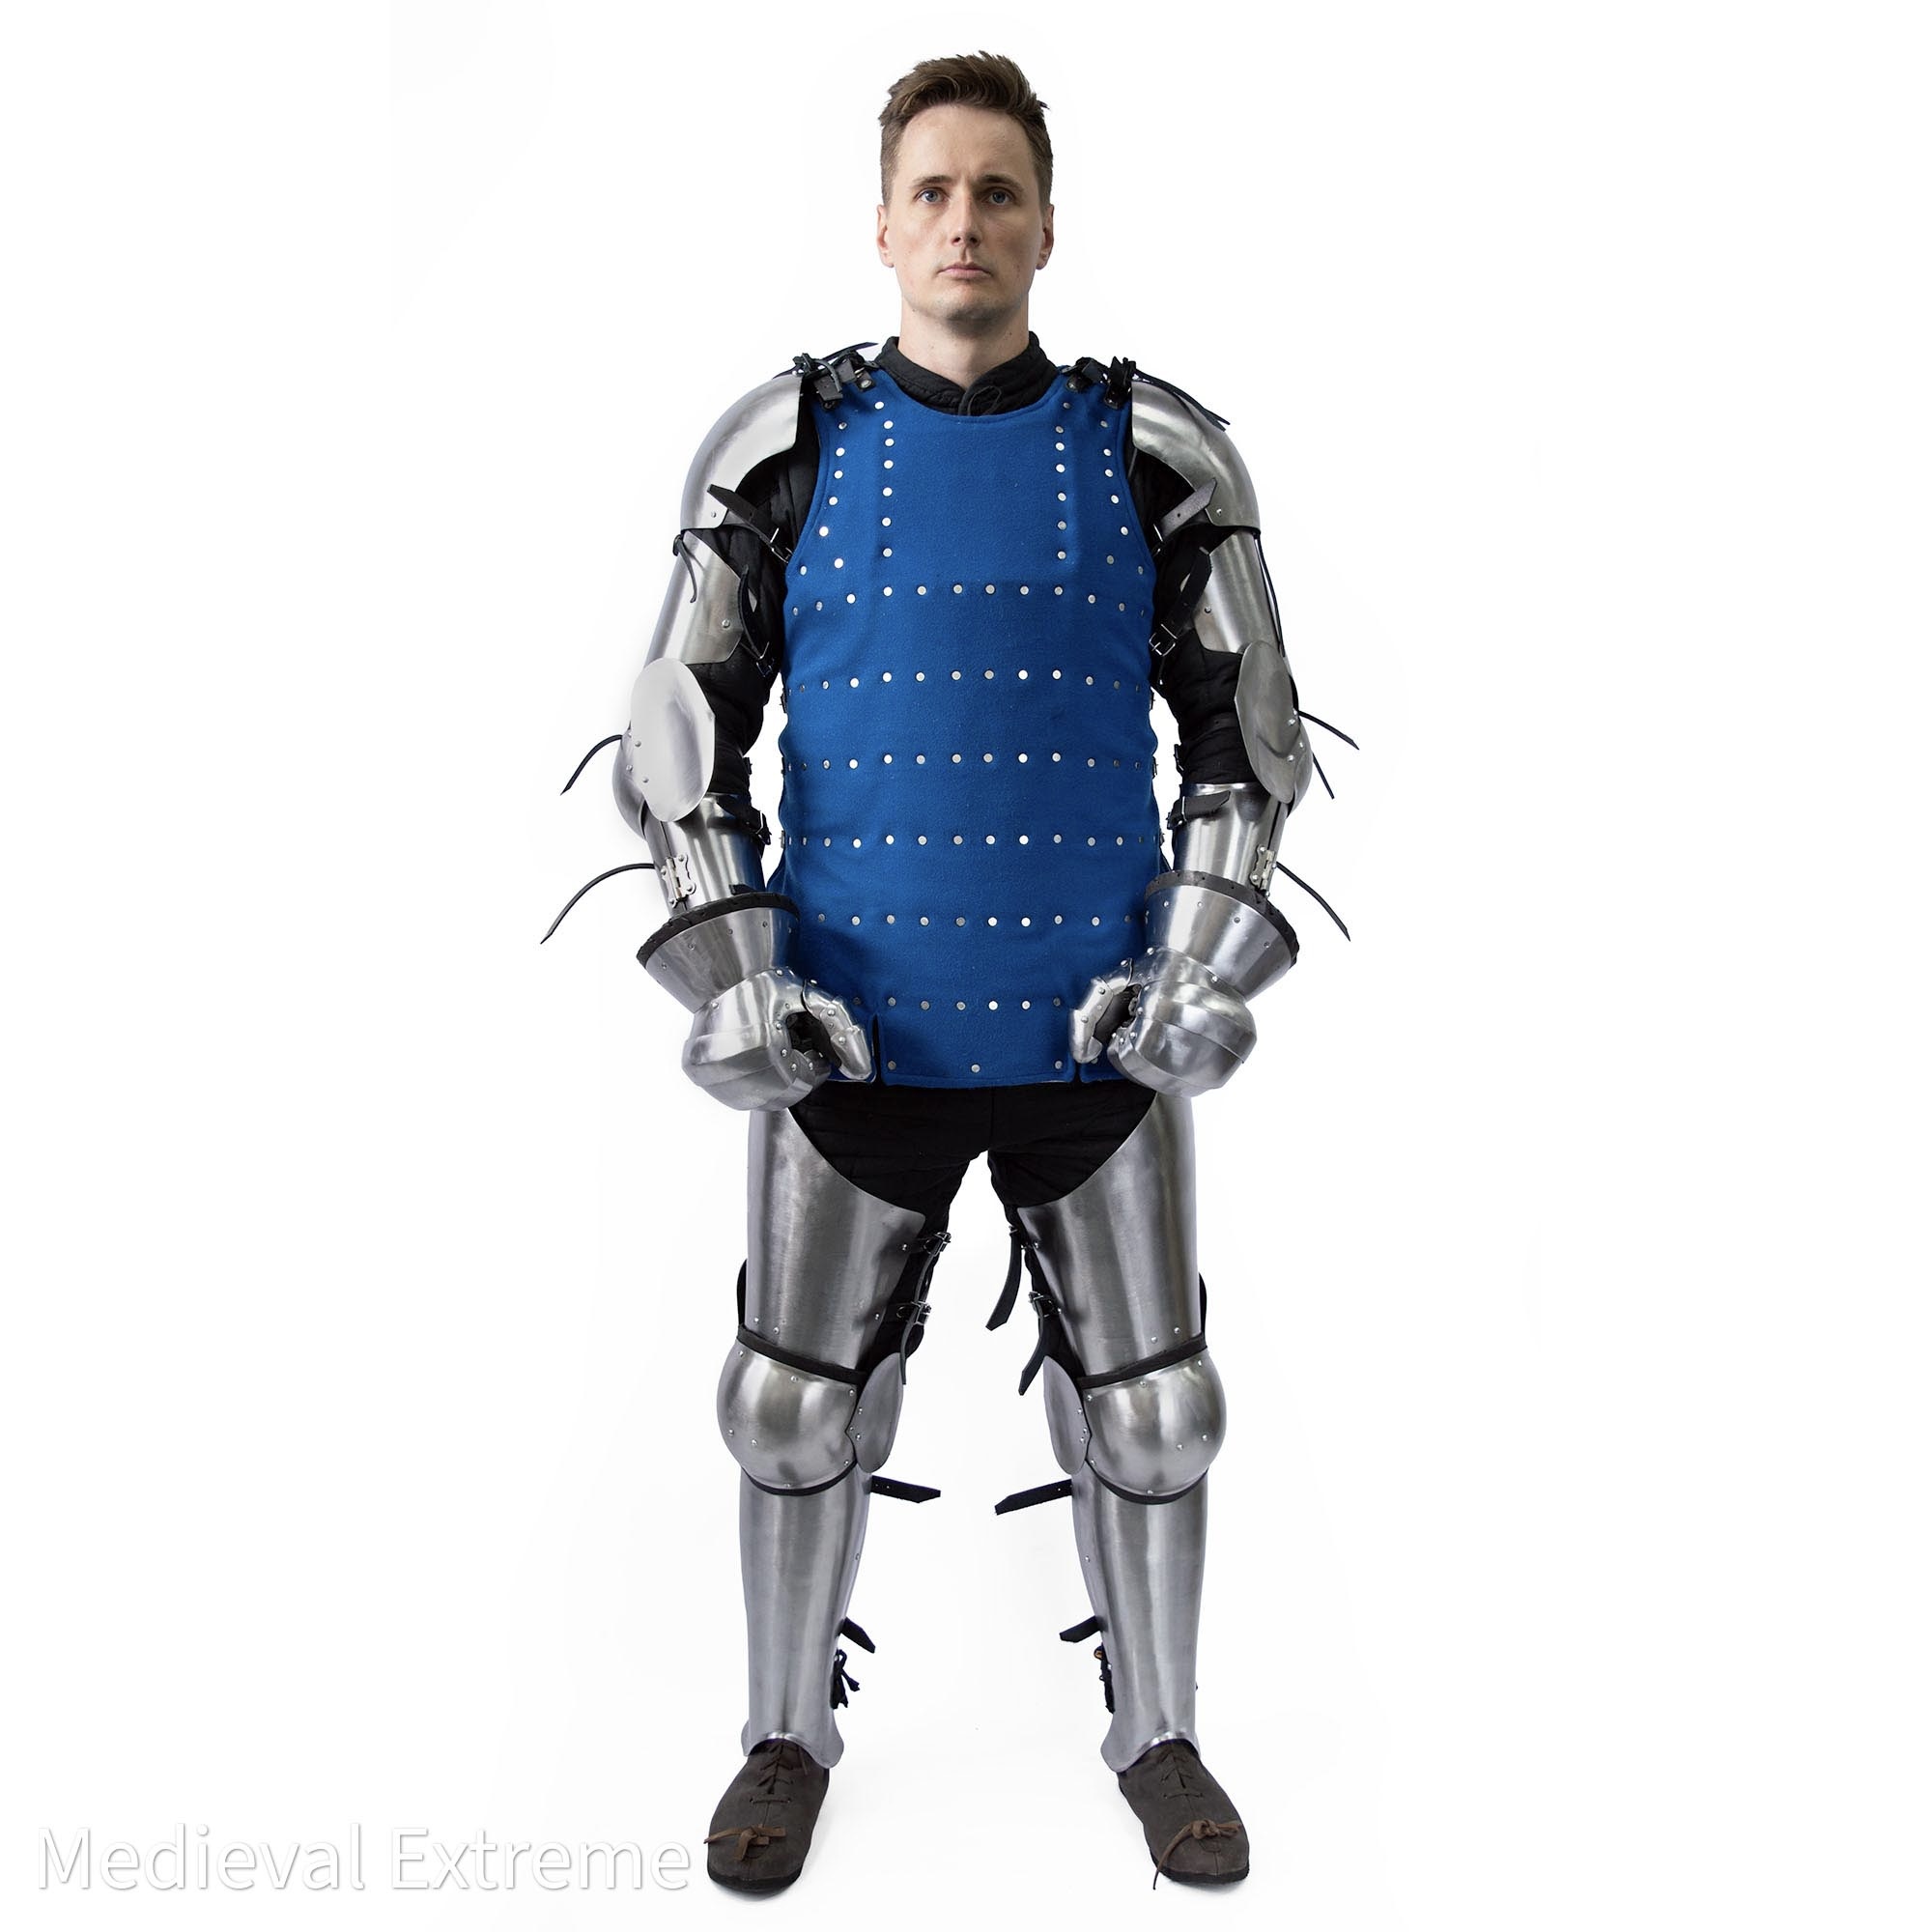
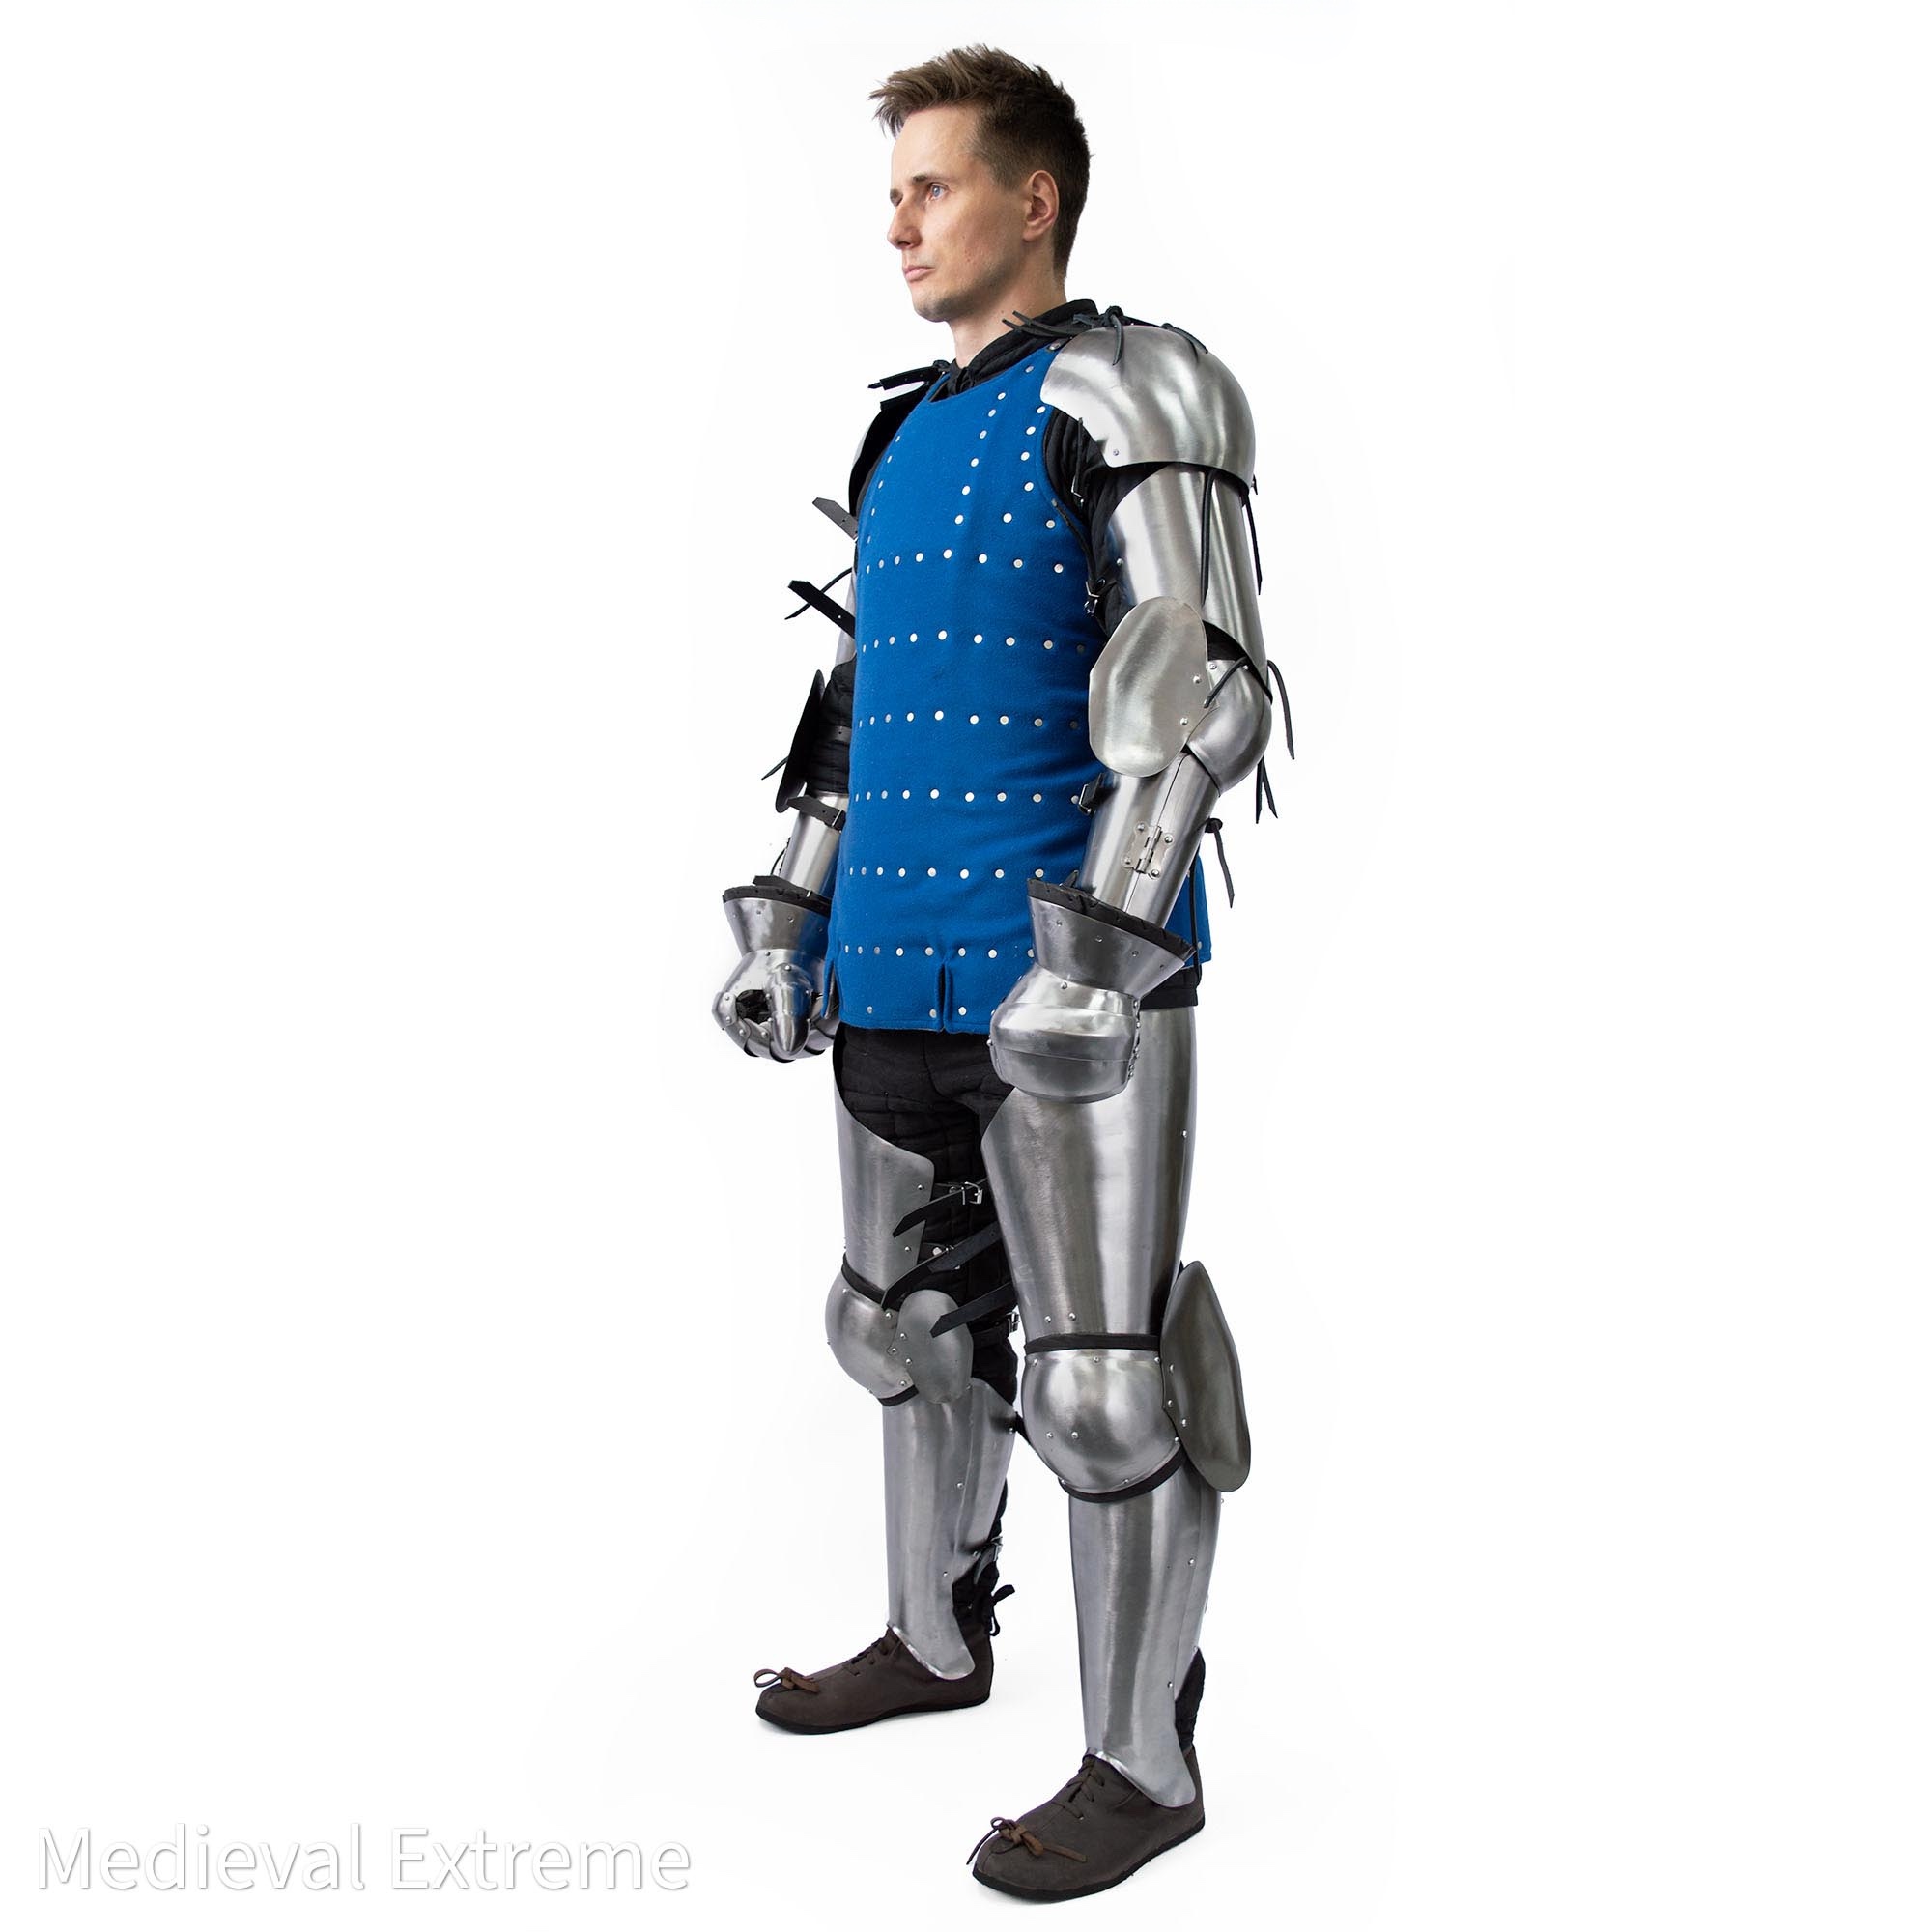
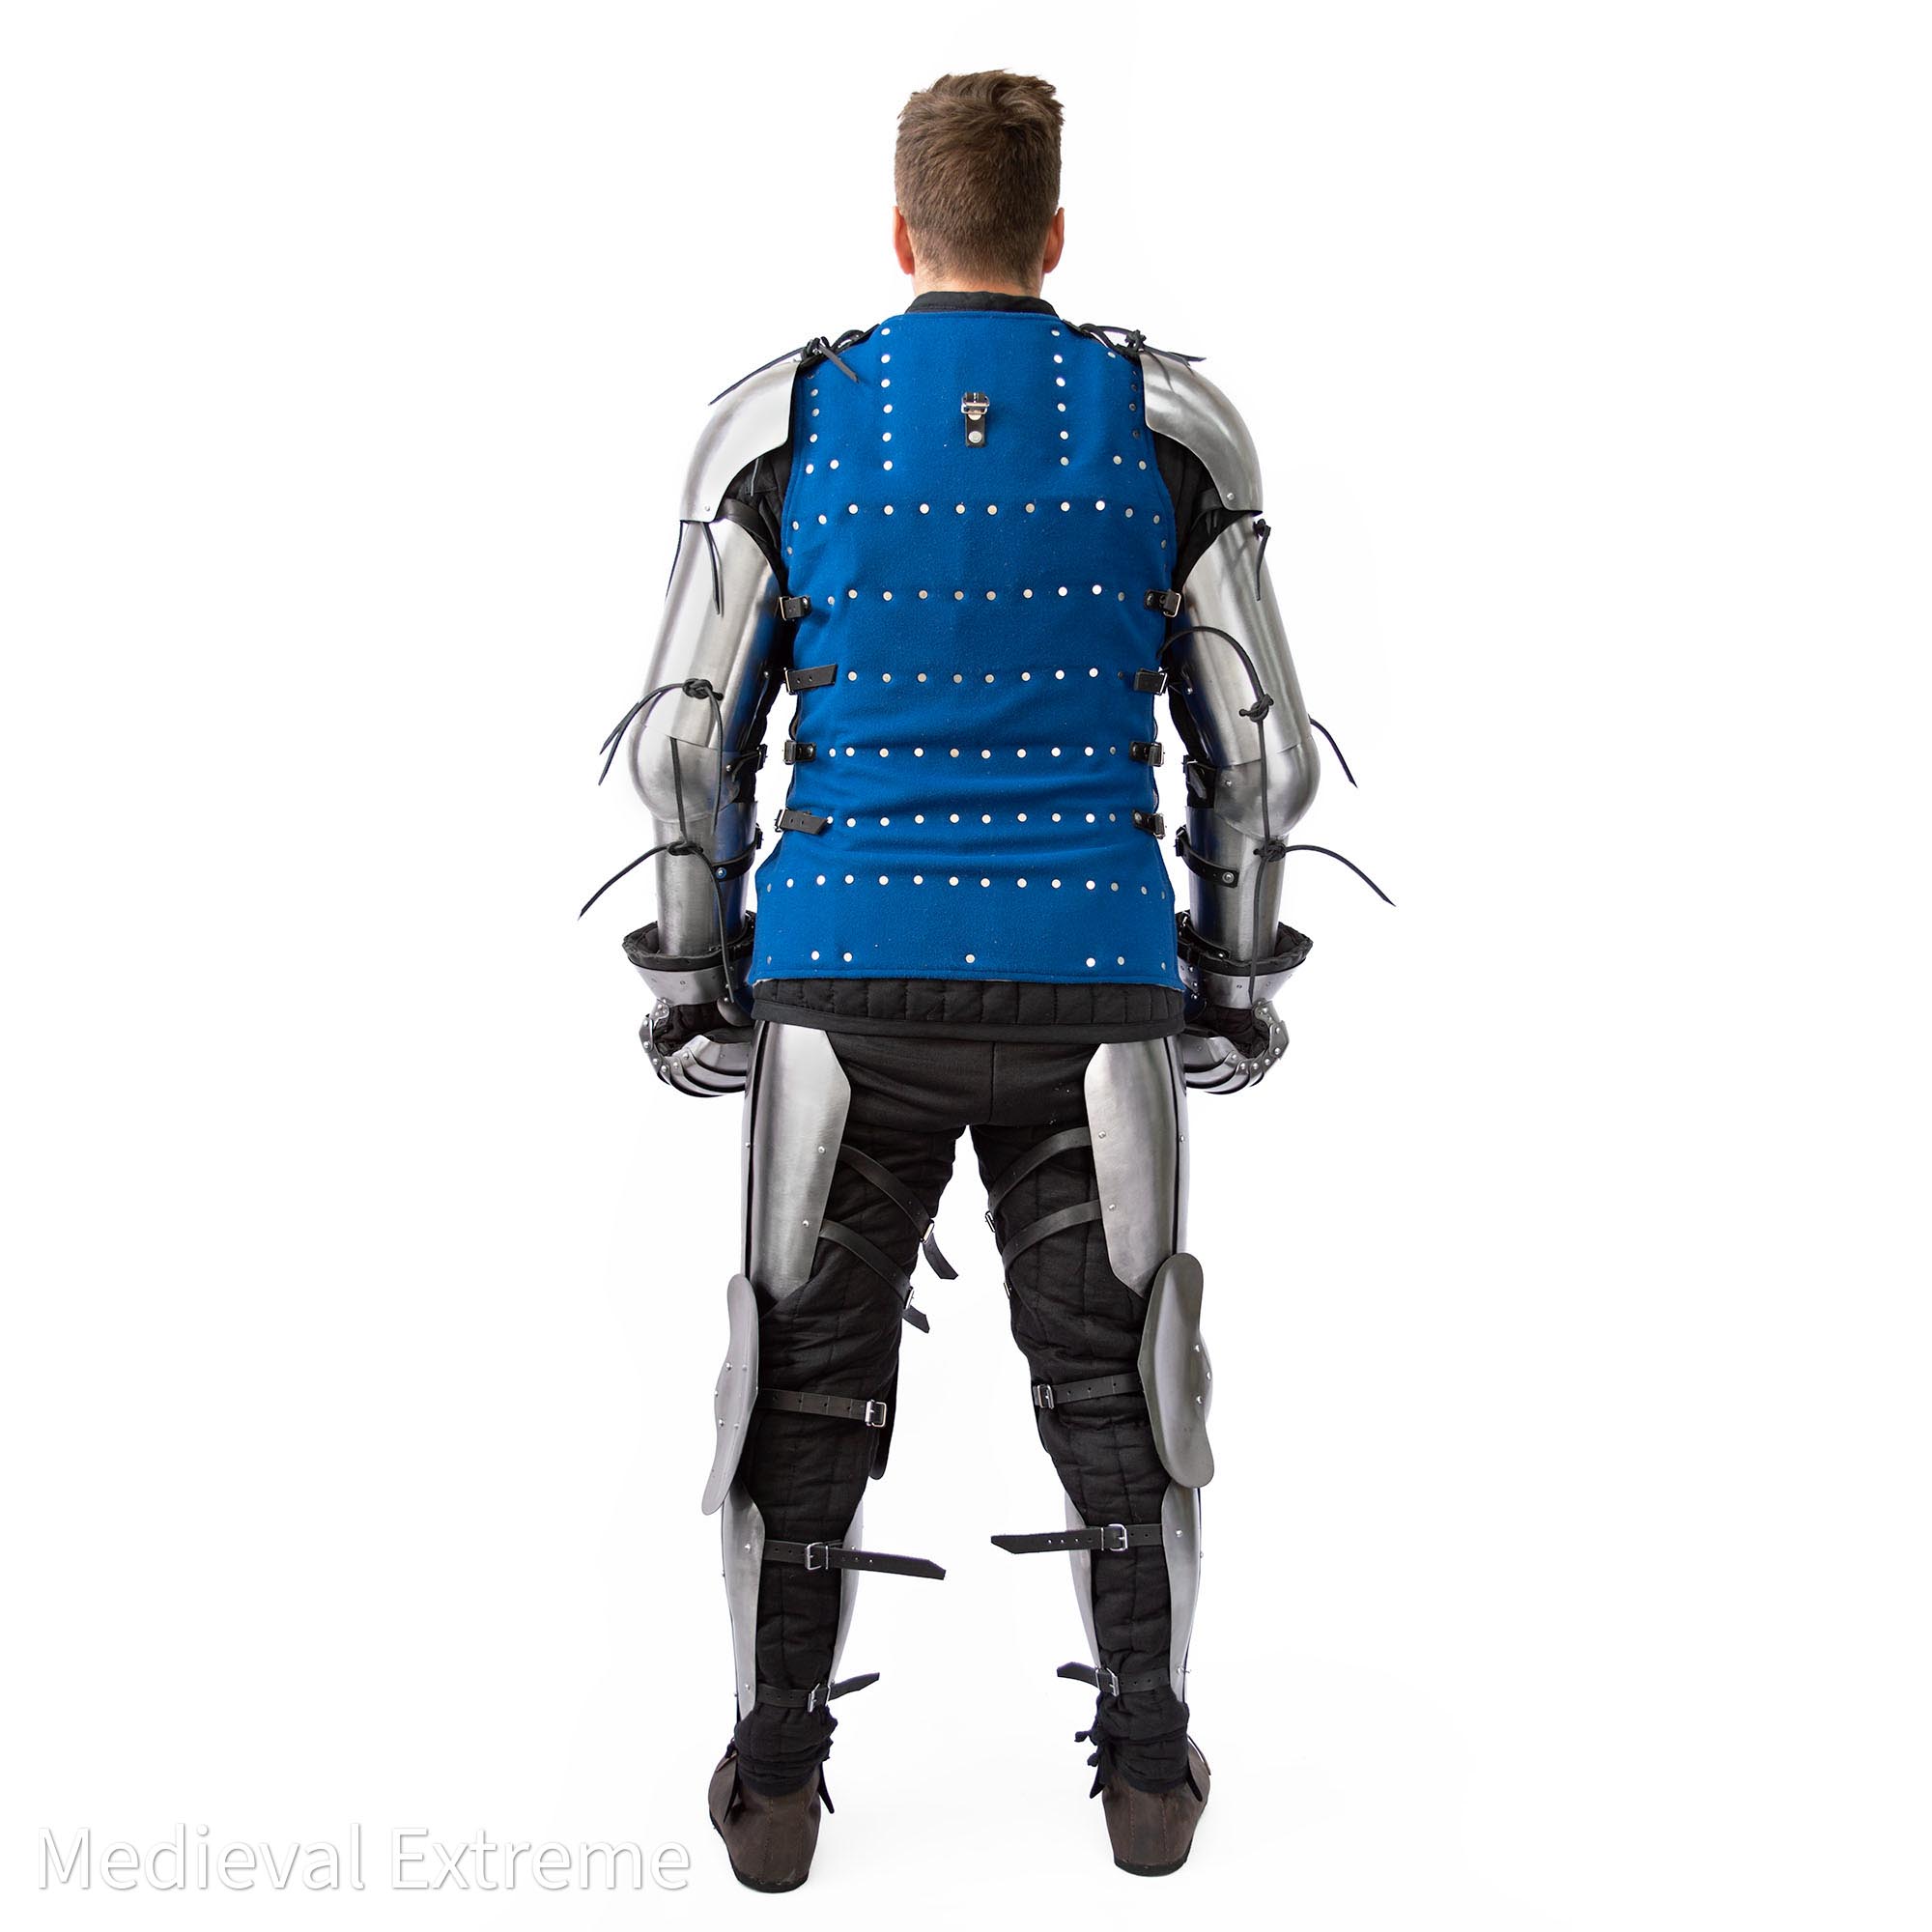
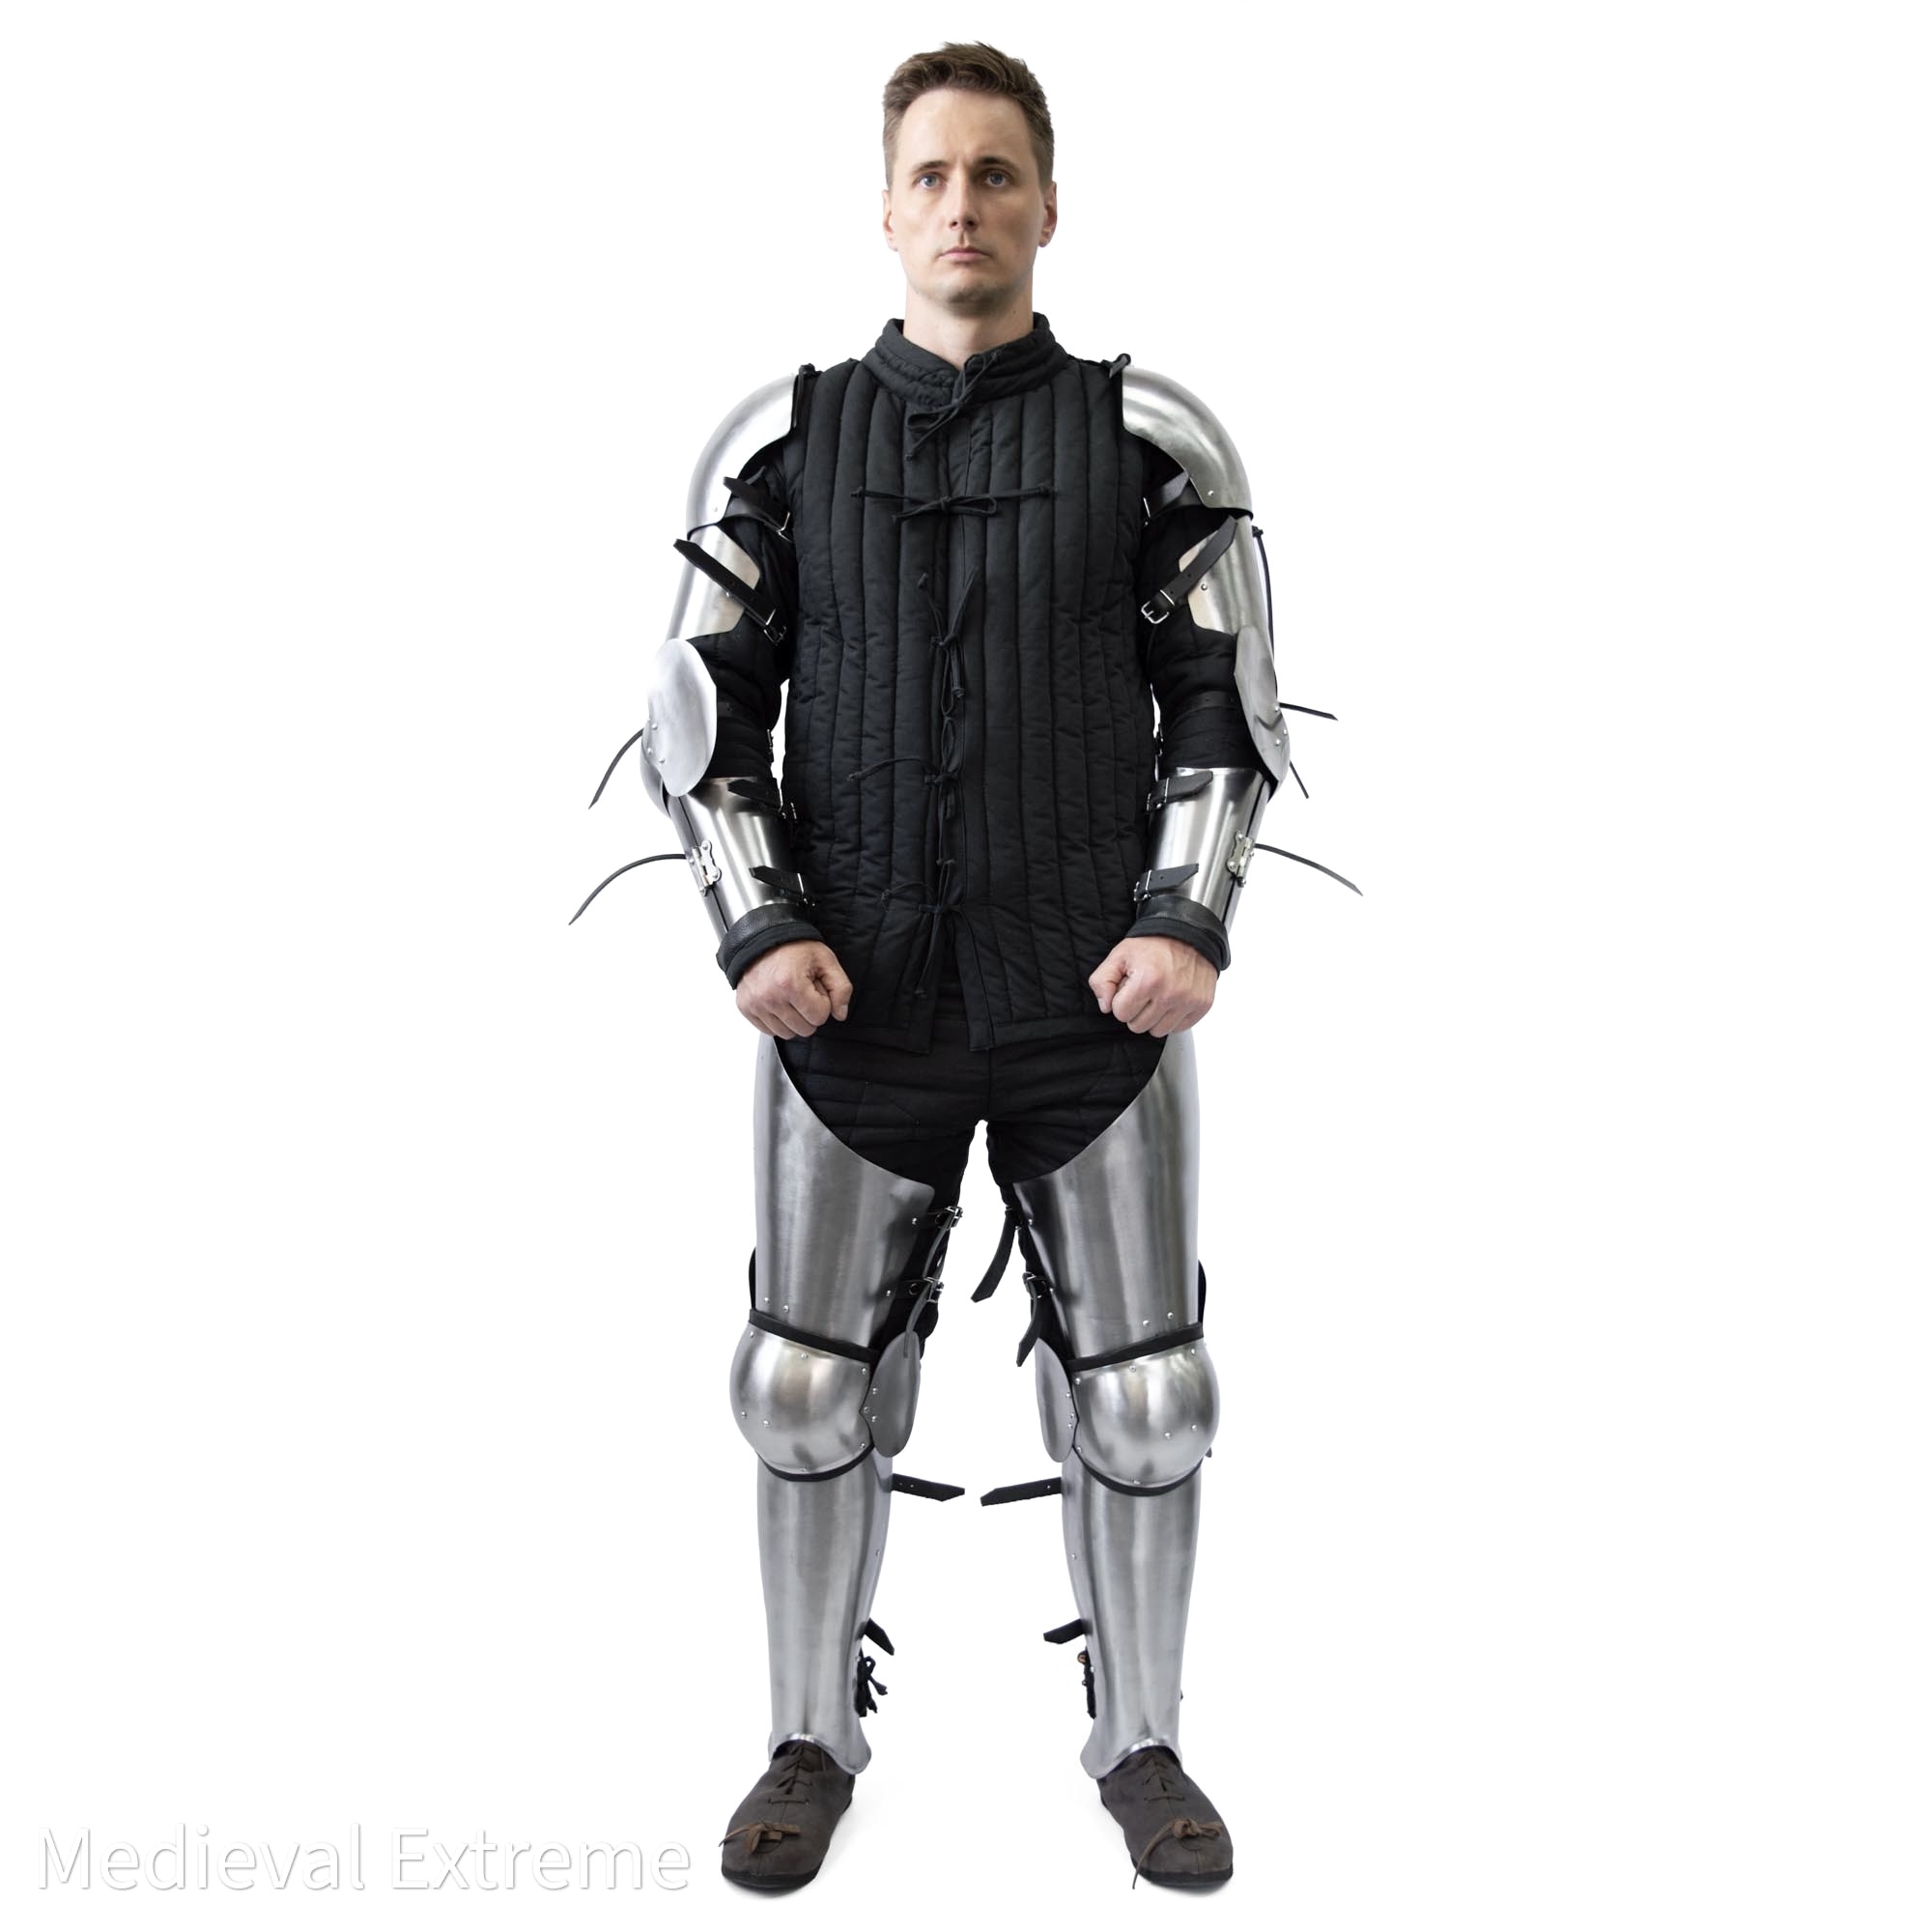
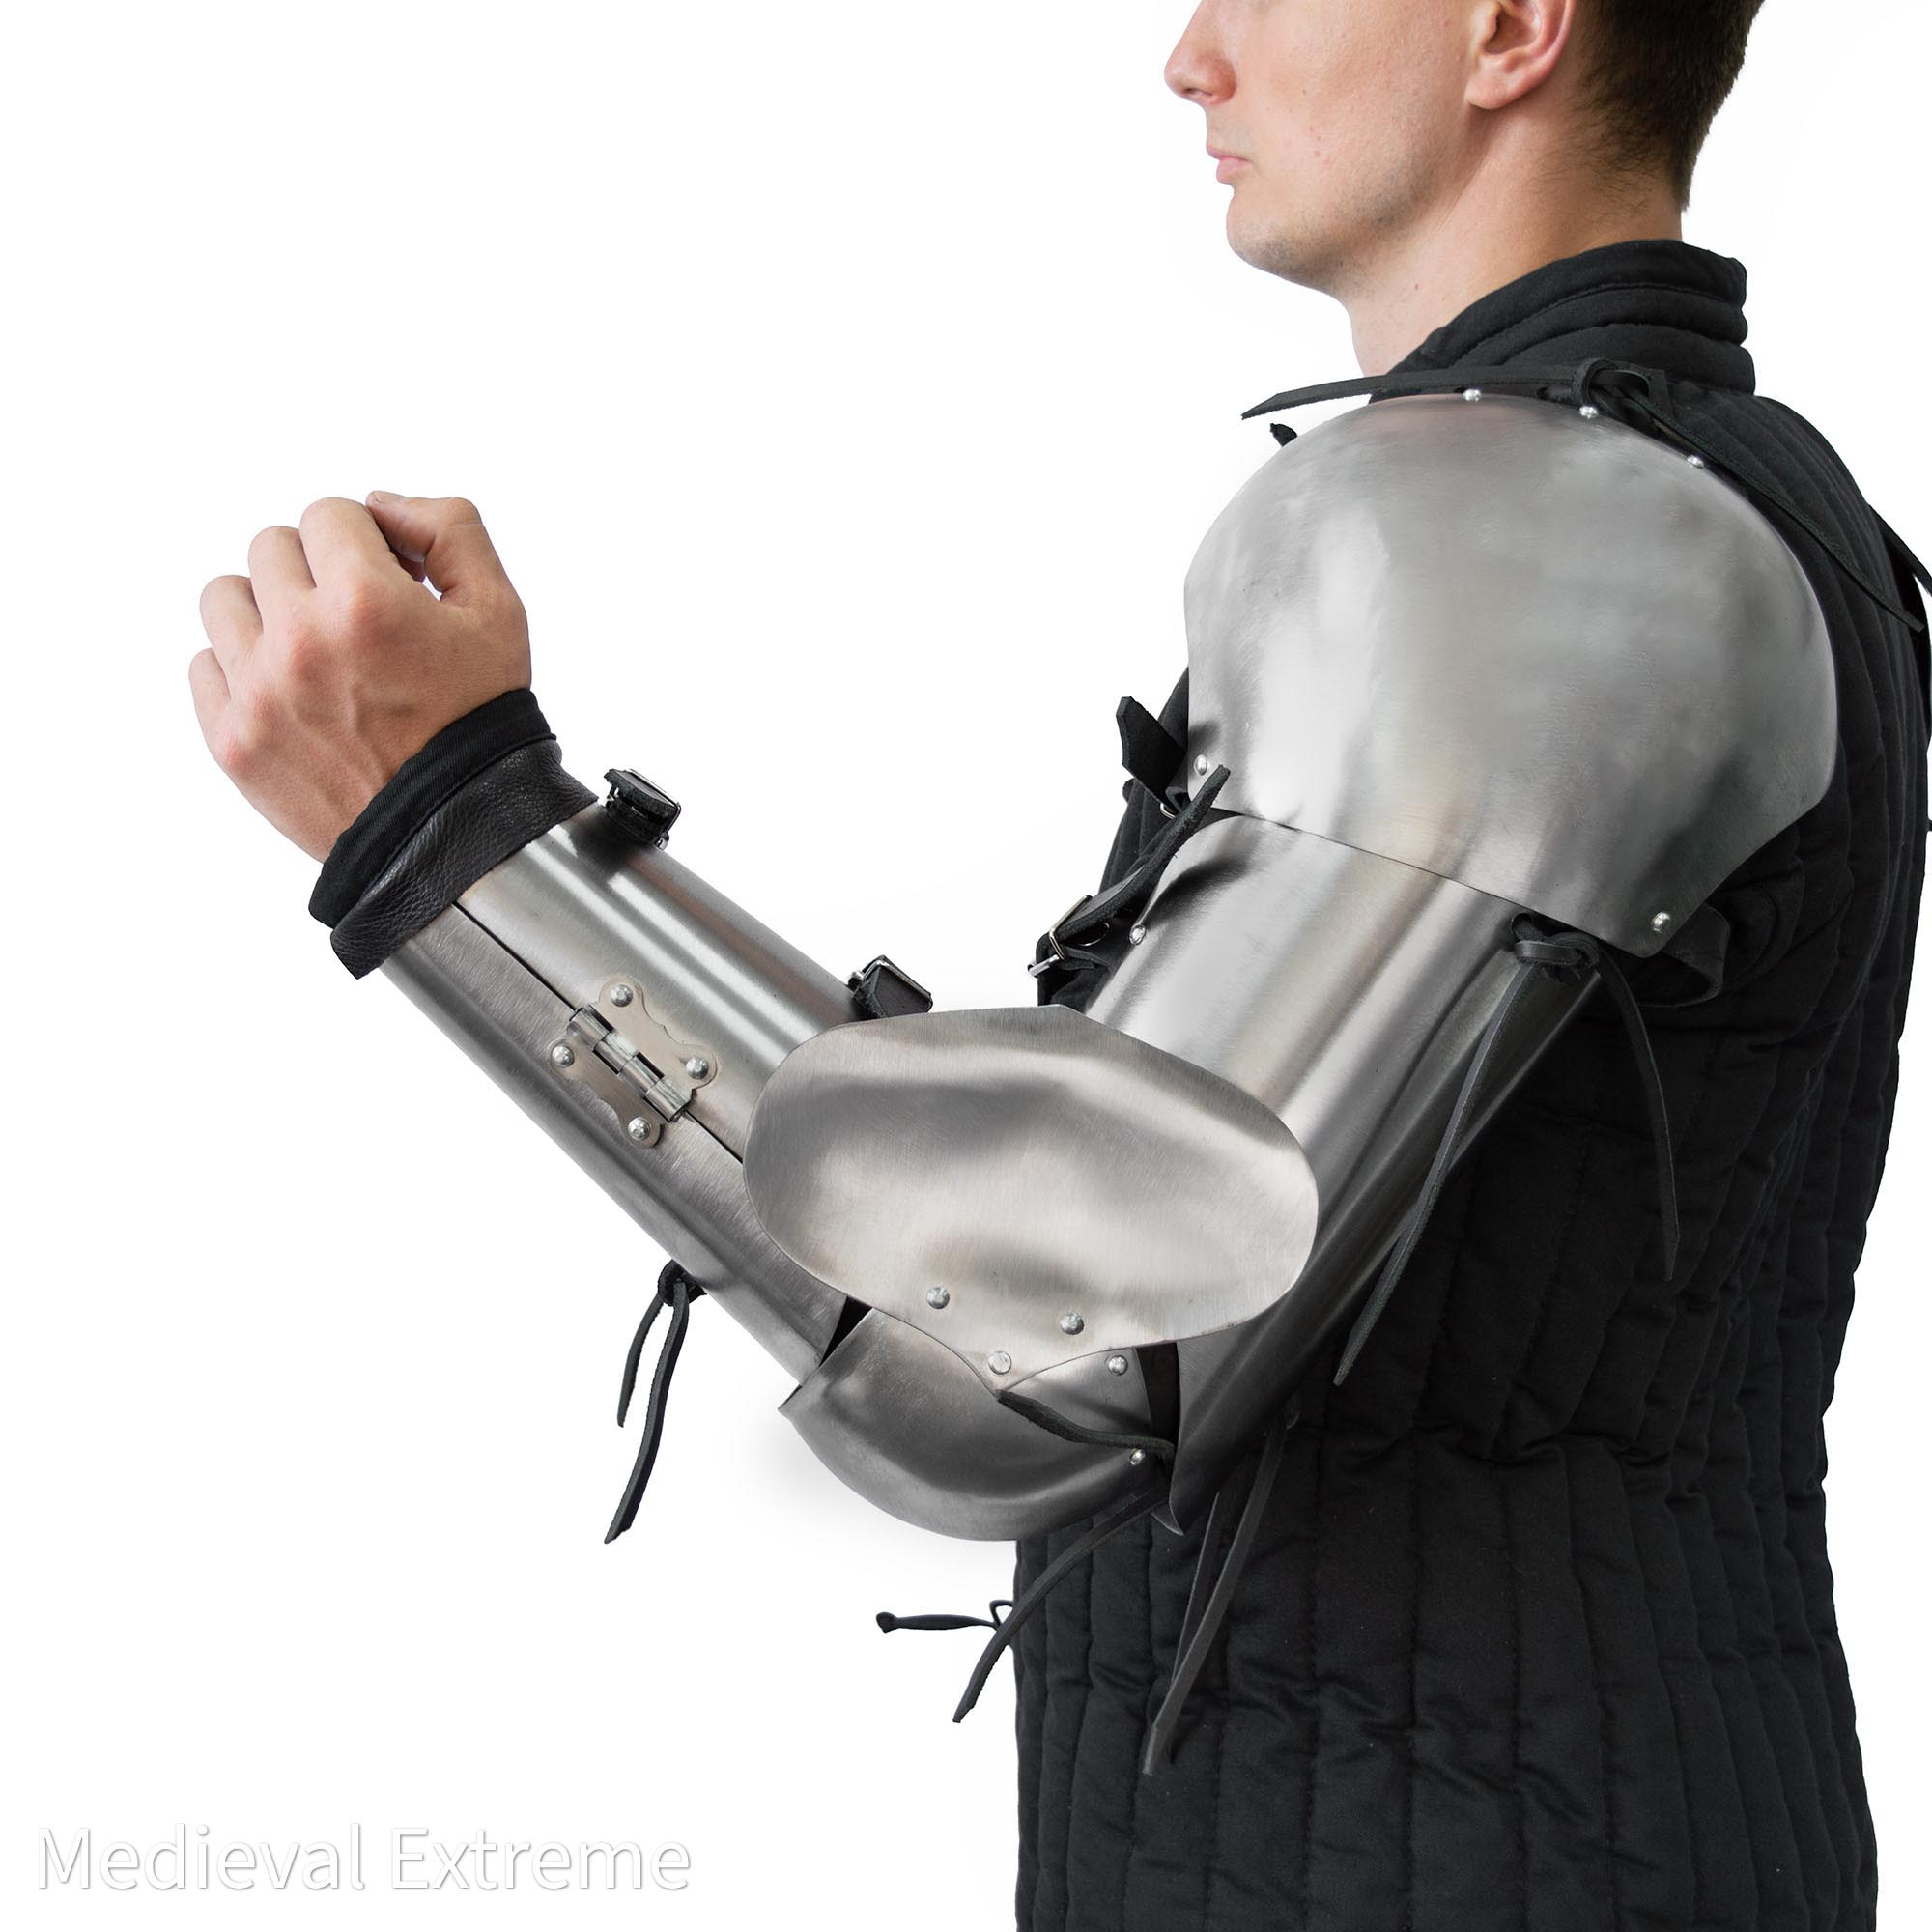
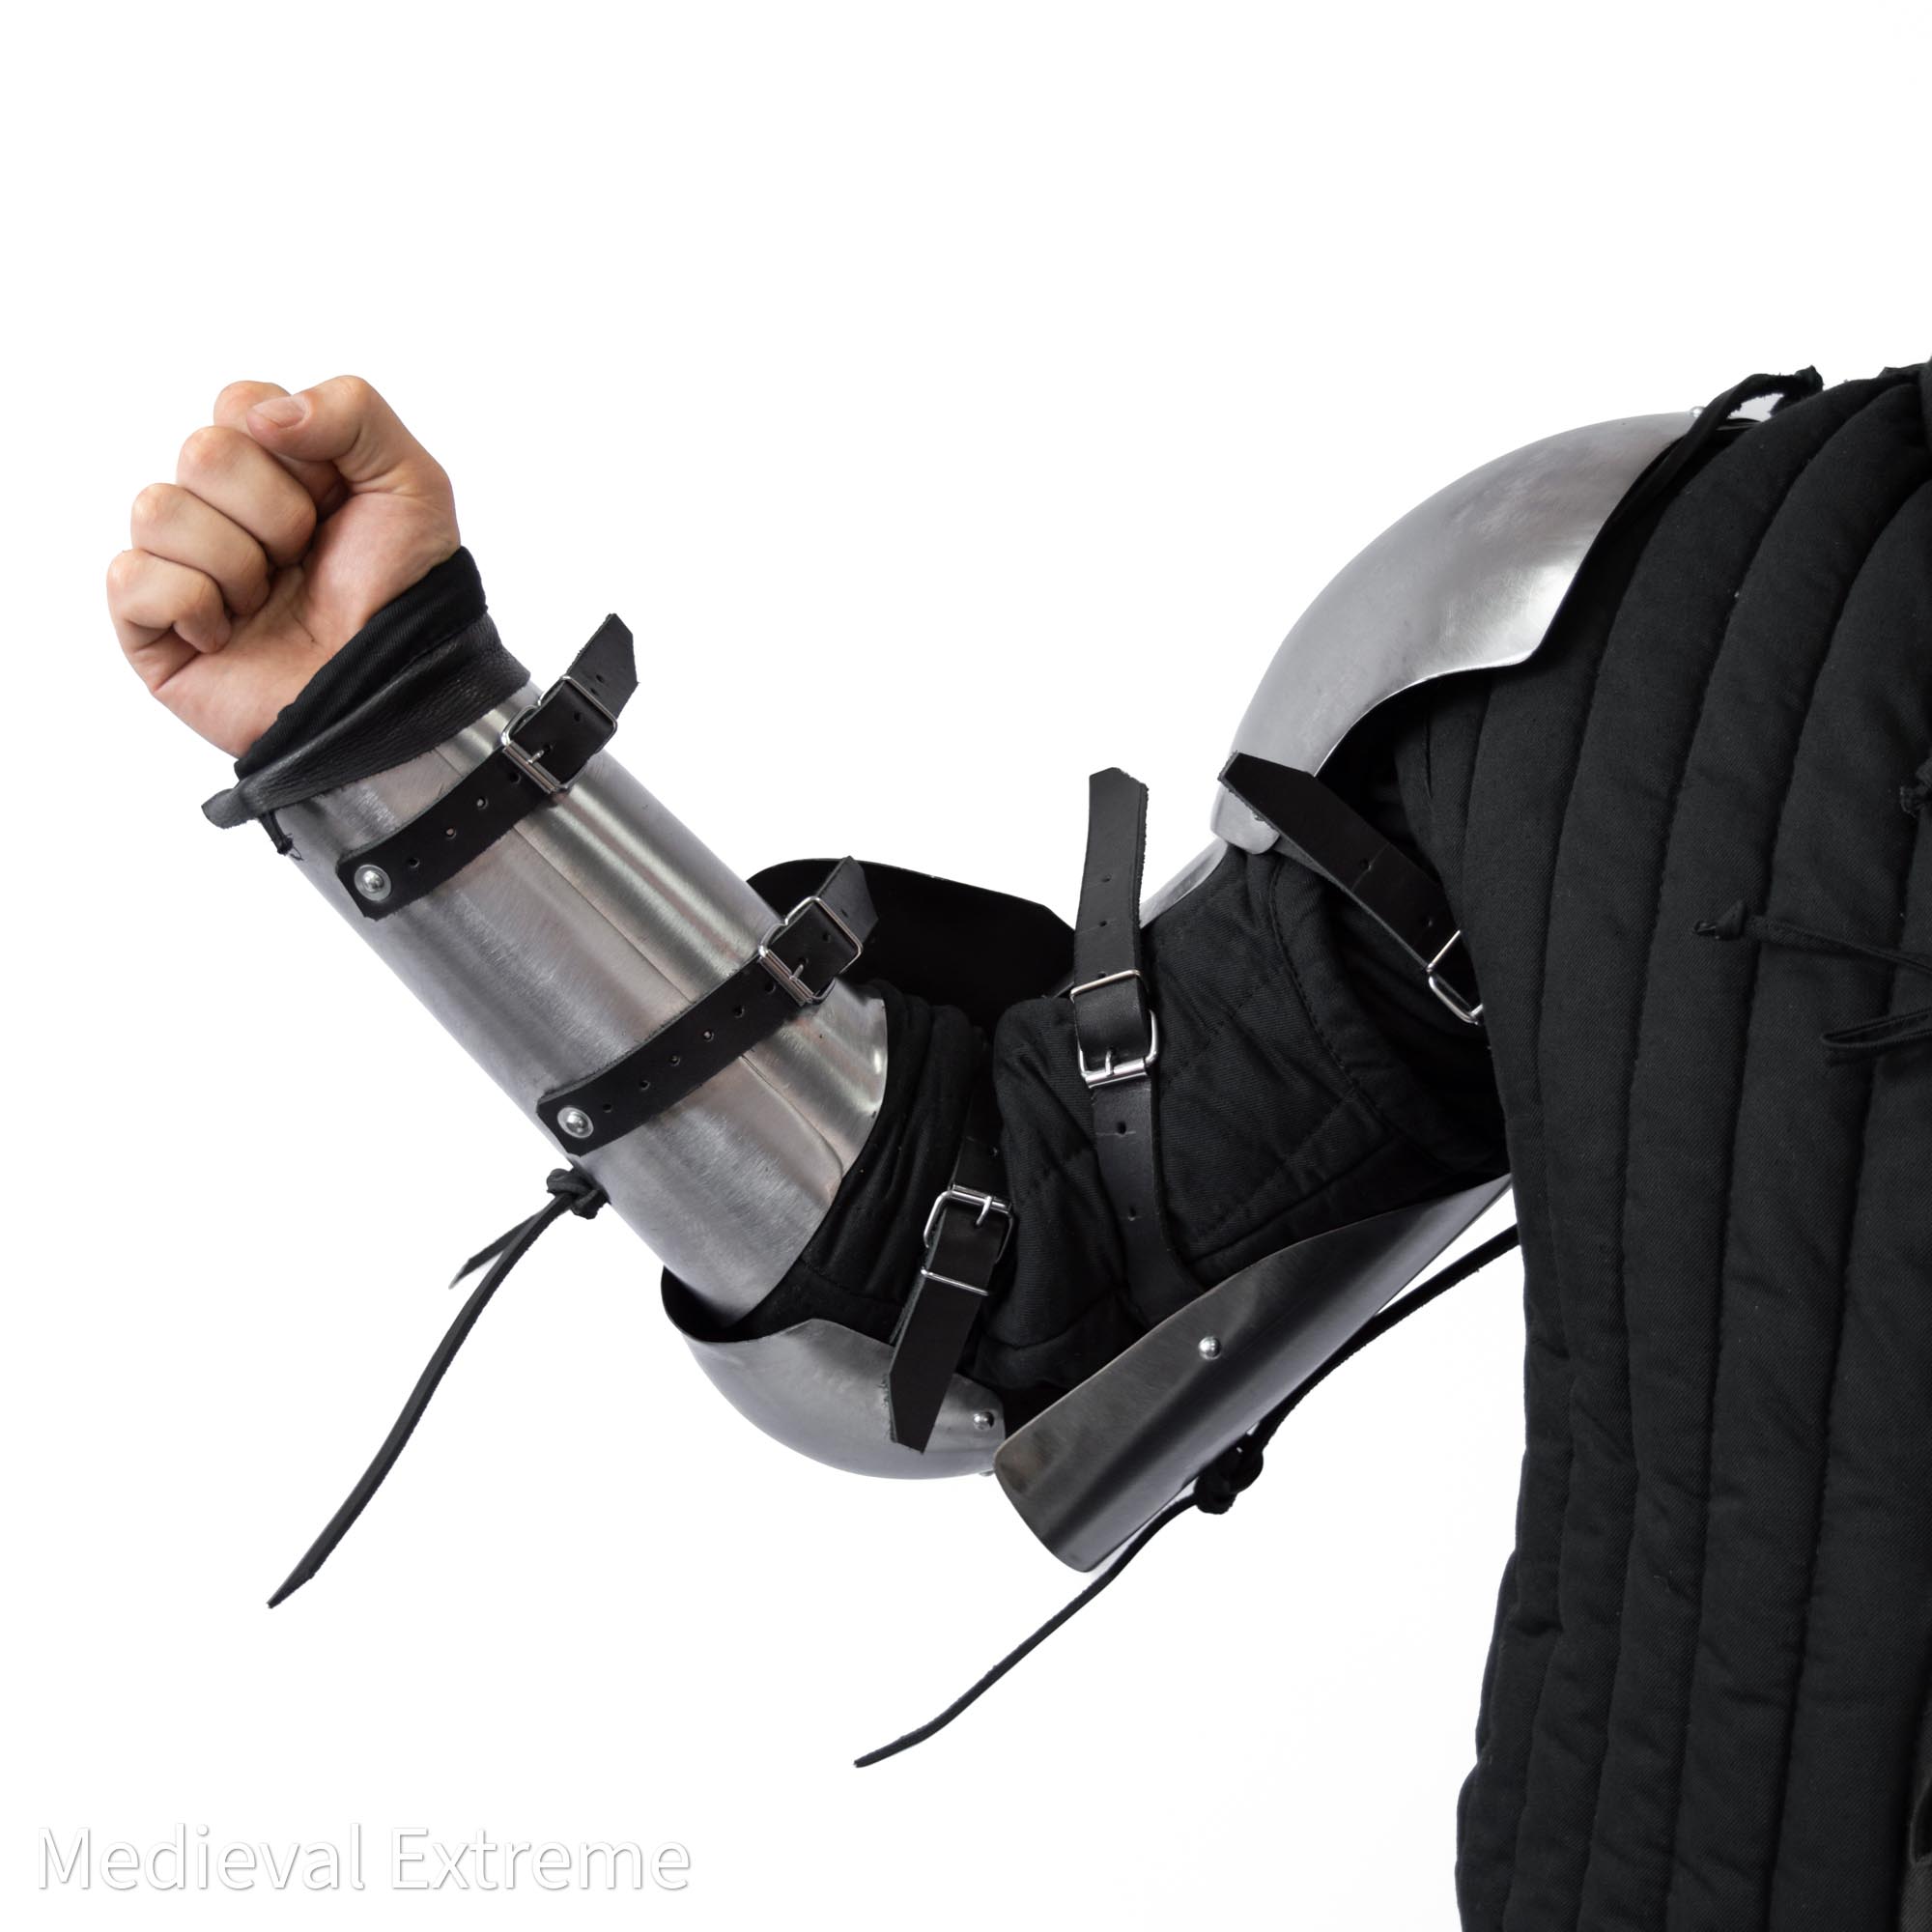
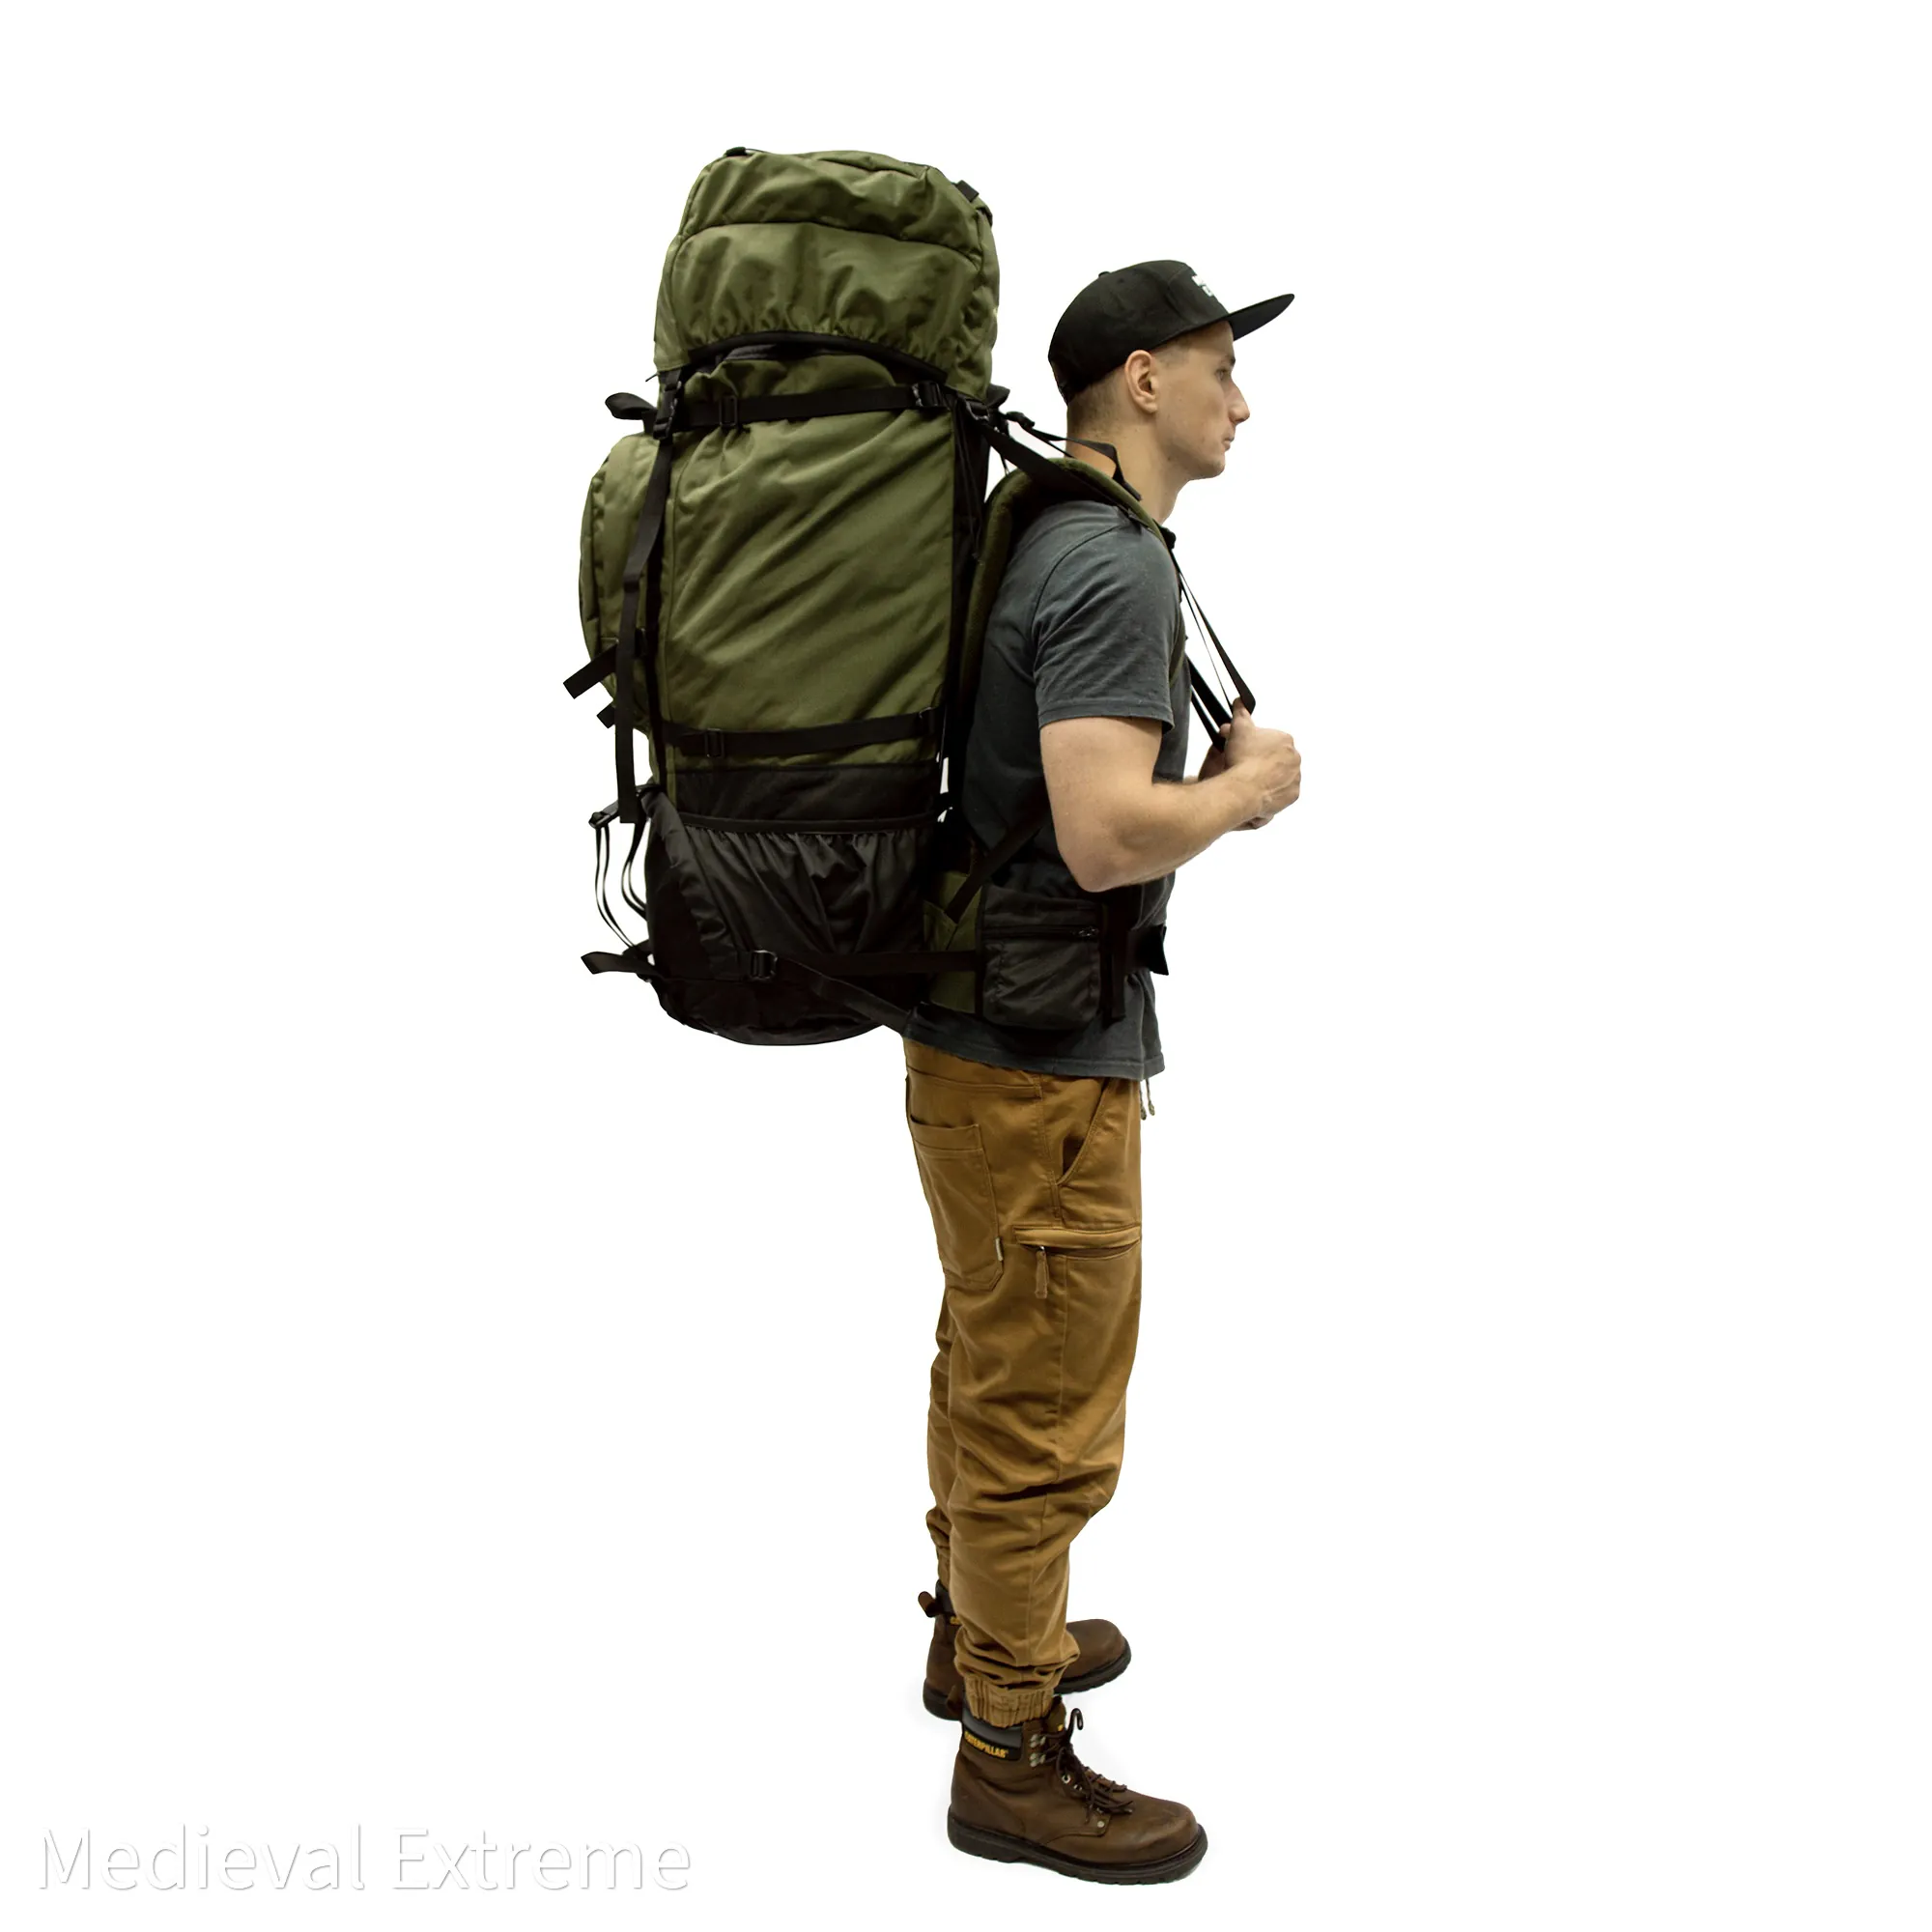
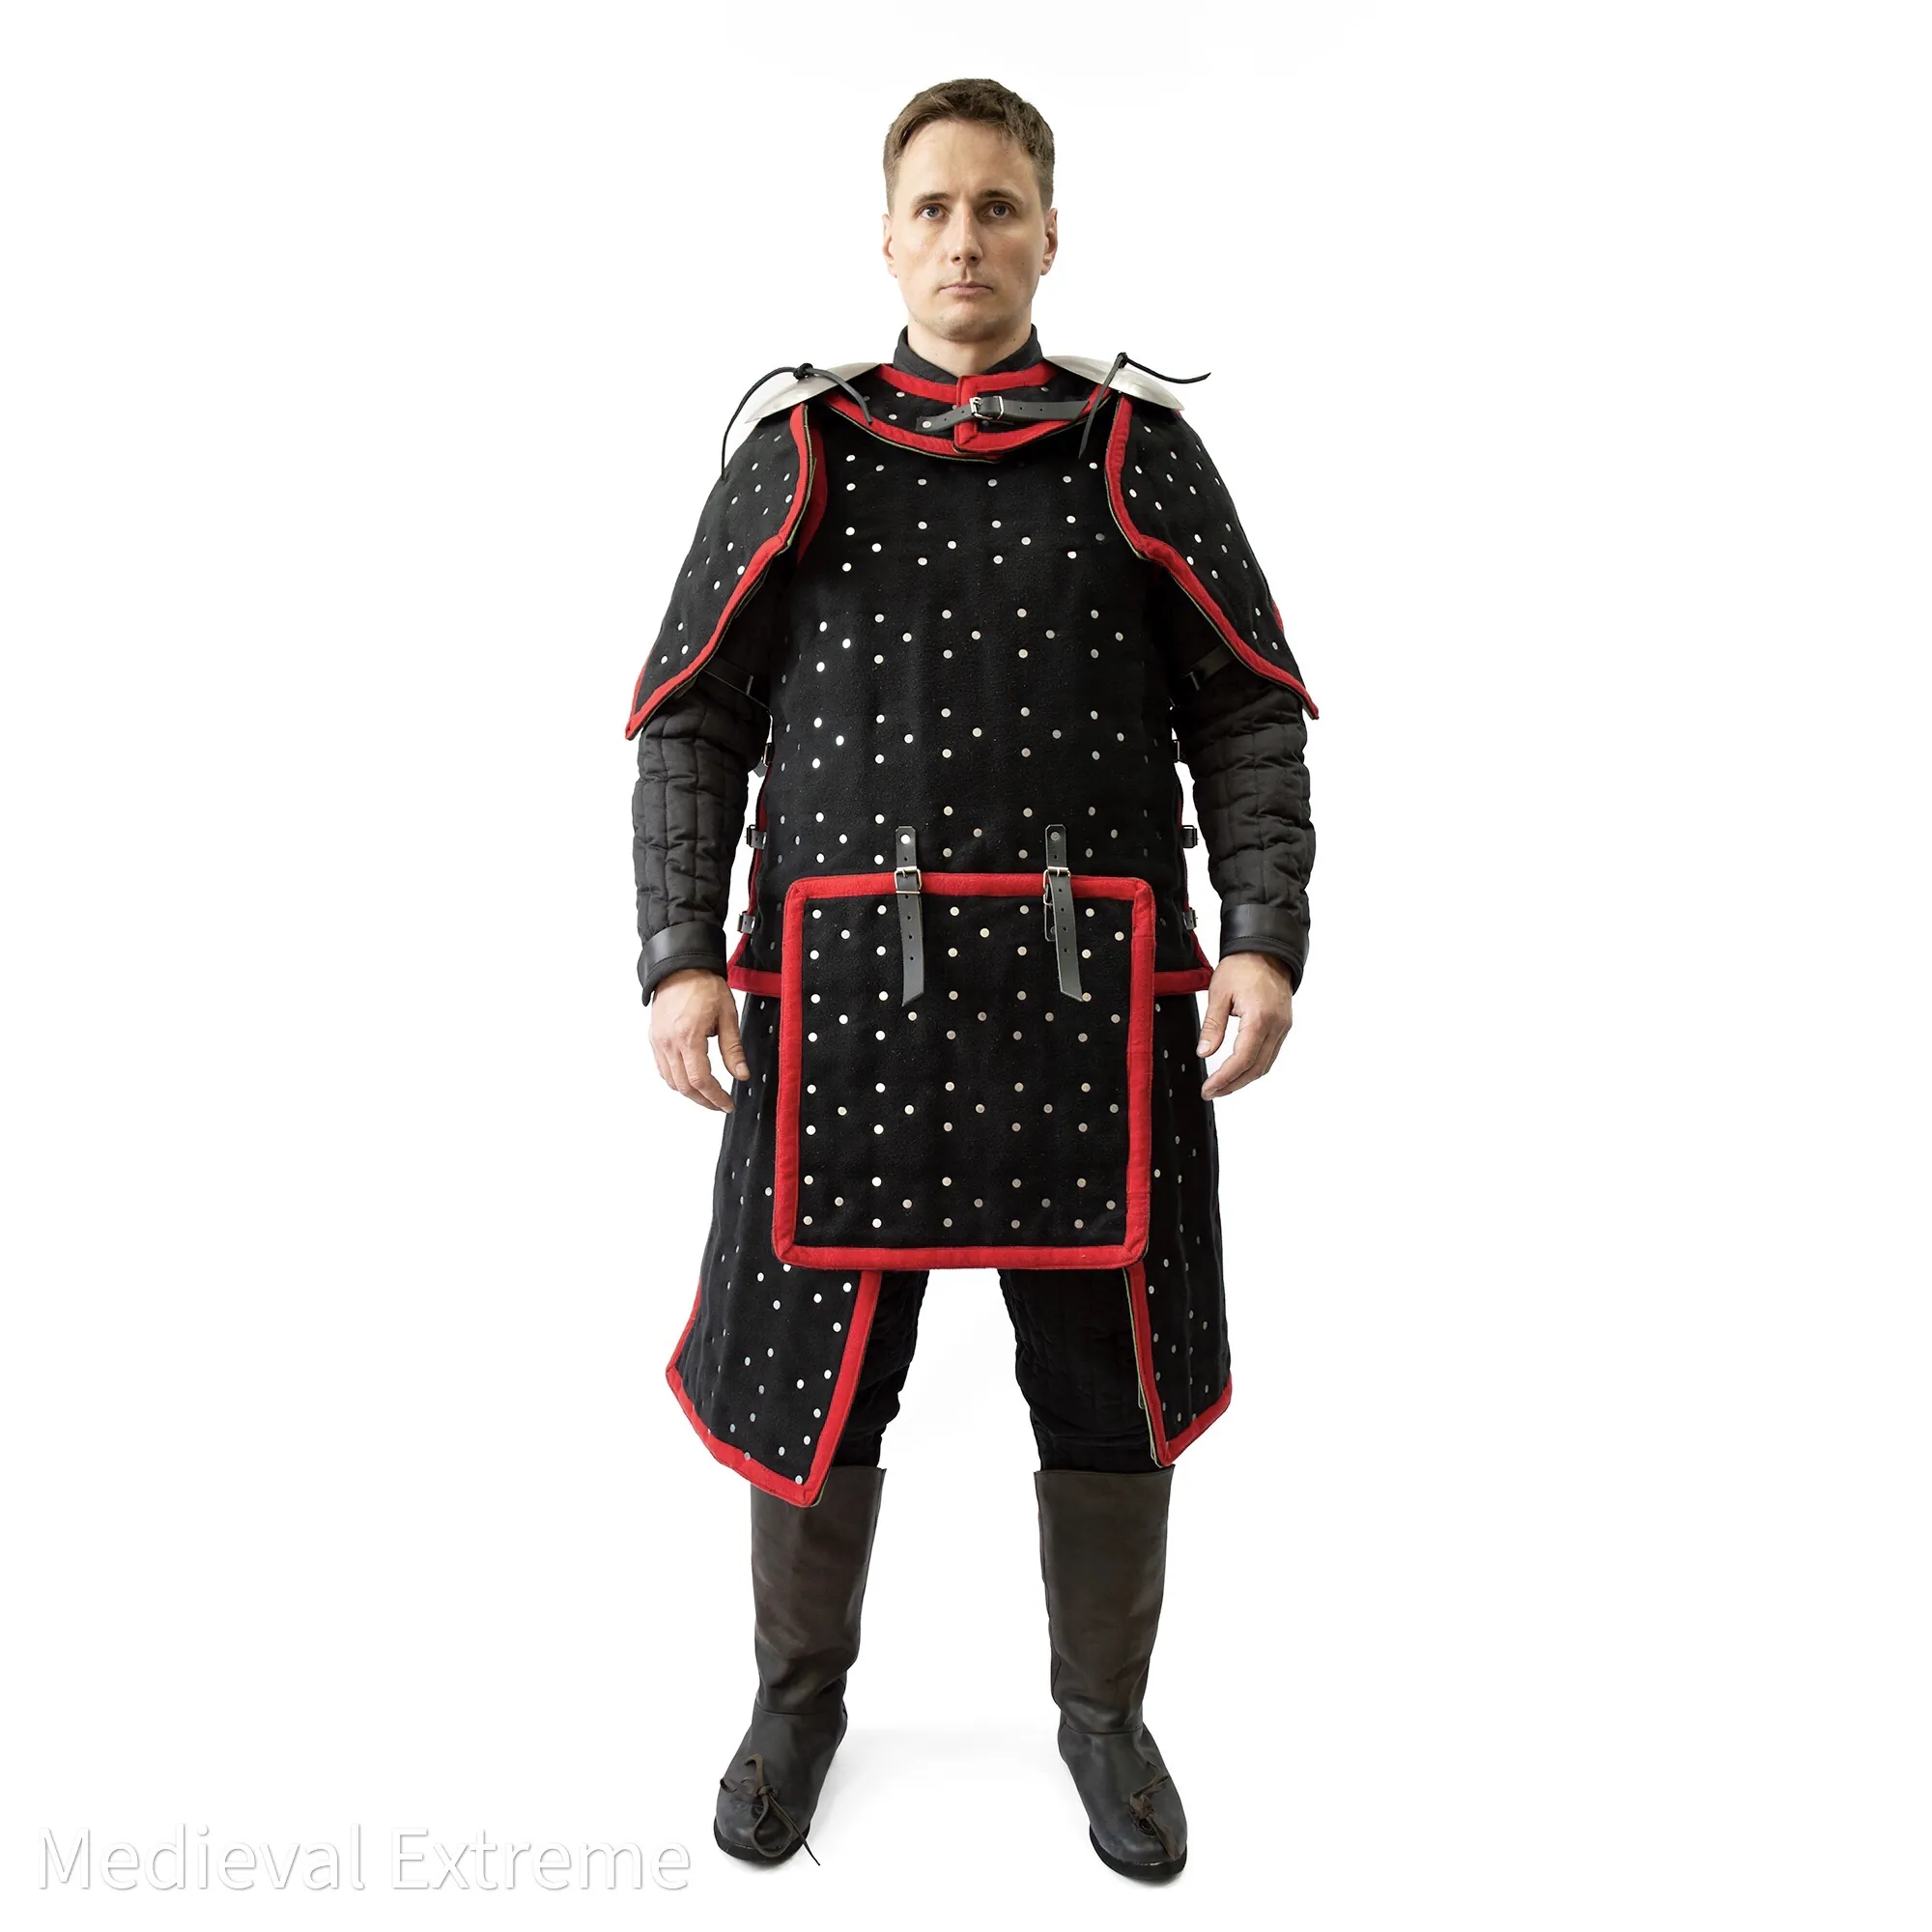
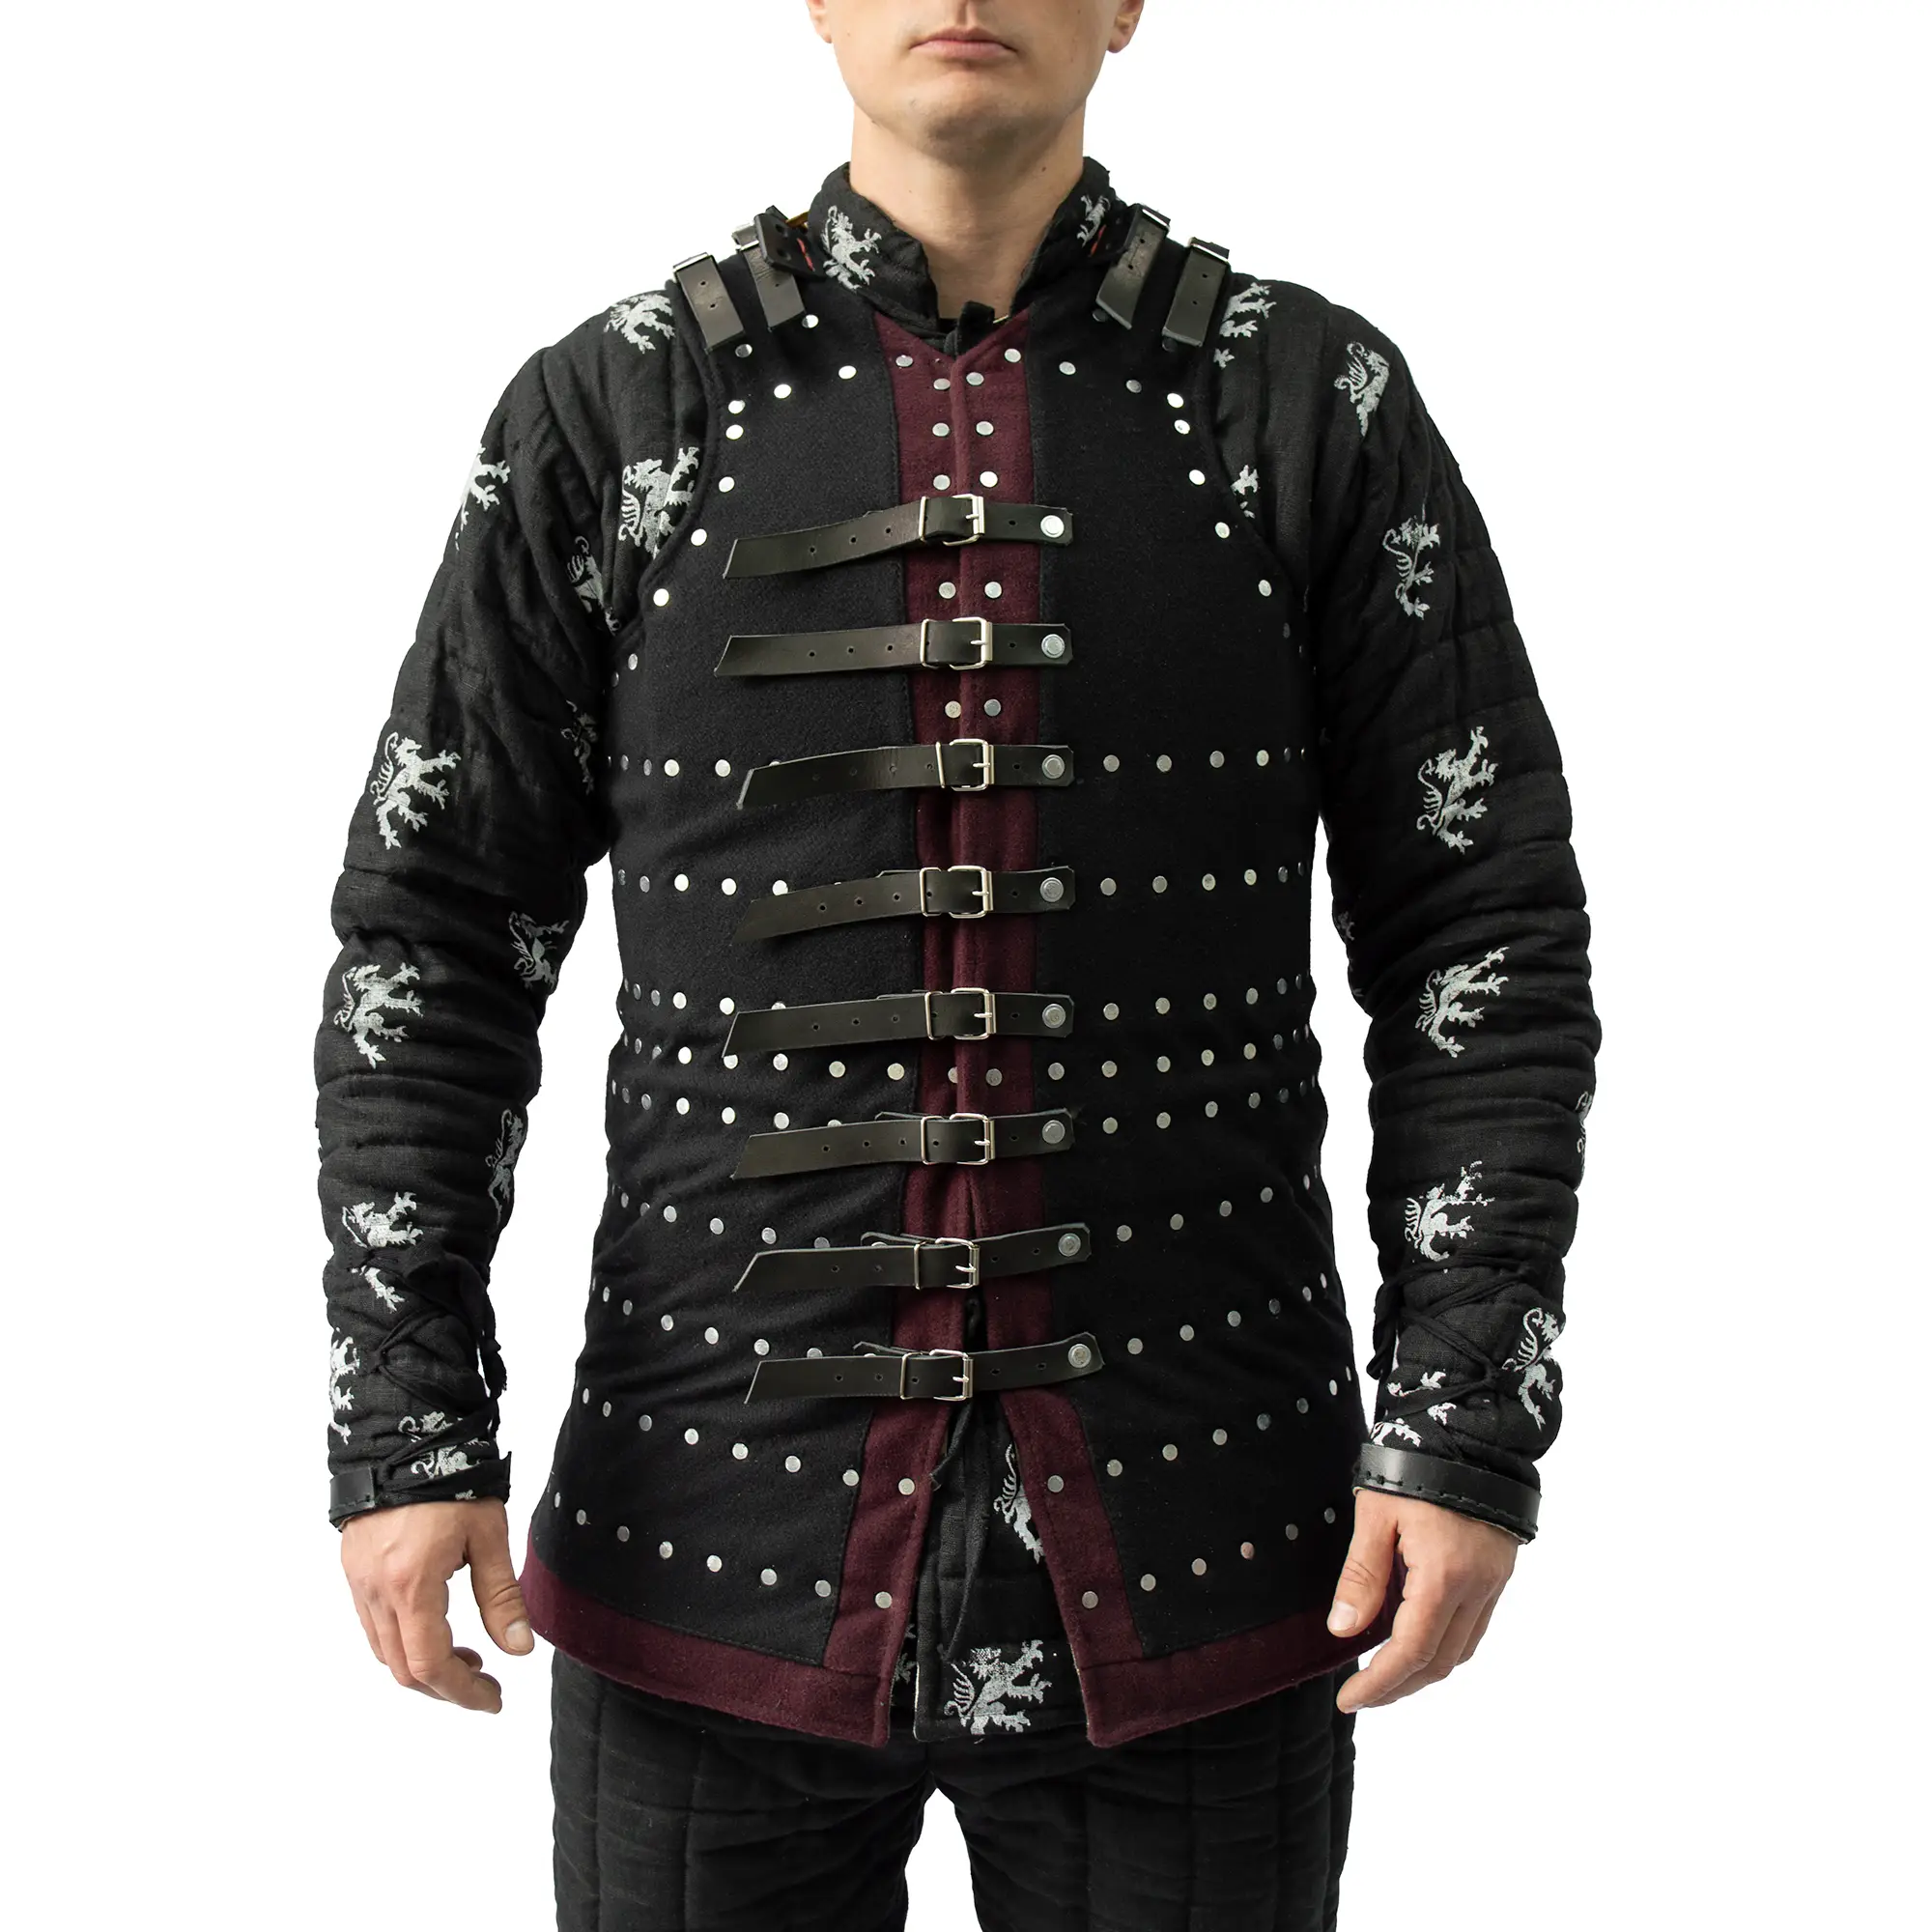
Are you ready to step on the battlefield? Our Basic Floating Armor Kit “Aurora” is the perfect starting point for aspiring armored combatants. Designed for maximum mobility and protection, this kit is ideal for both mass battles and single duels.
What’s Included:
- Lightweight Construction: Crafted from hardened steel, this kit is designed for agility without sacrificing safety.
- Essential Protection: Includes items you need to get started.
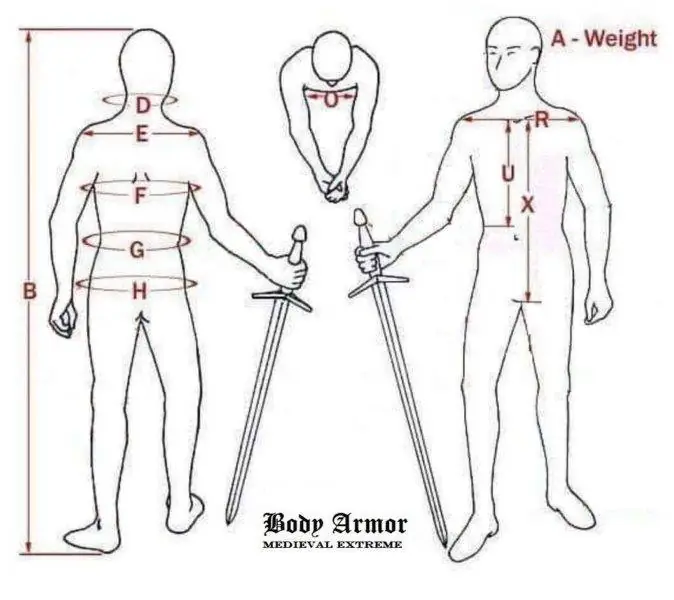
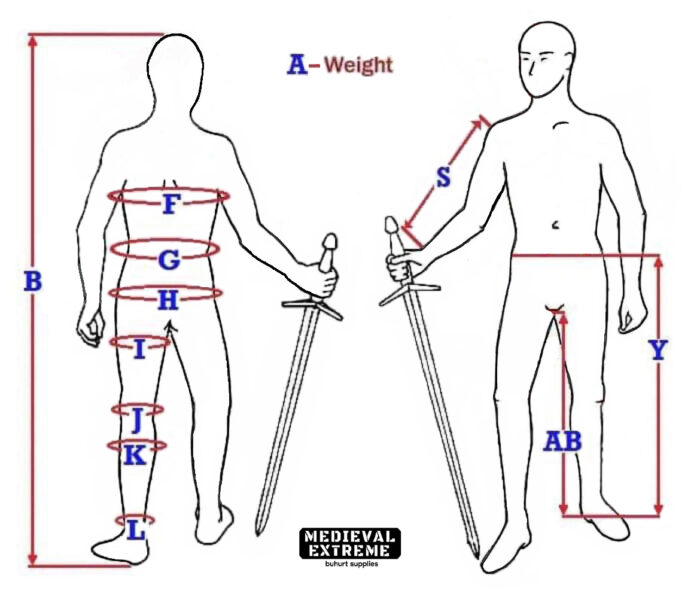
- Customizable Fit: Enjoy a perfect fit with our made-to-measure options.
Choose your edition:
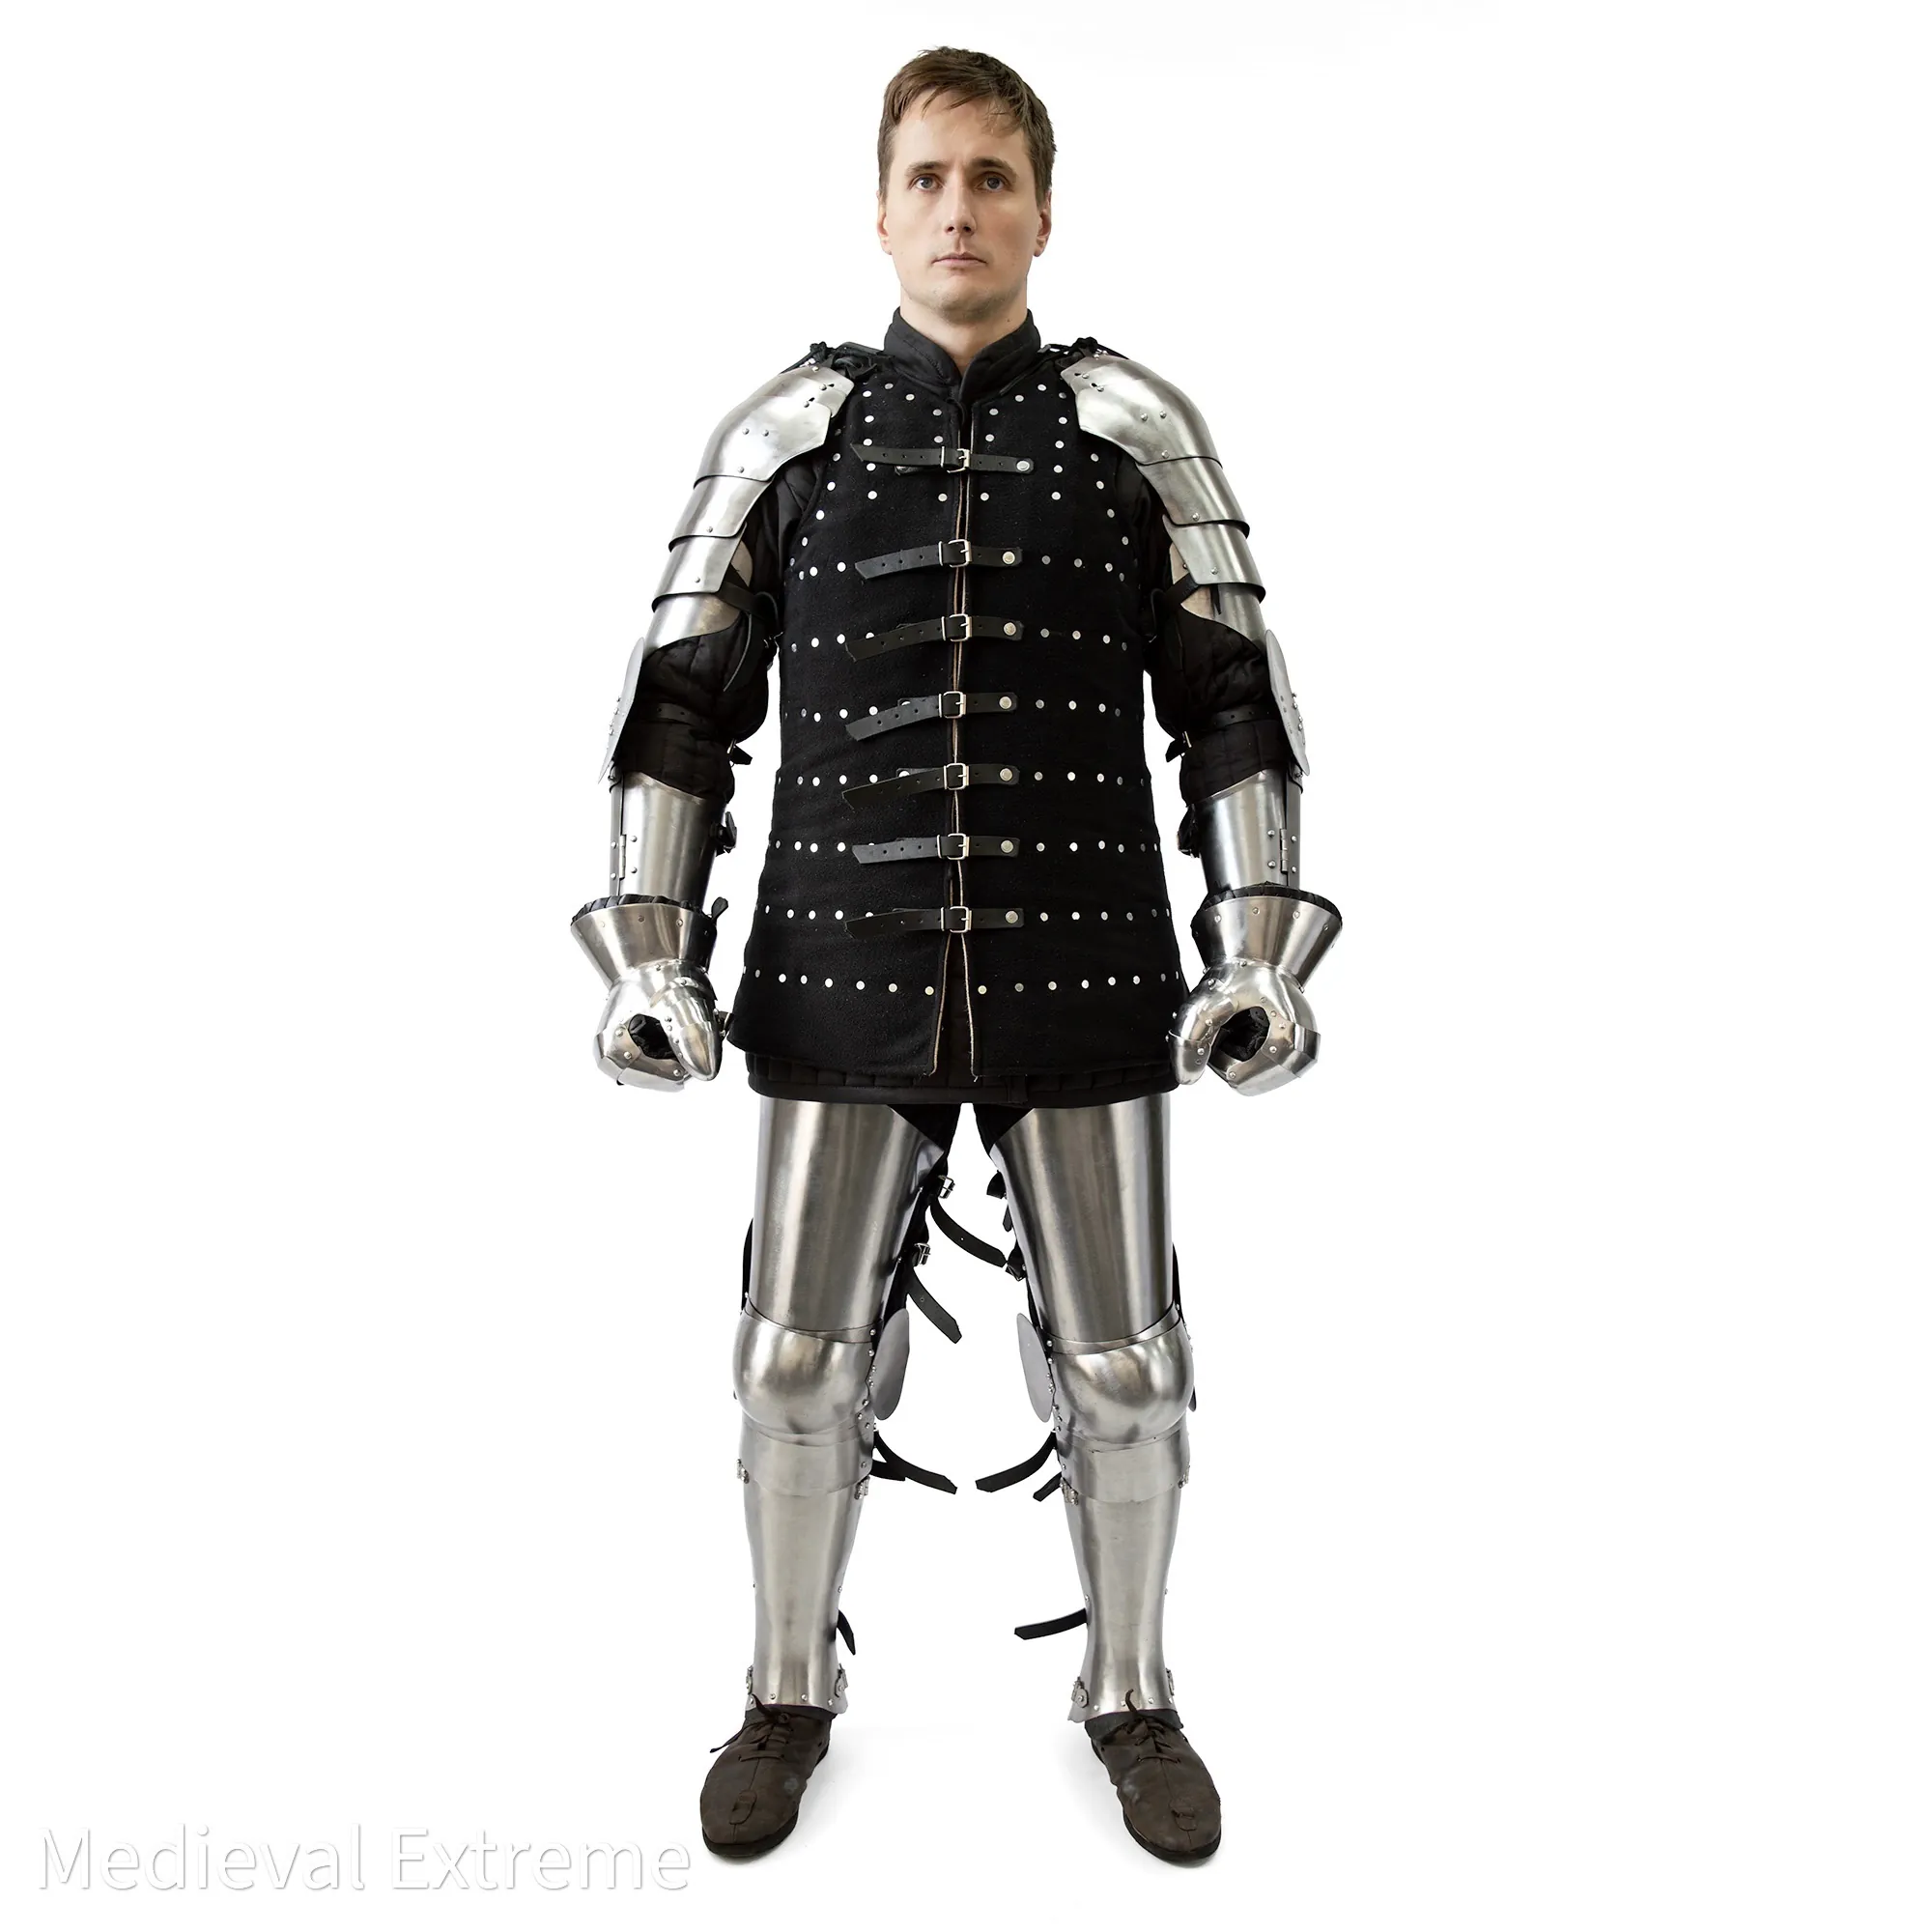
1. Starter
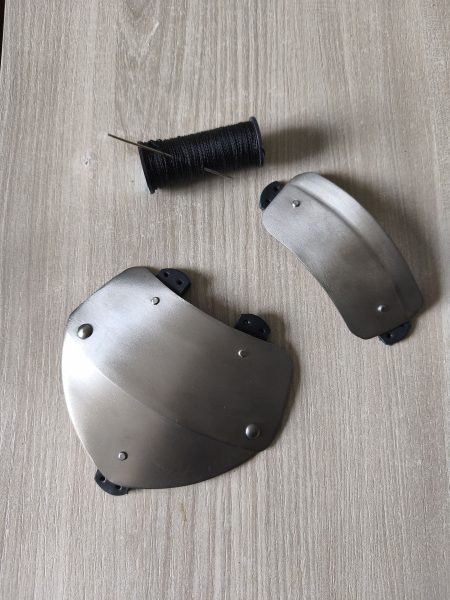
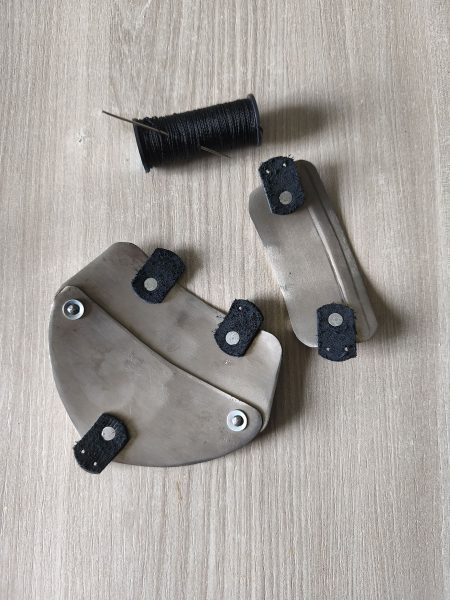
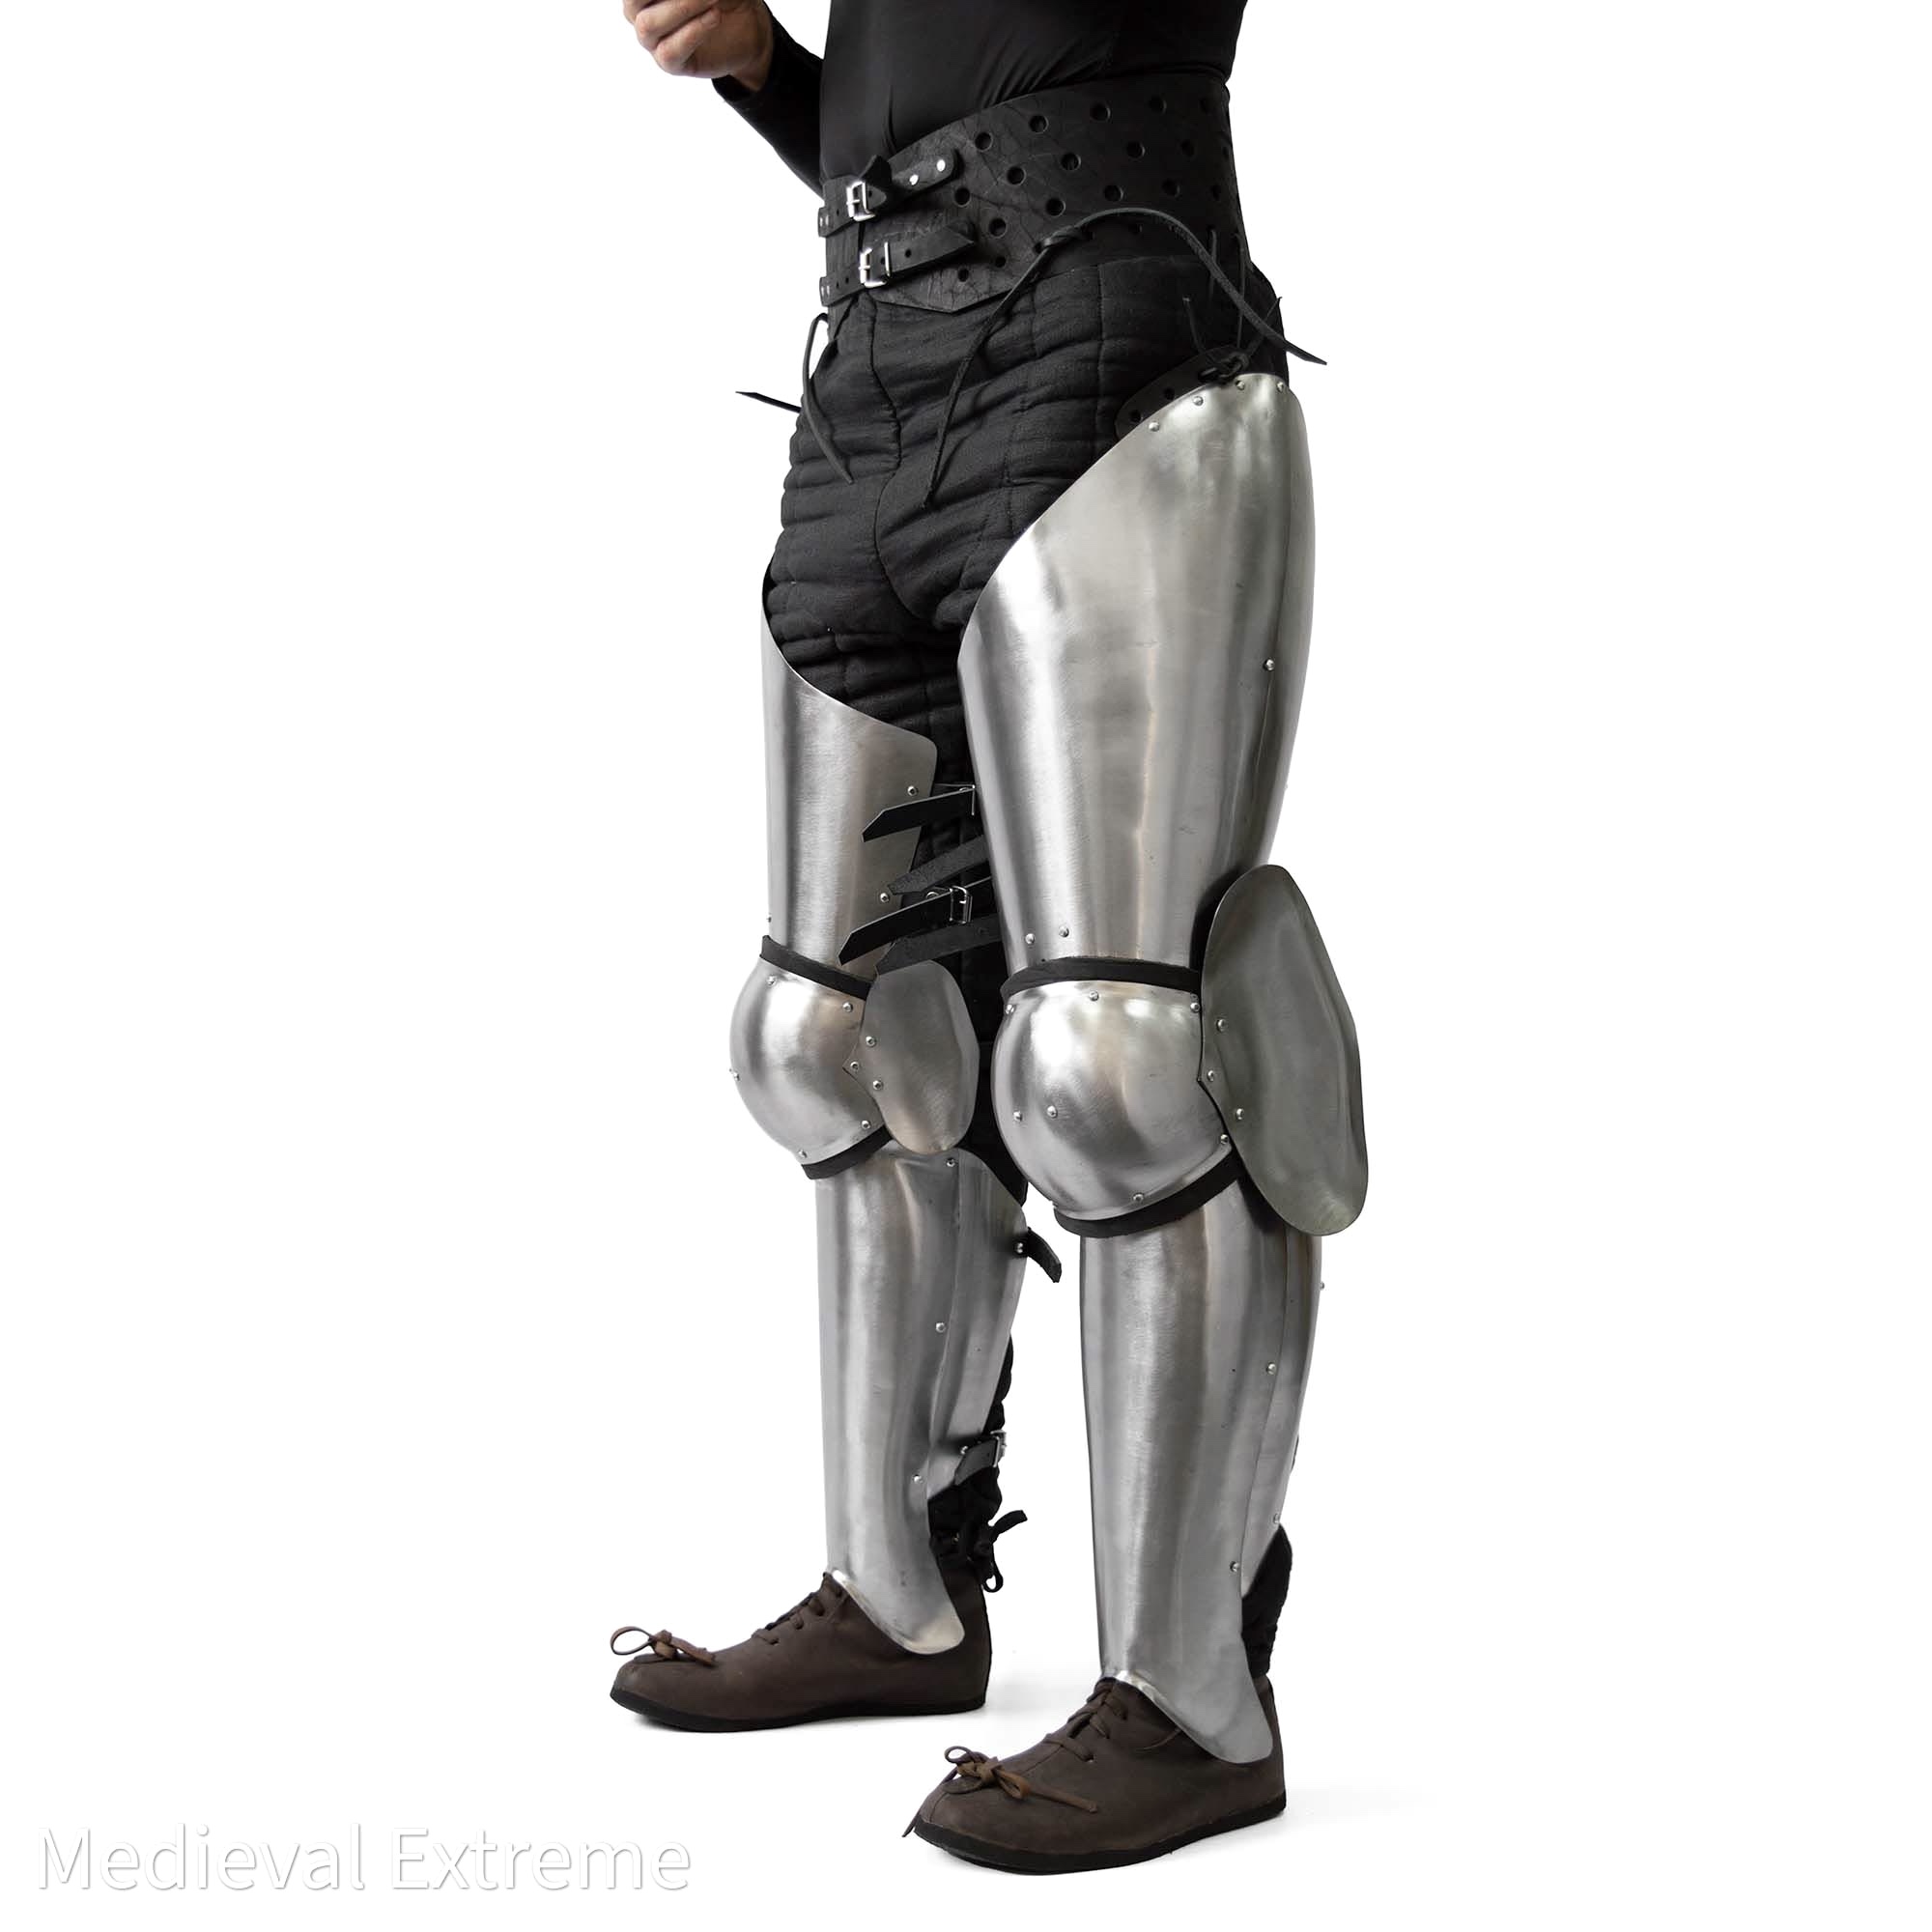
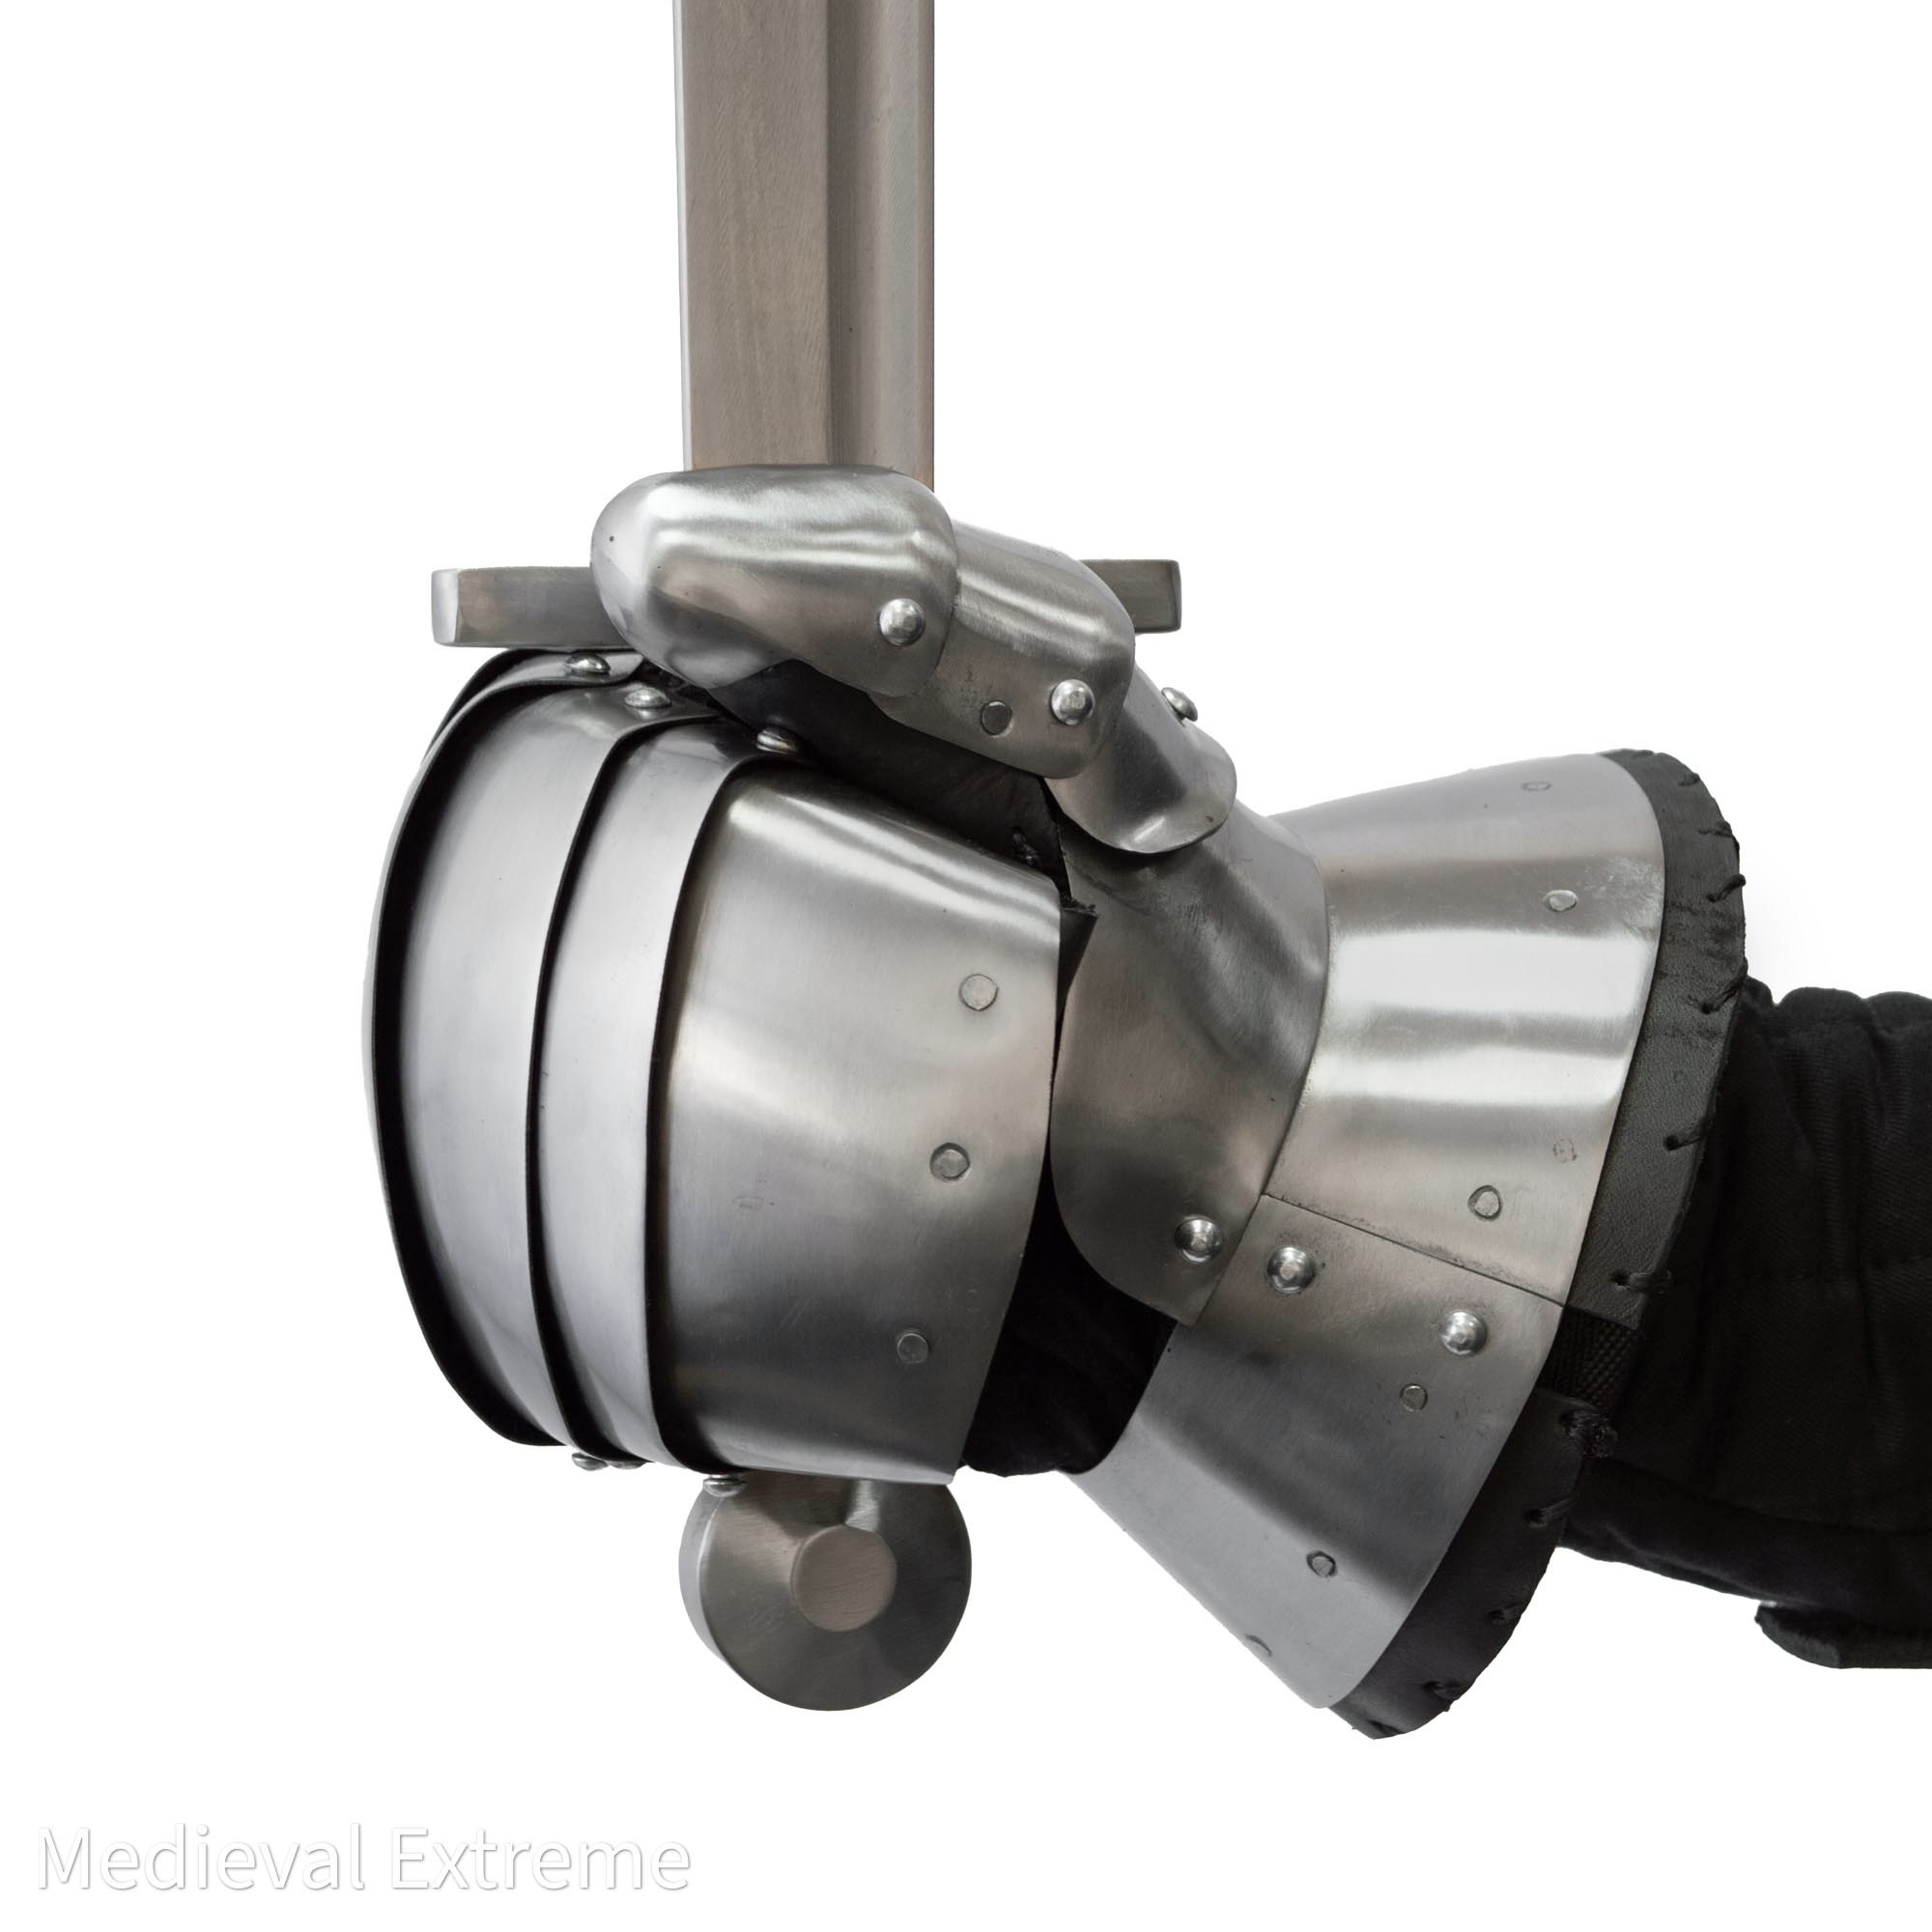
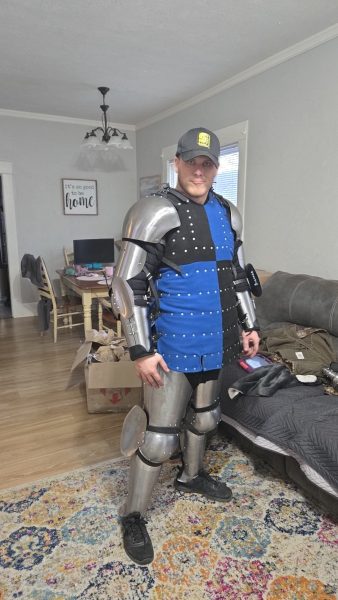
- Basic floating arms Aurora
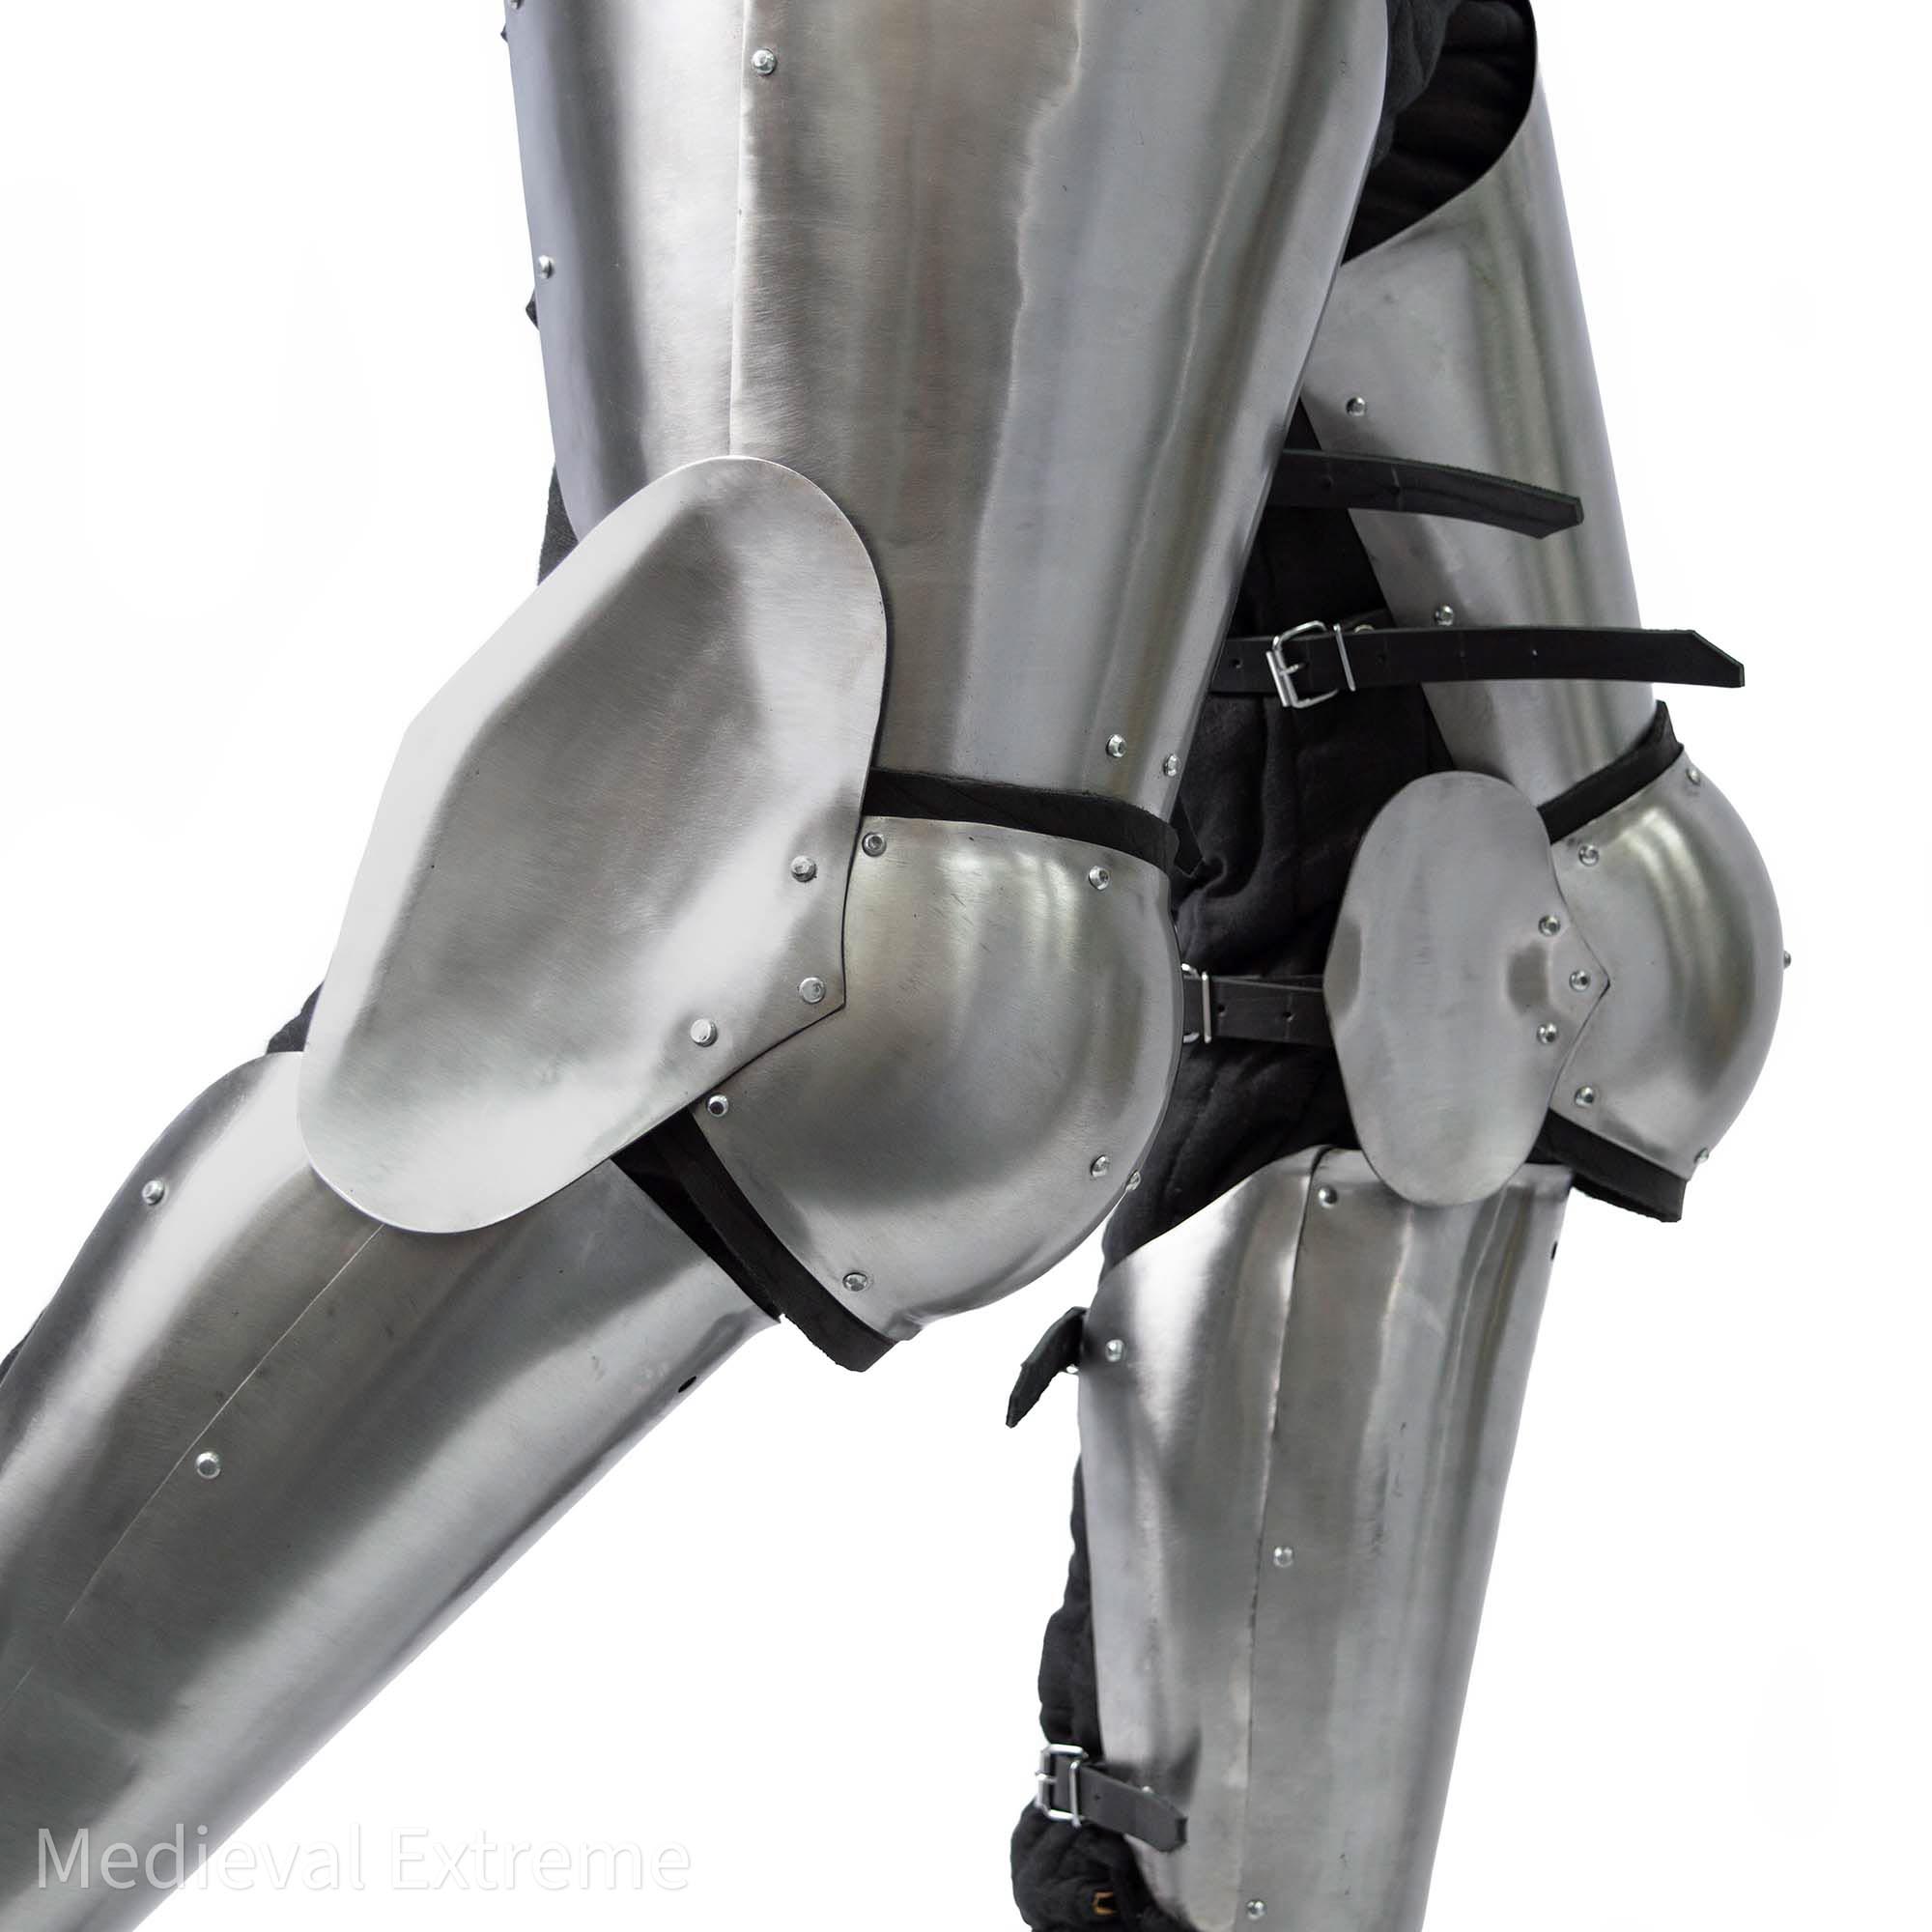
- Basic floating legs Aurora
- Bonus: Free shipping
2. Advanced
- Basic floating arms Aurora
- Basic floating legs Aurora
- Basic Hardened Steel Mittens
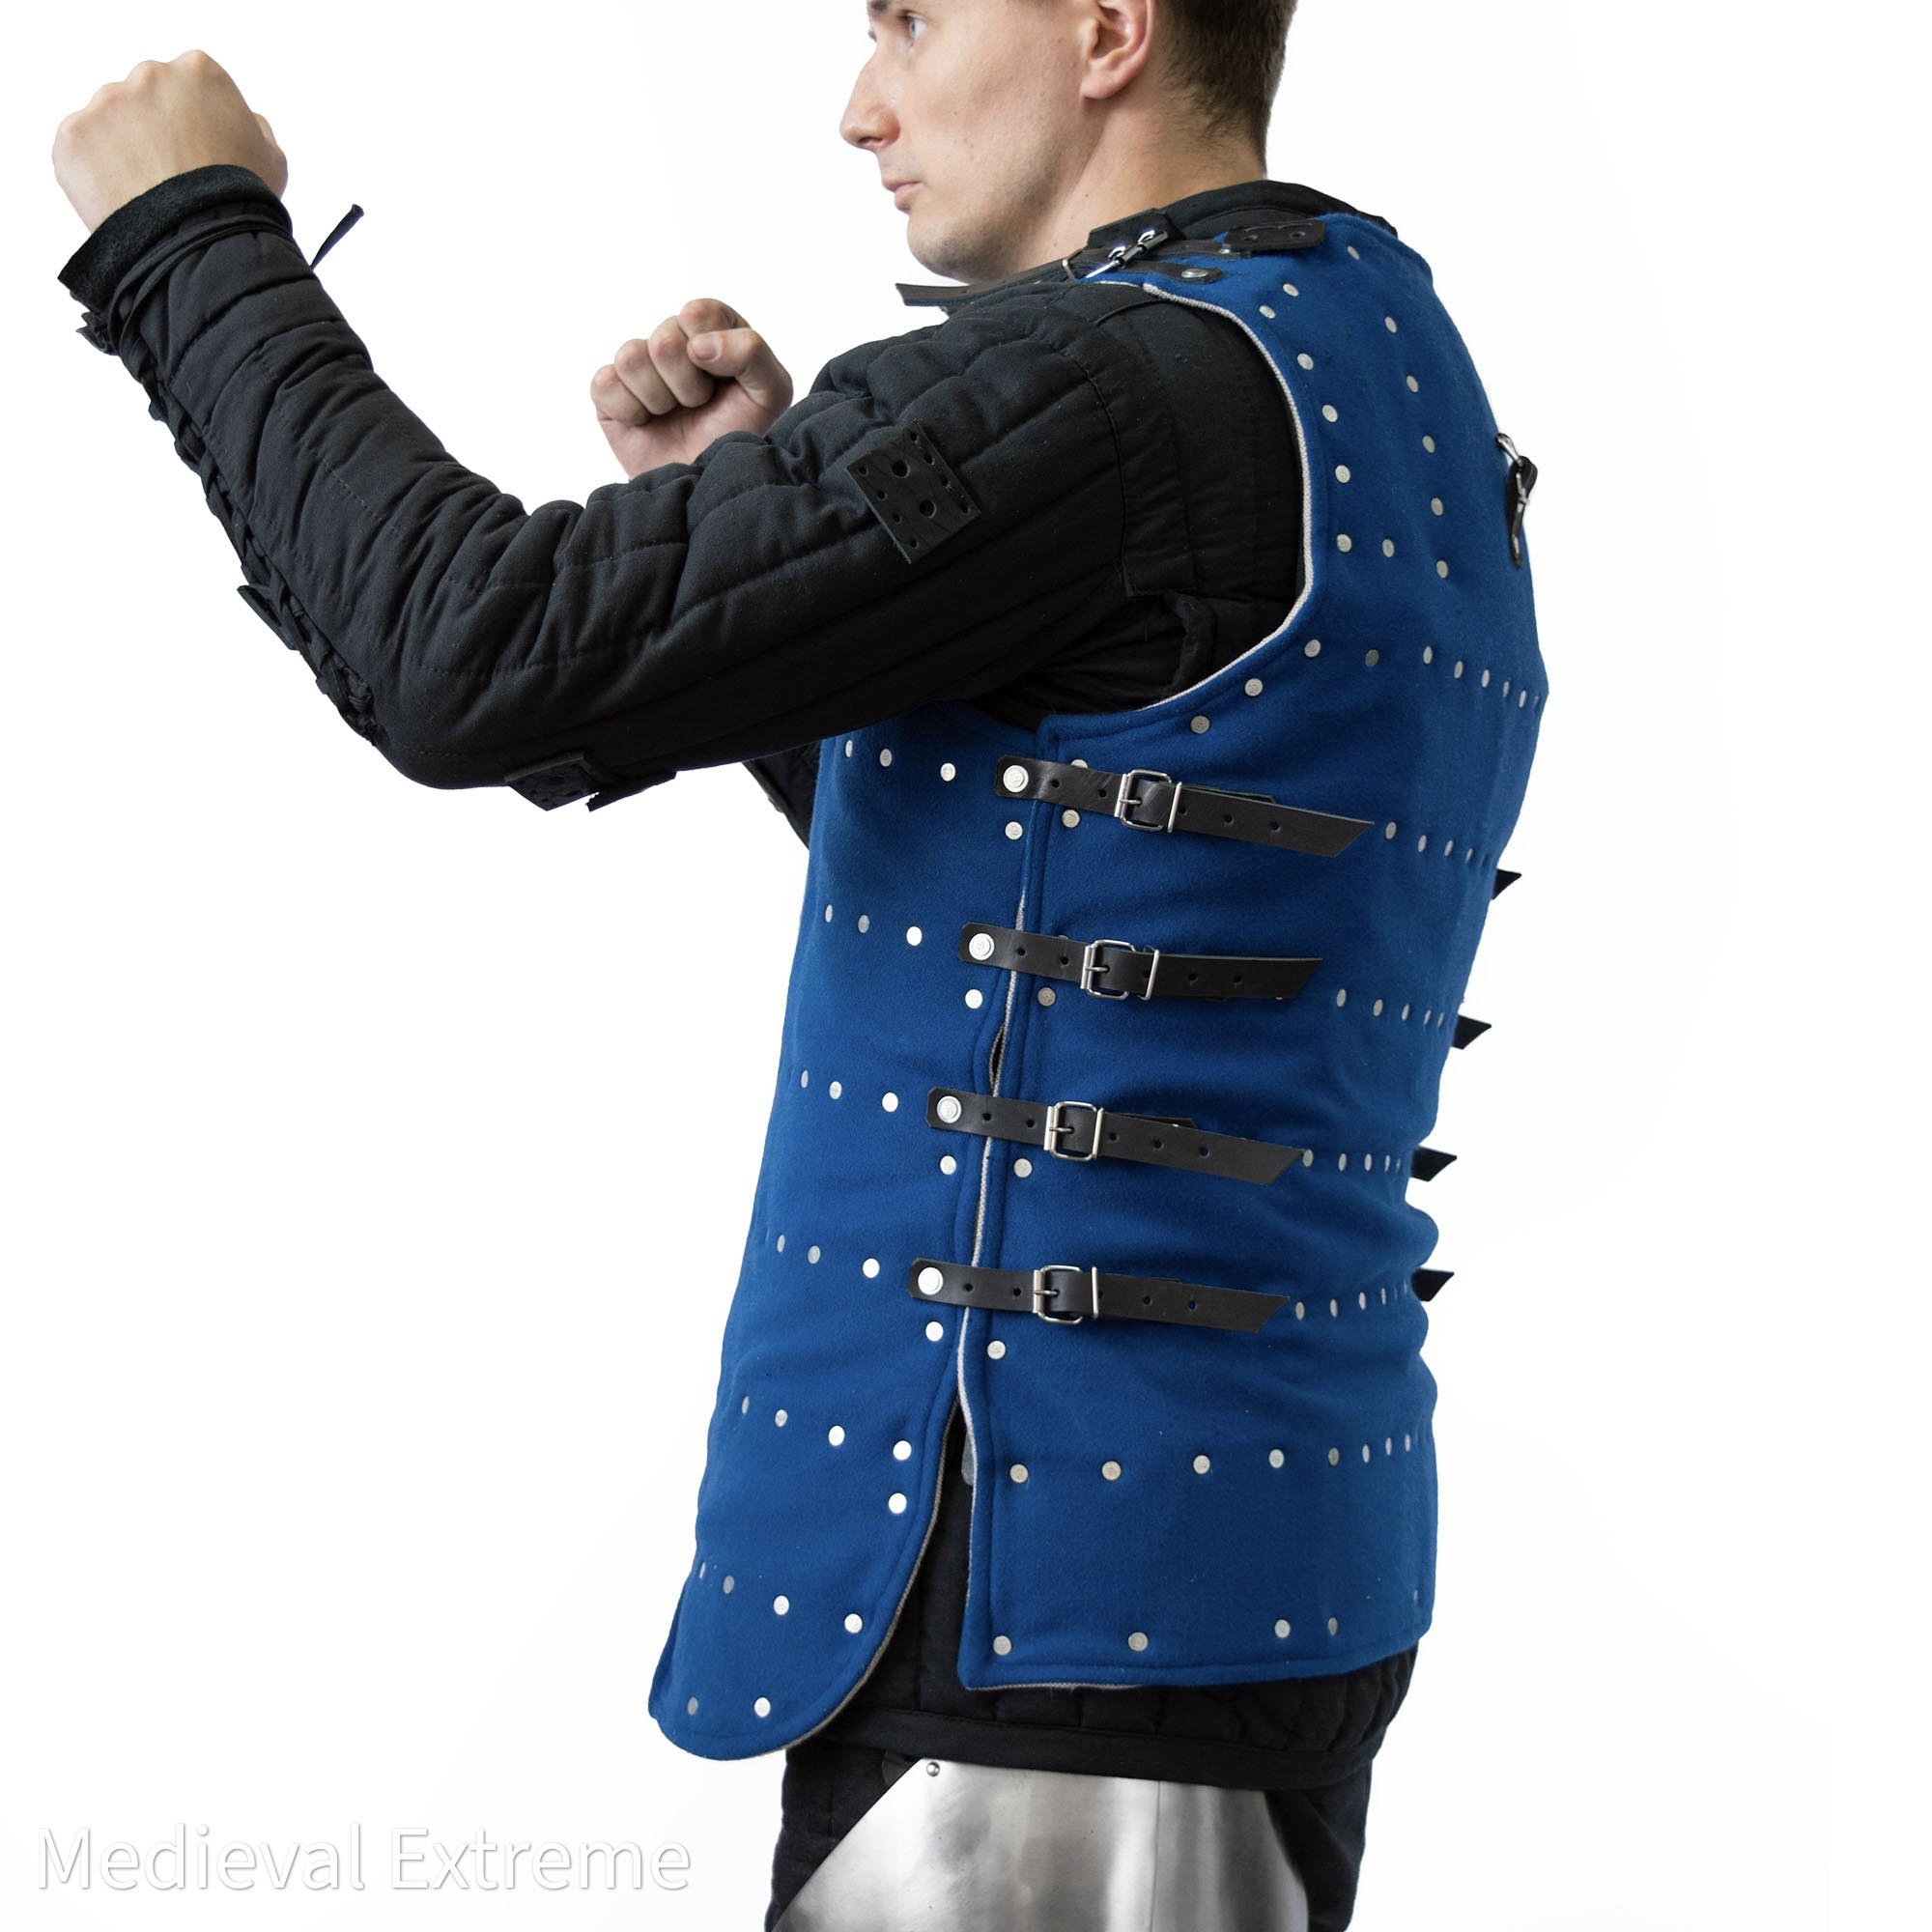
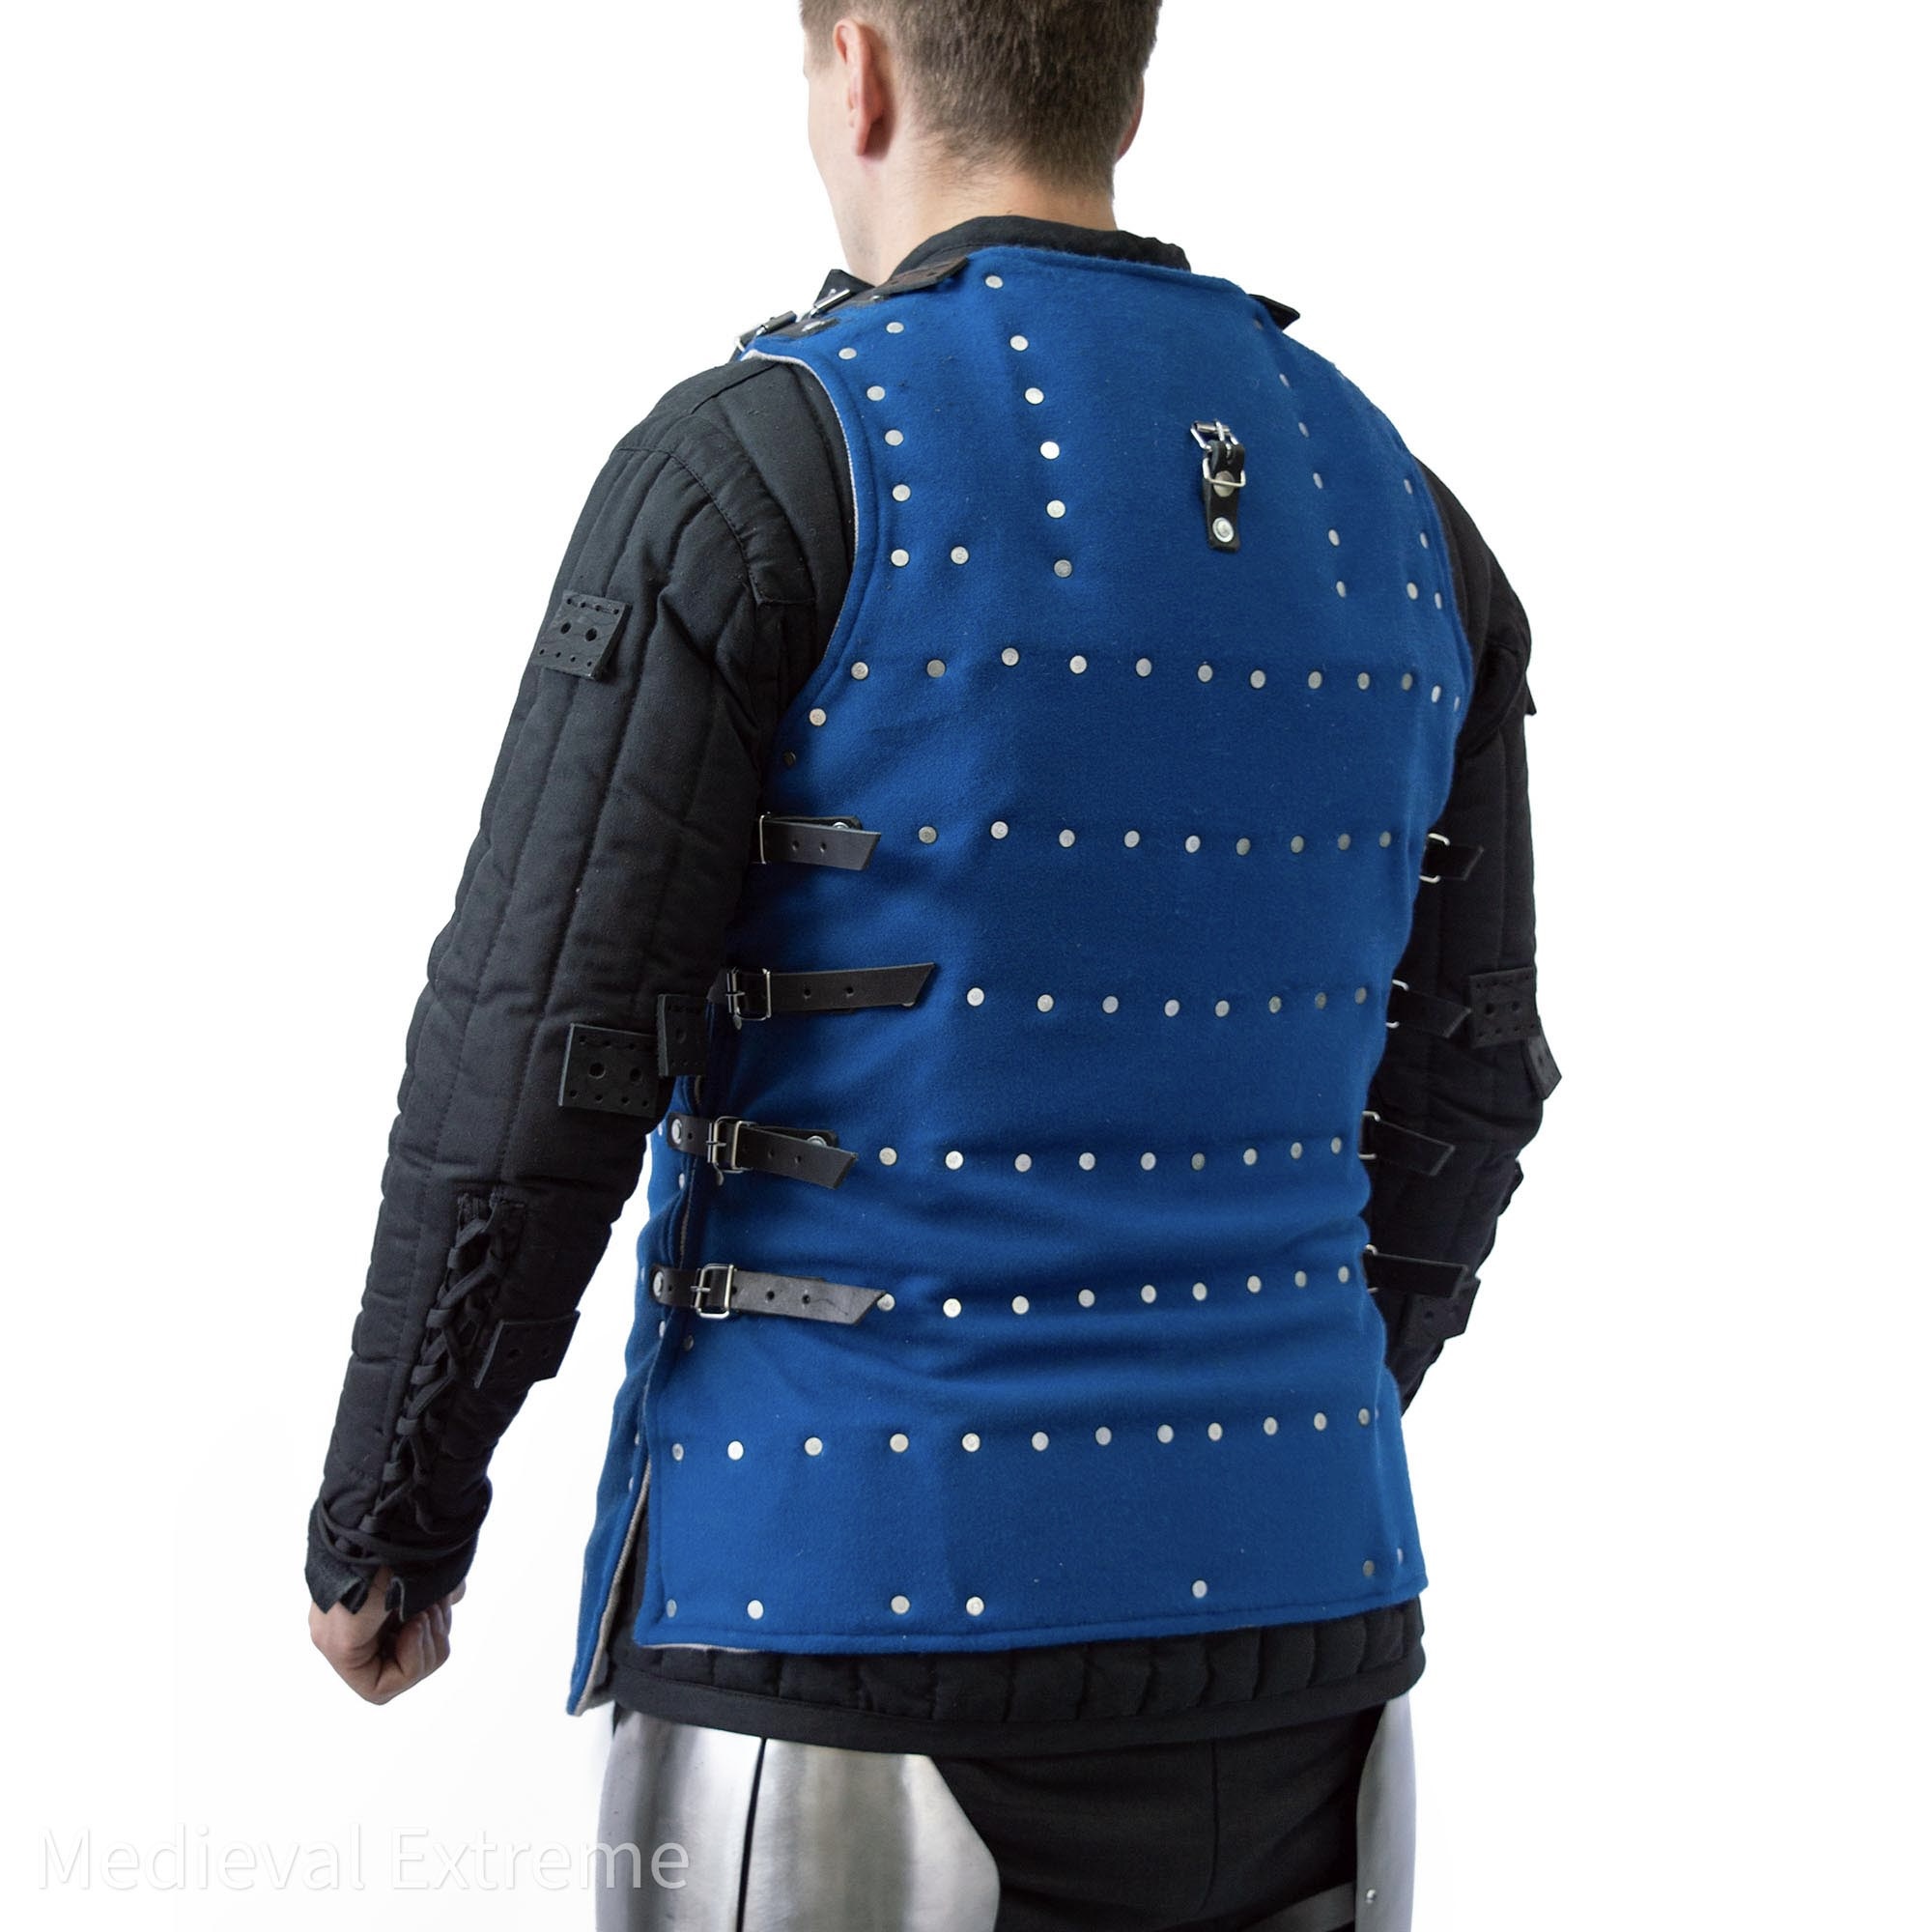
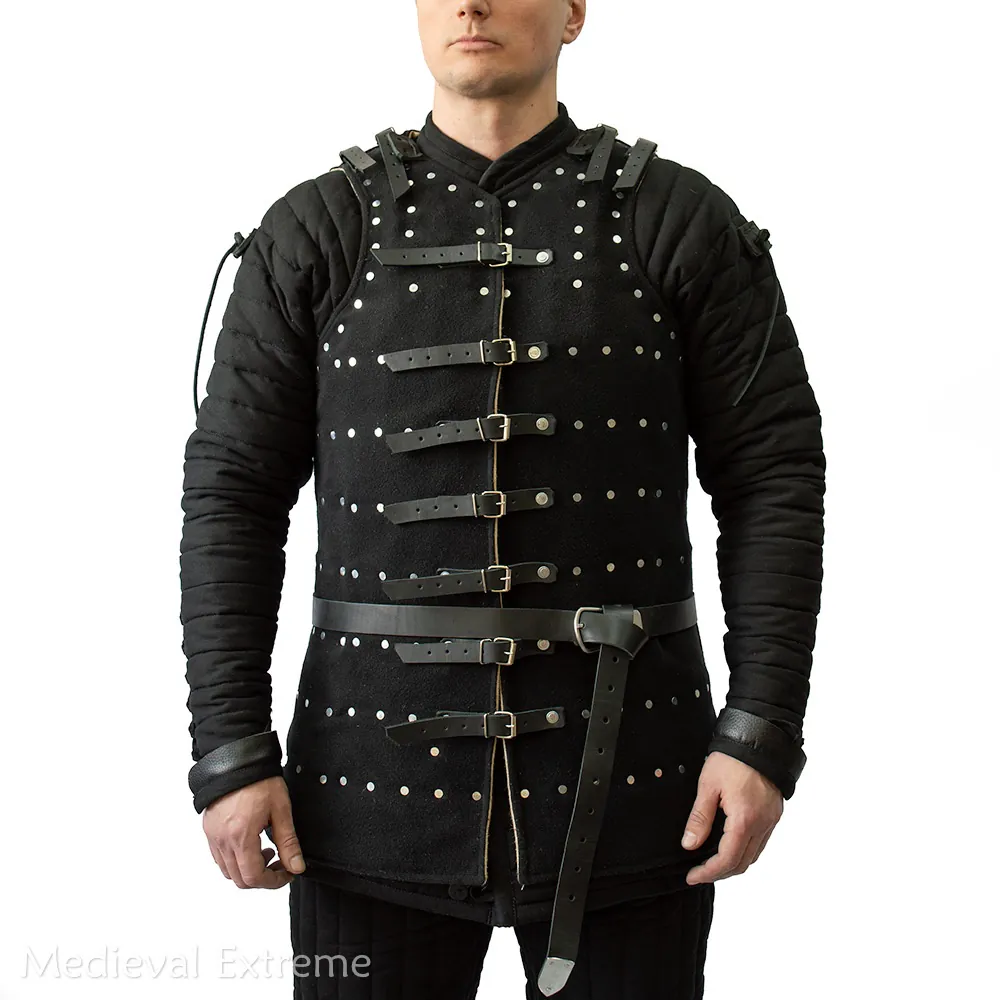
- Basic Kusnacht Brigandine
- Bonus: Free C-belt Free shipping
Upgrade Your Kit:
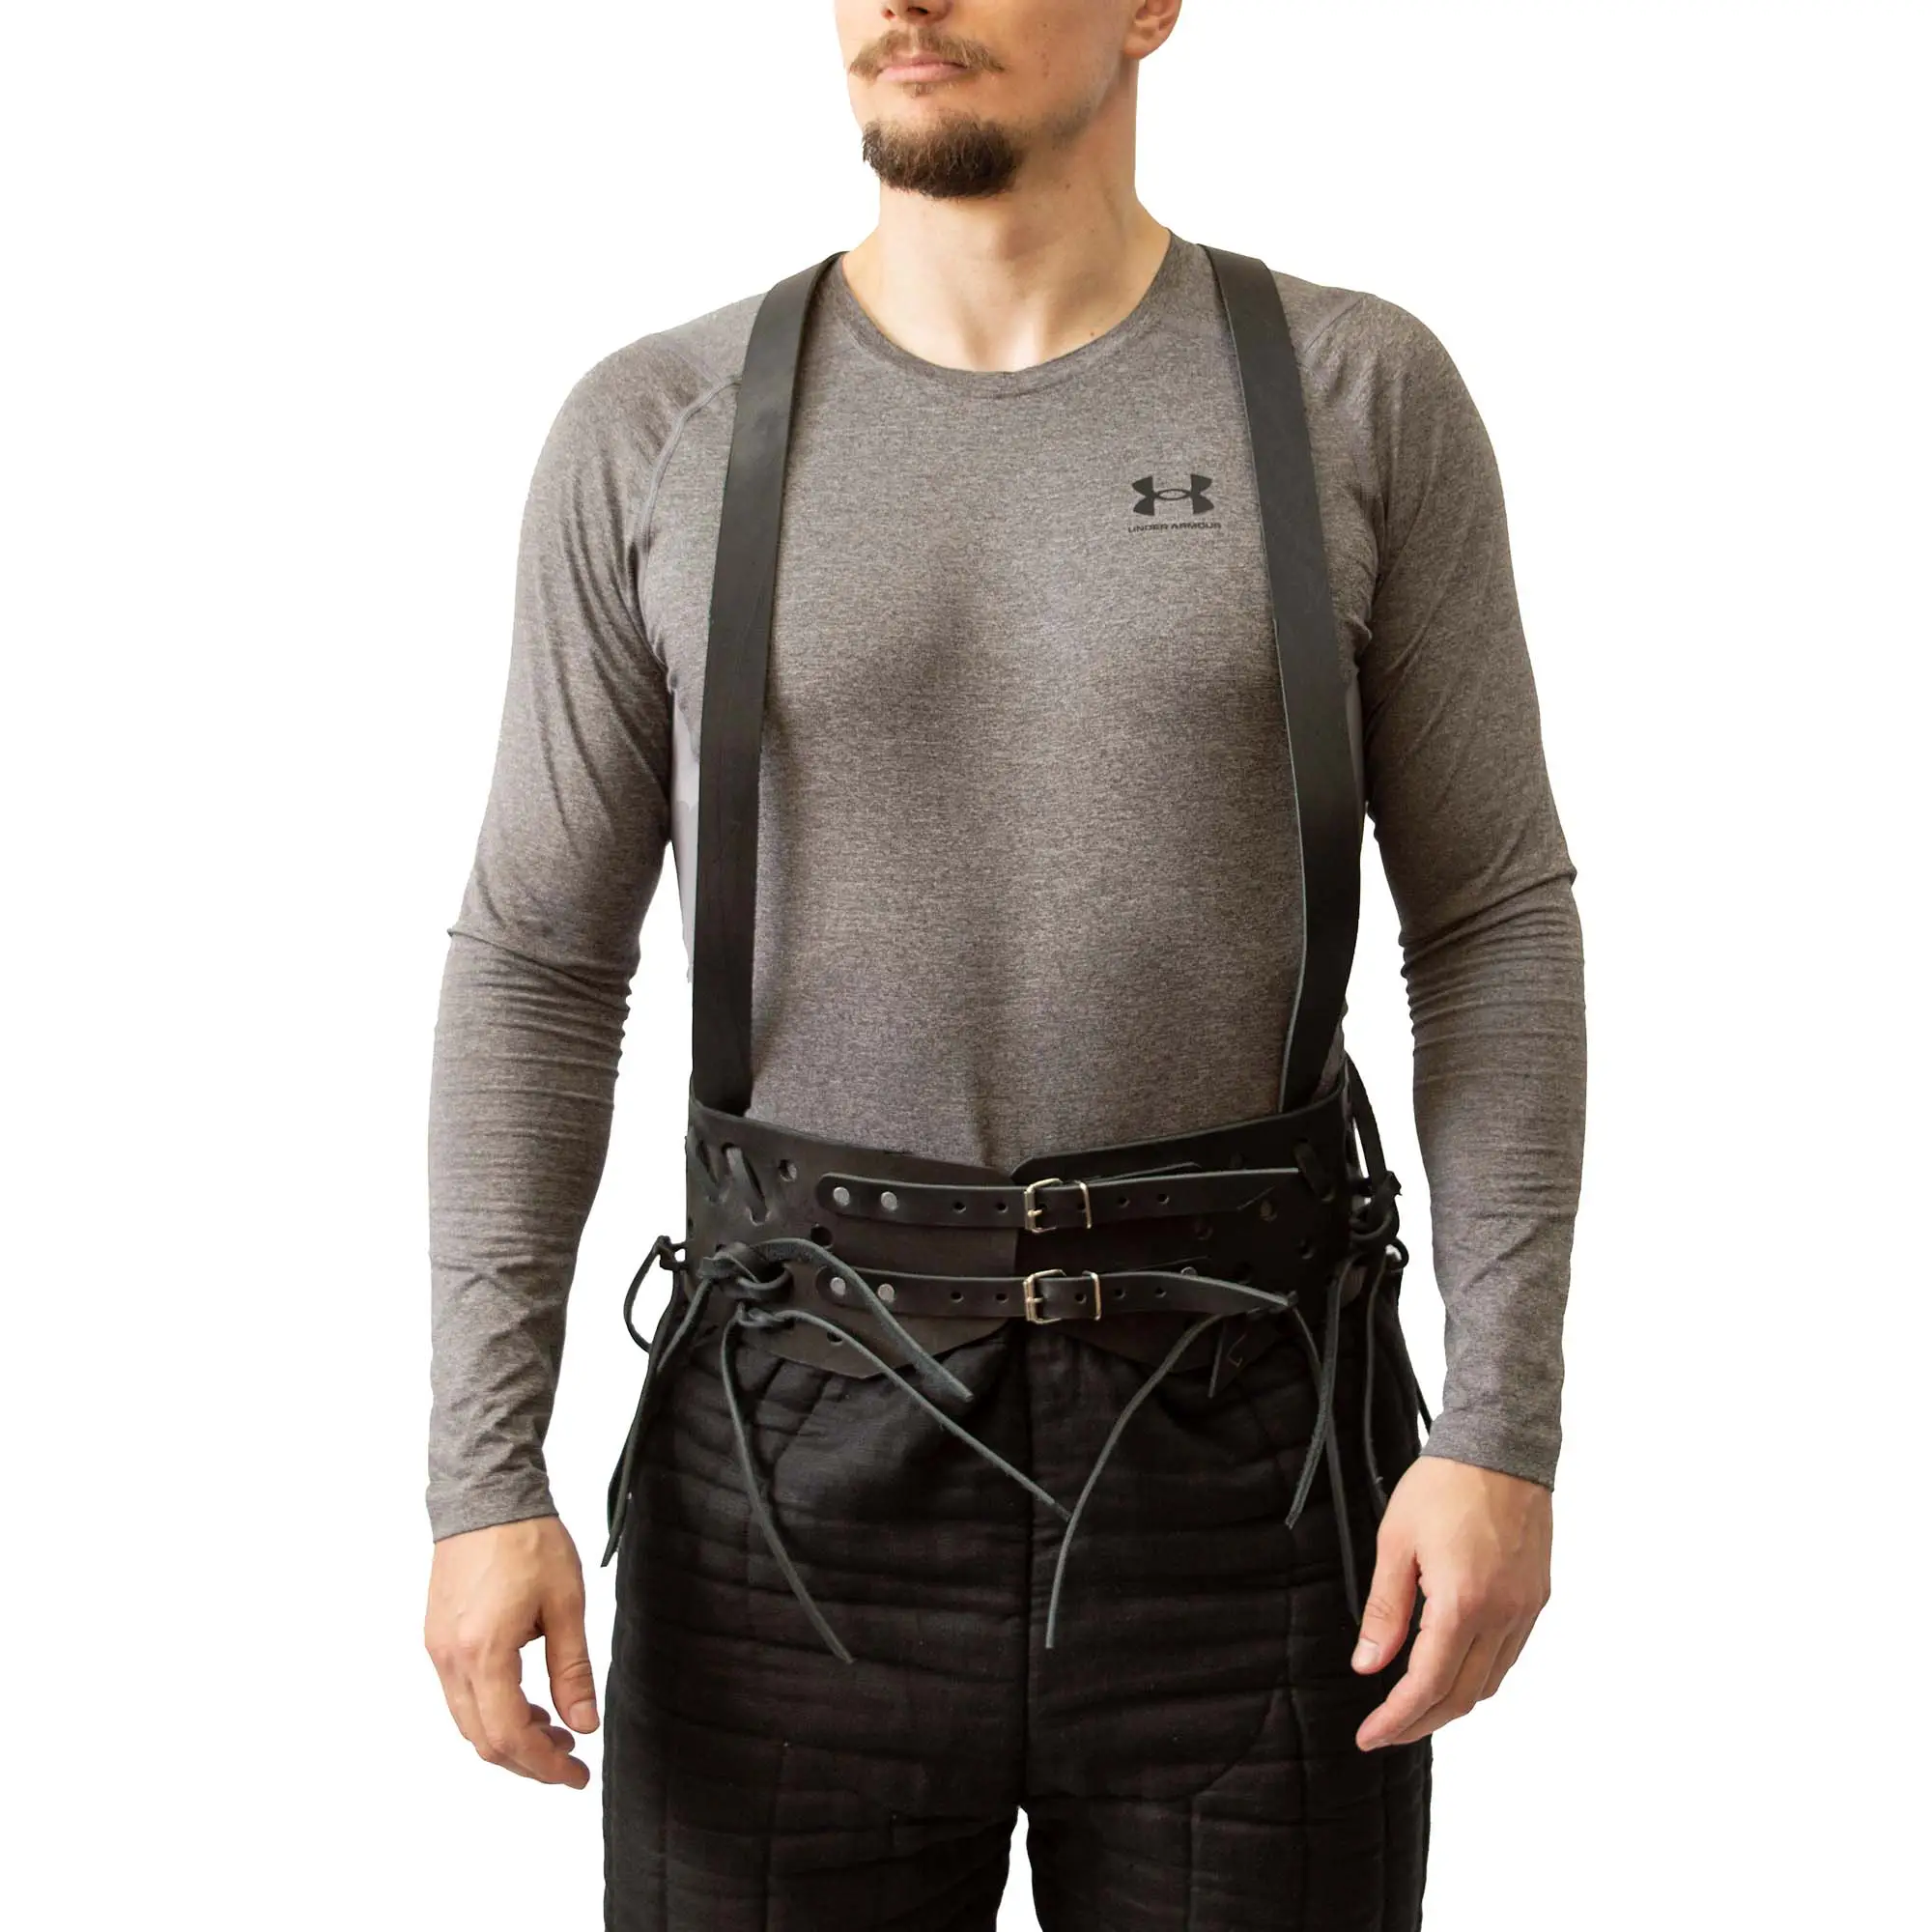
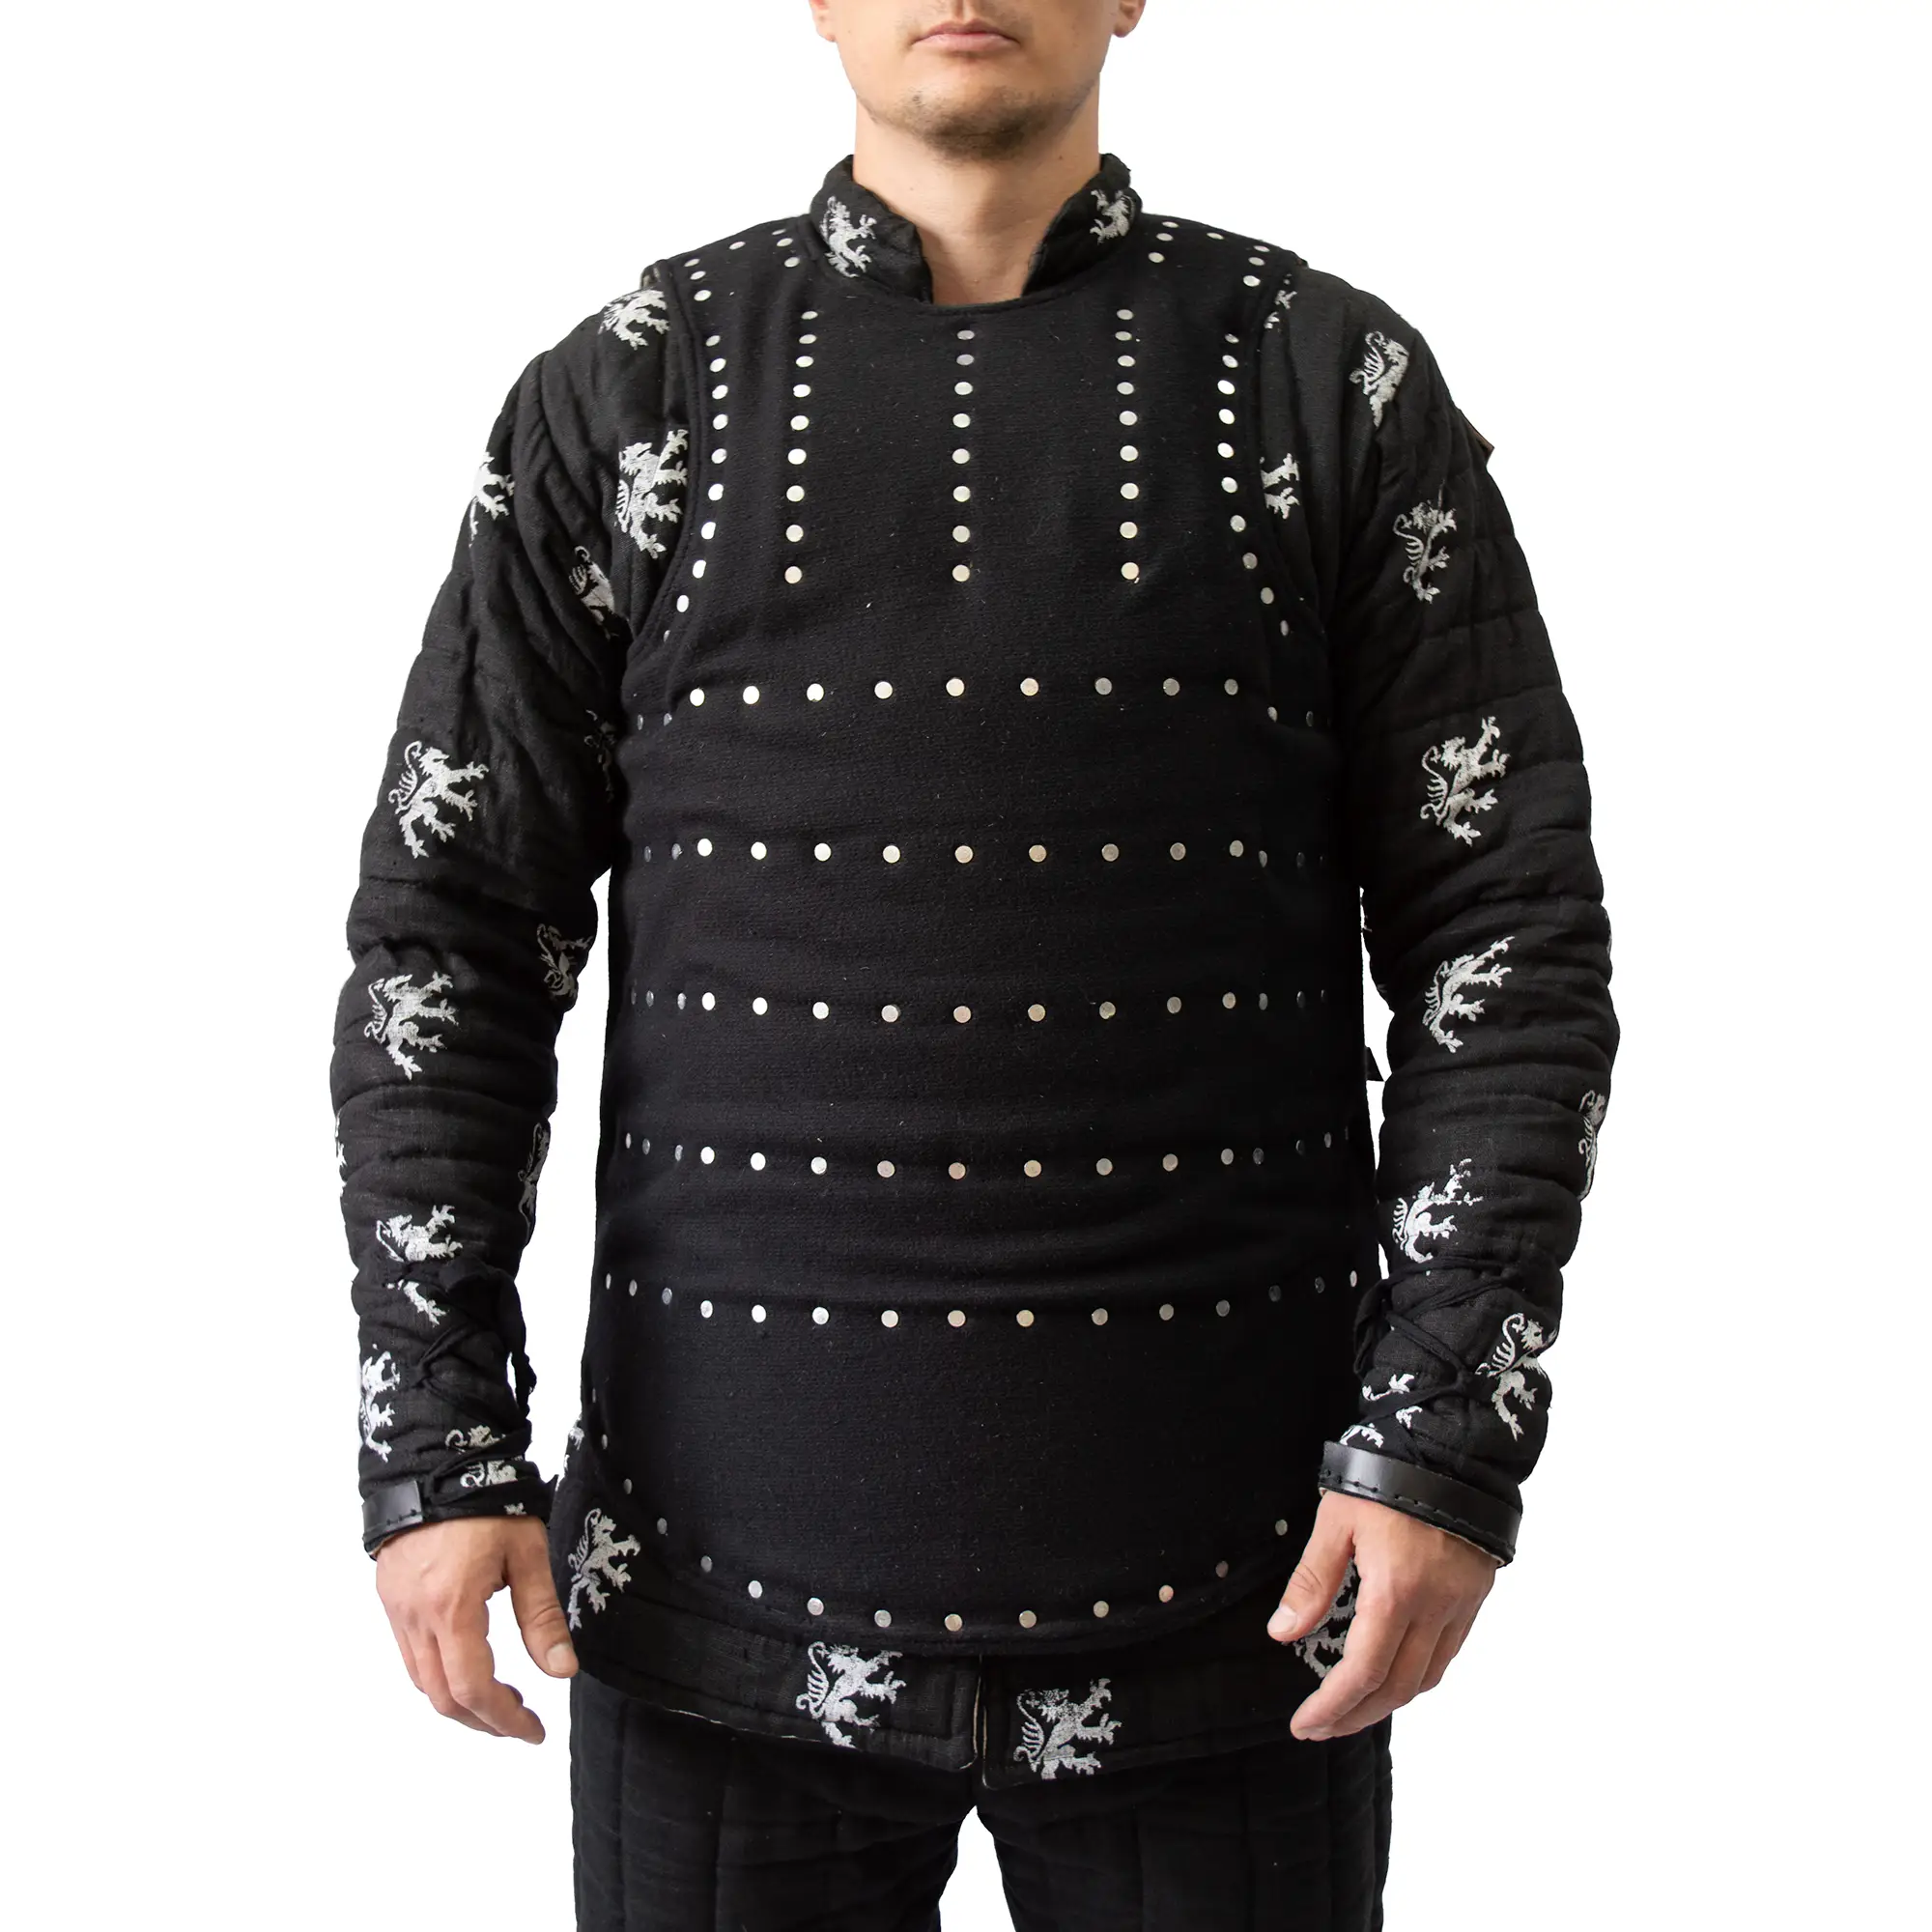
- Padded Kit: Enhance your comfort and protection with our combo padded gambezone and pants.
- Titanium Upgrade: Reduce the weight of your brigandine by 30% for even greater mobility.
- 3-Segmented Greaves: Add an extra layer of protection to your legs with these advanced greaves.
- Upgrade to Basic Brigandine Wimbledon – to make the brig open in front.


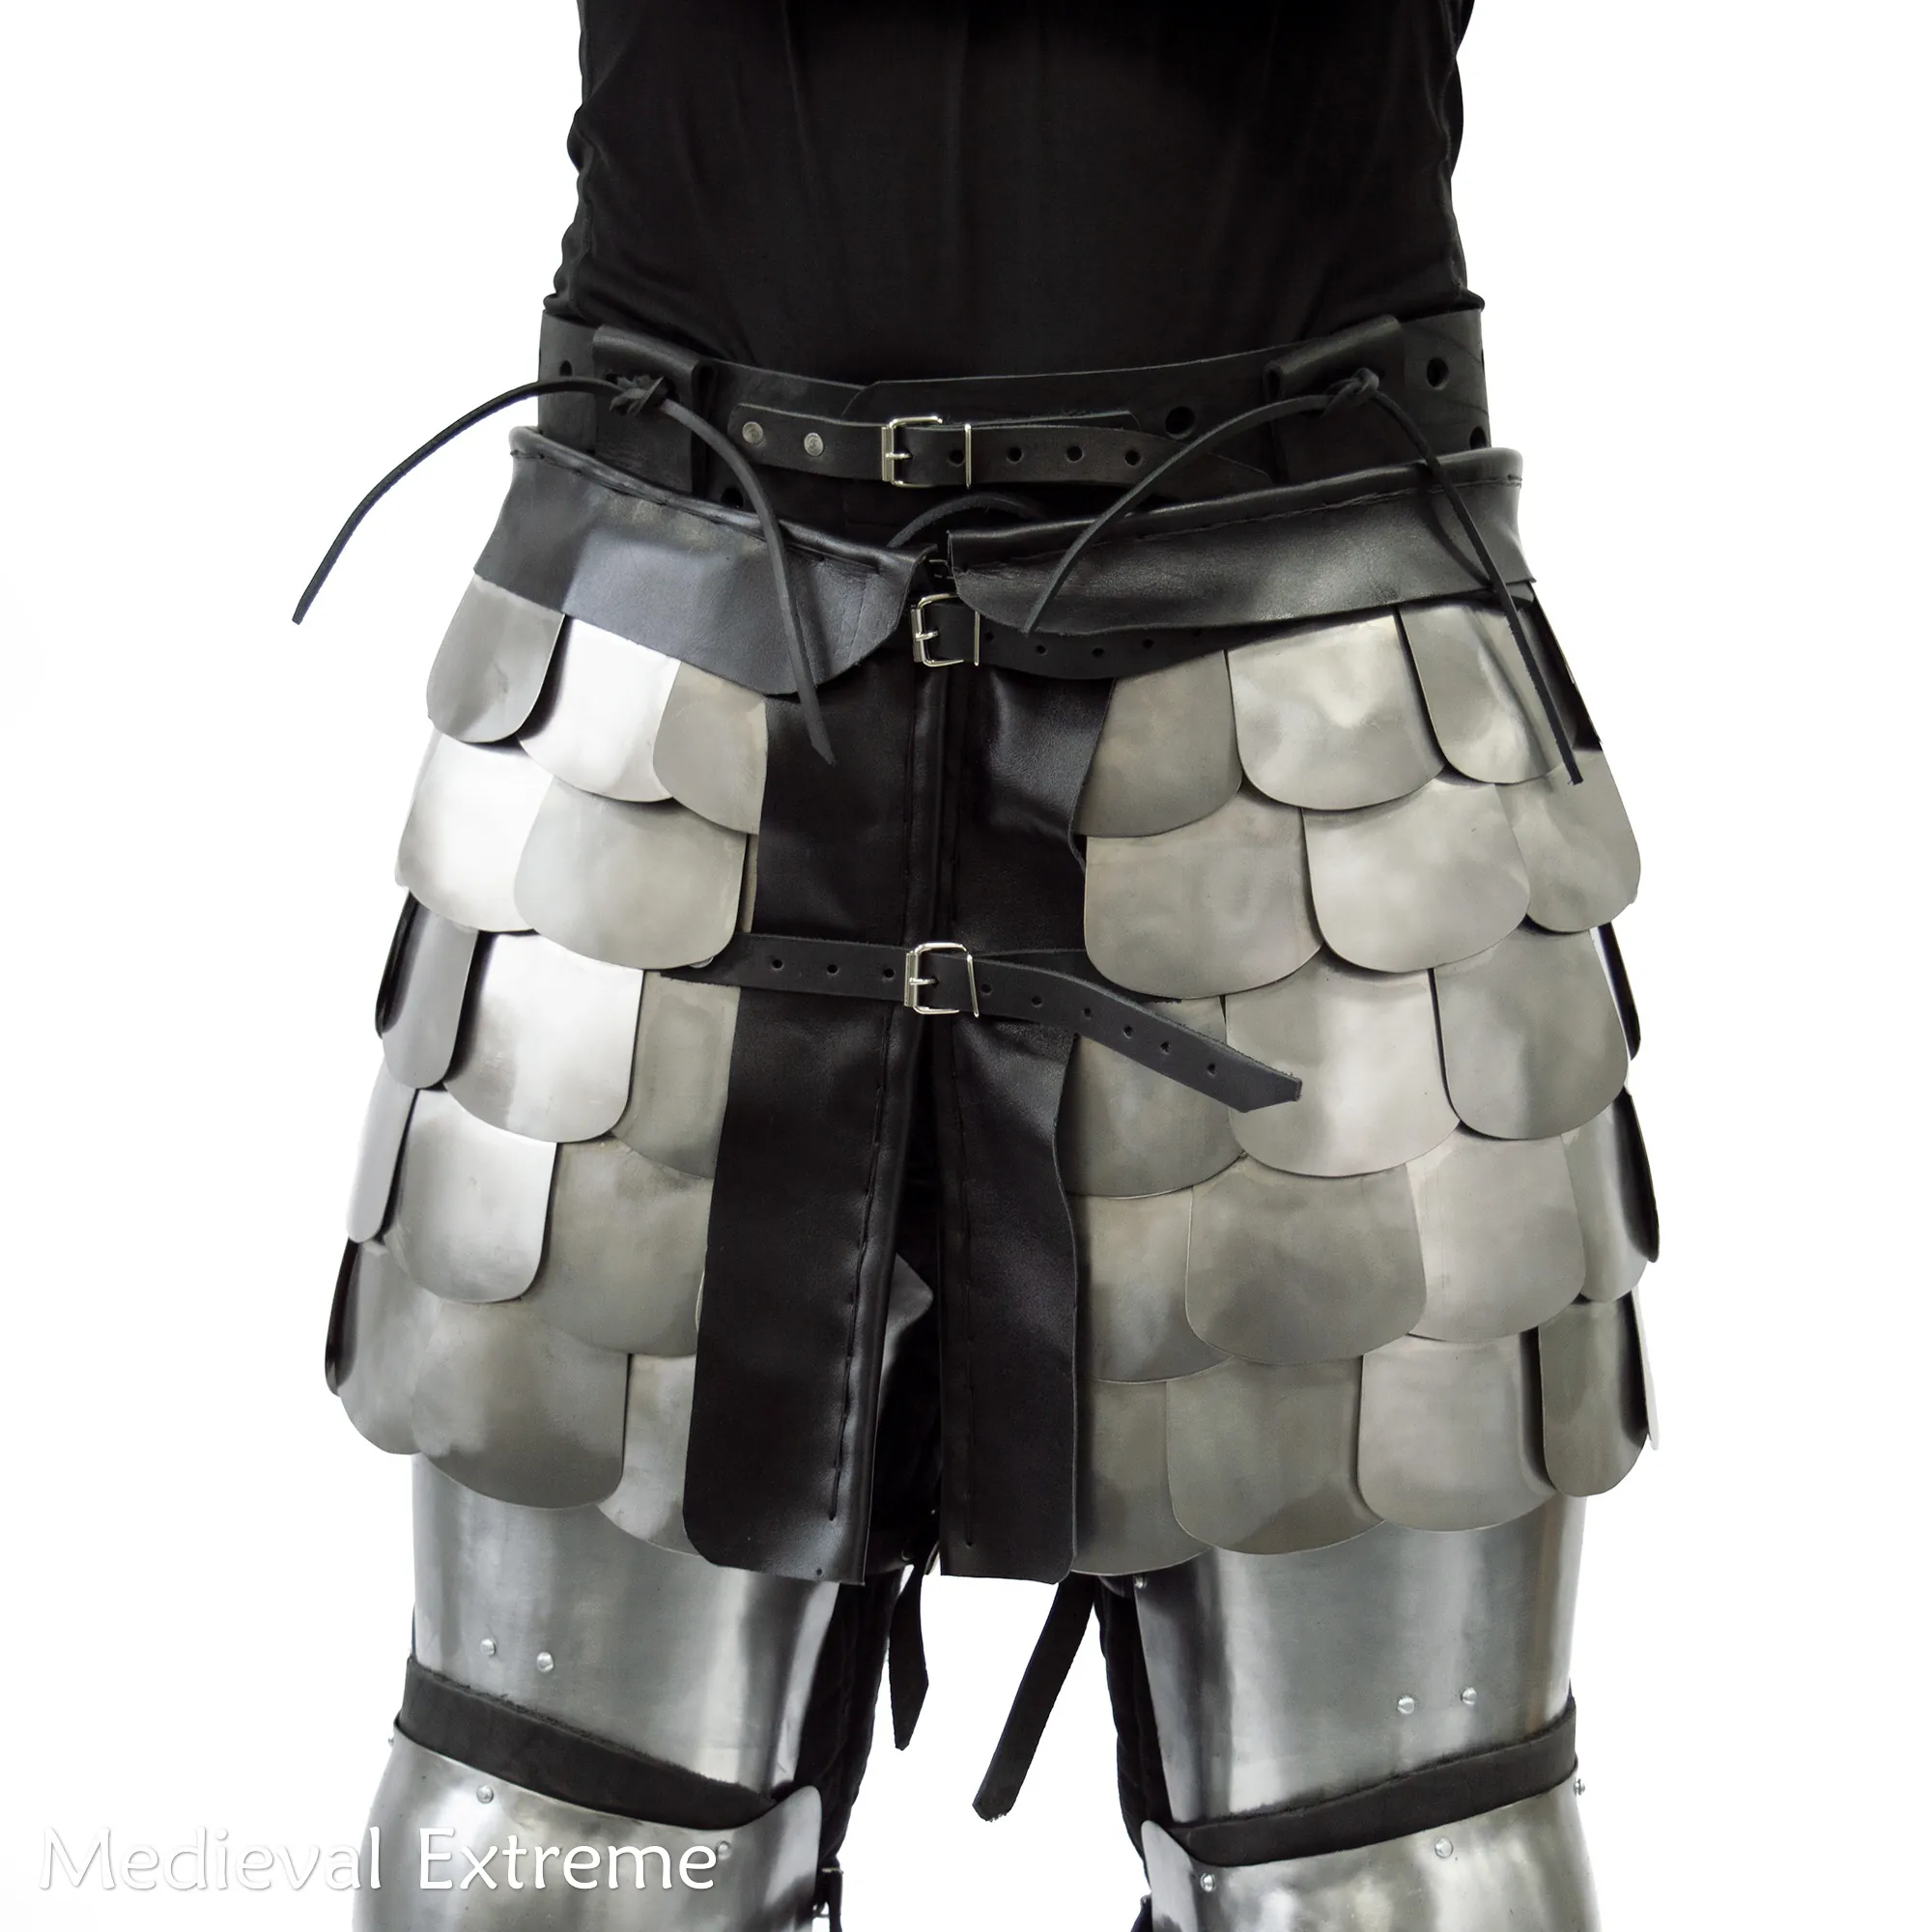
![Titanium scales skirt for armored combat [pointy scales]](https://medievalextreme.com/wp-content/uploads/2023/05/D25A143D-31FC-4C72-88F8-CBD0297908F4.jpeg.webp)


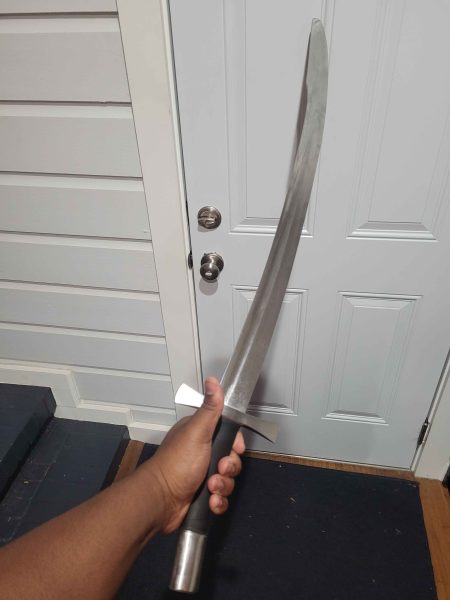
Sword has been holding up nicely! Very sturdy! Bought it a few months ago when it was in stock! Took awhile to come in the mail because of the war.
Quality control10/10
Strength10/10
Weight10/10
Handle grip9.7/10
Blade flex10/10
Packaging9.5/10
Overall 9.8/10
Would I buy it again??
Absolutely. Am I going to buy another?
No.
Im going to buy the advanced version!!
Medieval Extreme you Rock!
Hi! Already got my order, that was super fast and I’m really happy with helmet! Thanks so much and best wishes for you! ♥️
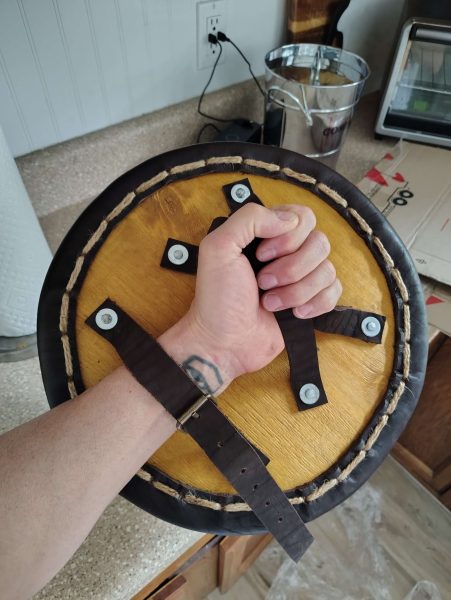
I received the buckler thank you very much Great quality is always:)
+++
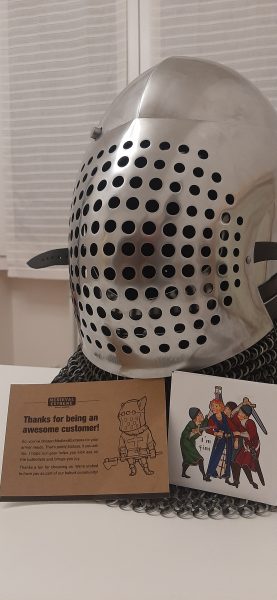
Nice field of vision and breathability, one of the safest designed helmet.
Be safe in the list!
Excellent craft! the materials used aren’t random. the shield is stiched and layered for sturdiness. The sword is wrapped tightly and with care and the helmet has felt on the parts that will be touching skin which makes for longer training all in all a wonderful deal! love and peace!
Weighty, but the handle helps it maneuver better when whipping the blade around in a follow-up. It also gives you a range advantage in most profights. Only complaint is something in the blade is really resonant and so it can vibrate a lot on impact. Otherwise a great saber for profights.
I enjoy it a lot
Really nice item The only thing I would suggest would be to make denser foam for the top of the cone area at the top of the head something a little more rigid would be nice. All in all very nice quality as usual very happy with my purchase.
Really well made and at a great price point thank you Medieval Extreme once again!
Really well madea d at a great price point!